Newton’s Nook Designs June Release – Day 4

Hello Everyone,

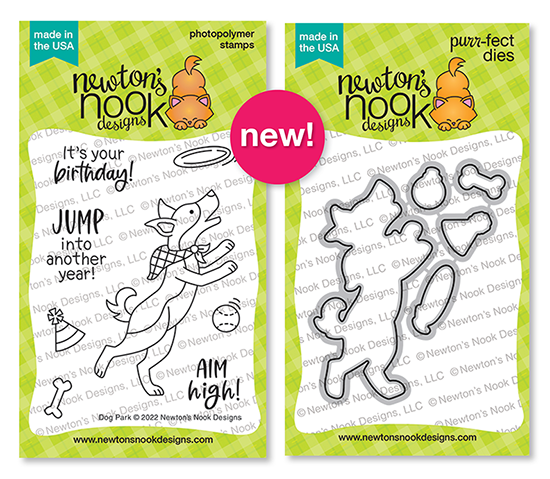
It is always bittersweet when we reach the last day of release week at Newton’s Nook Designs! The June release is full of adorable and very summery sets, I hope you enjoyed what you have seen so far. Newton lovers, this is your day: our favourite kitty is going to fly a kite! The Newton’s kite stamp set comes with coordinating dies too, as always.

All products will be available on 17/06/2022!

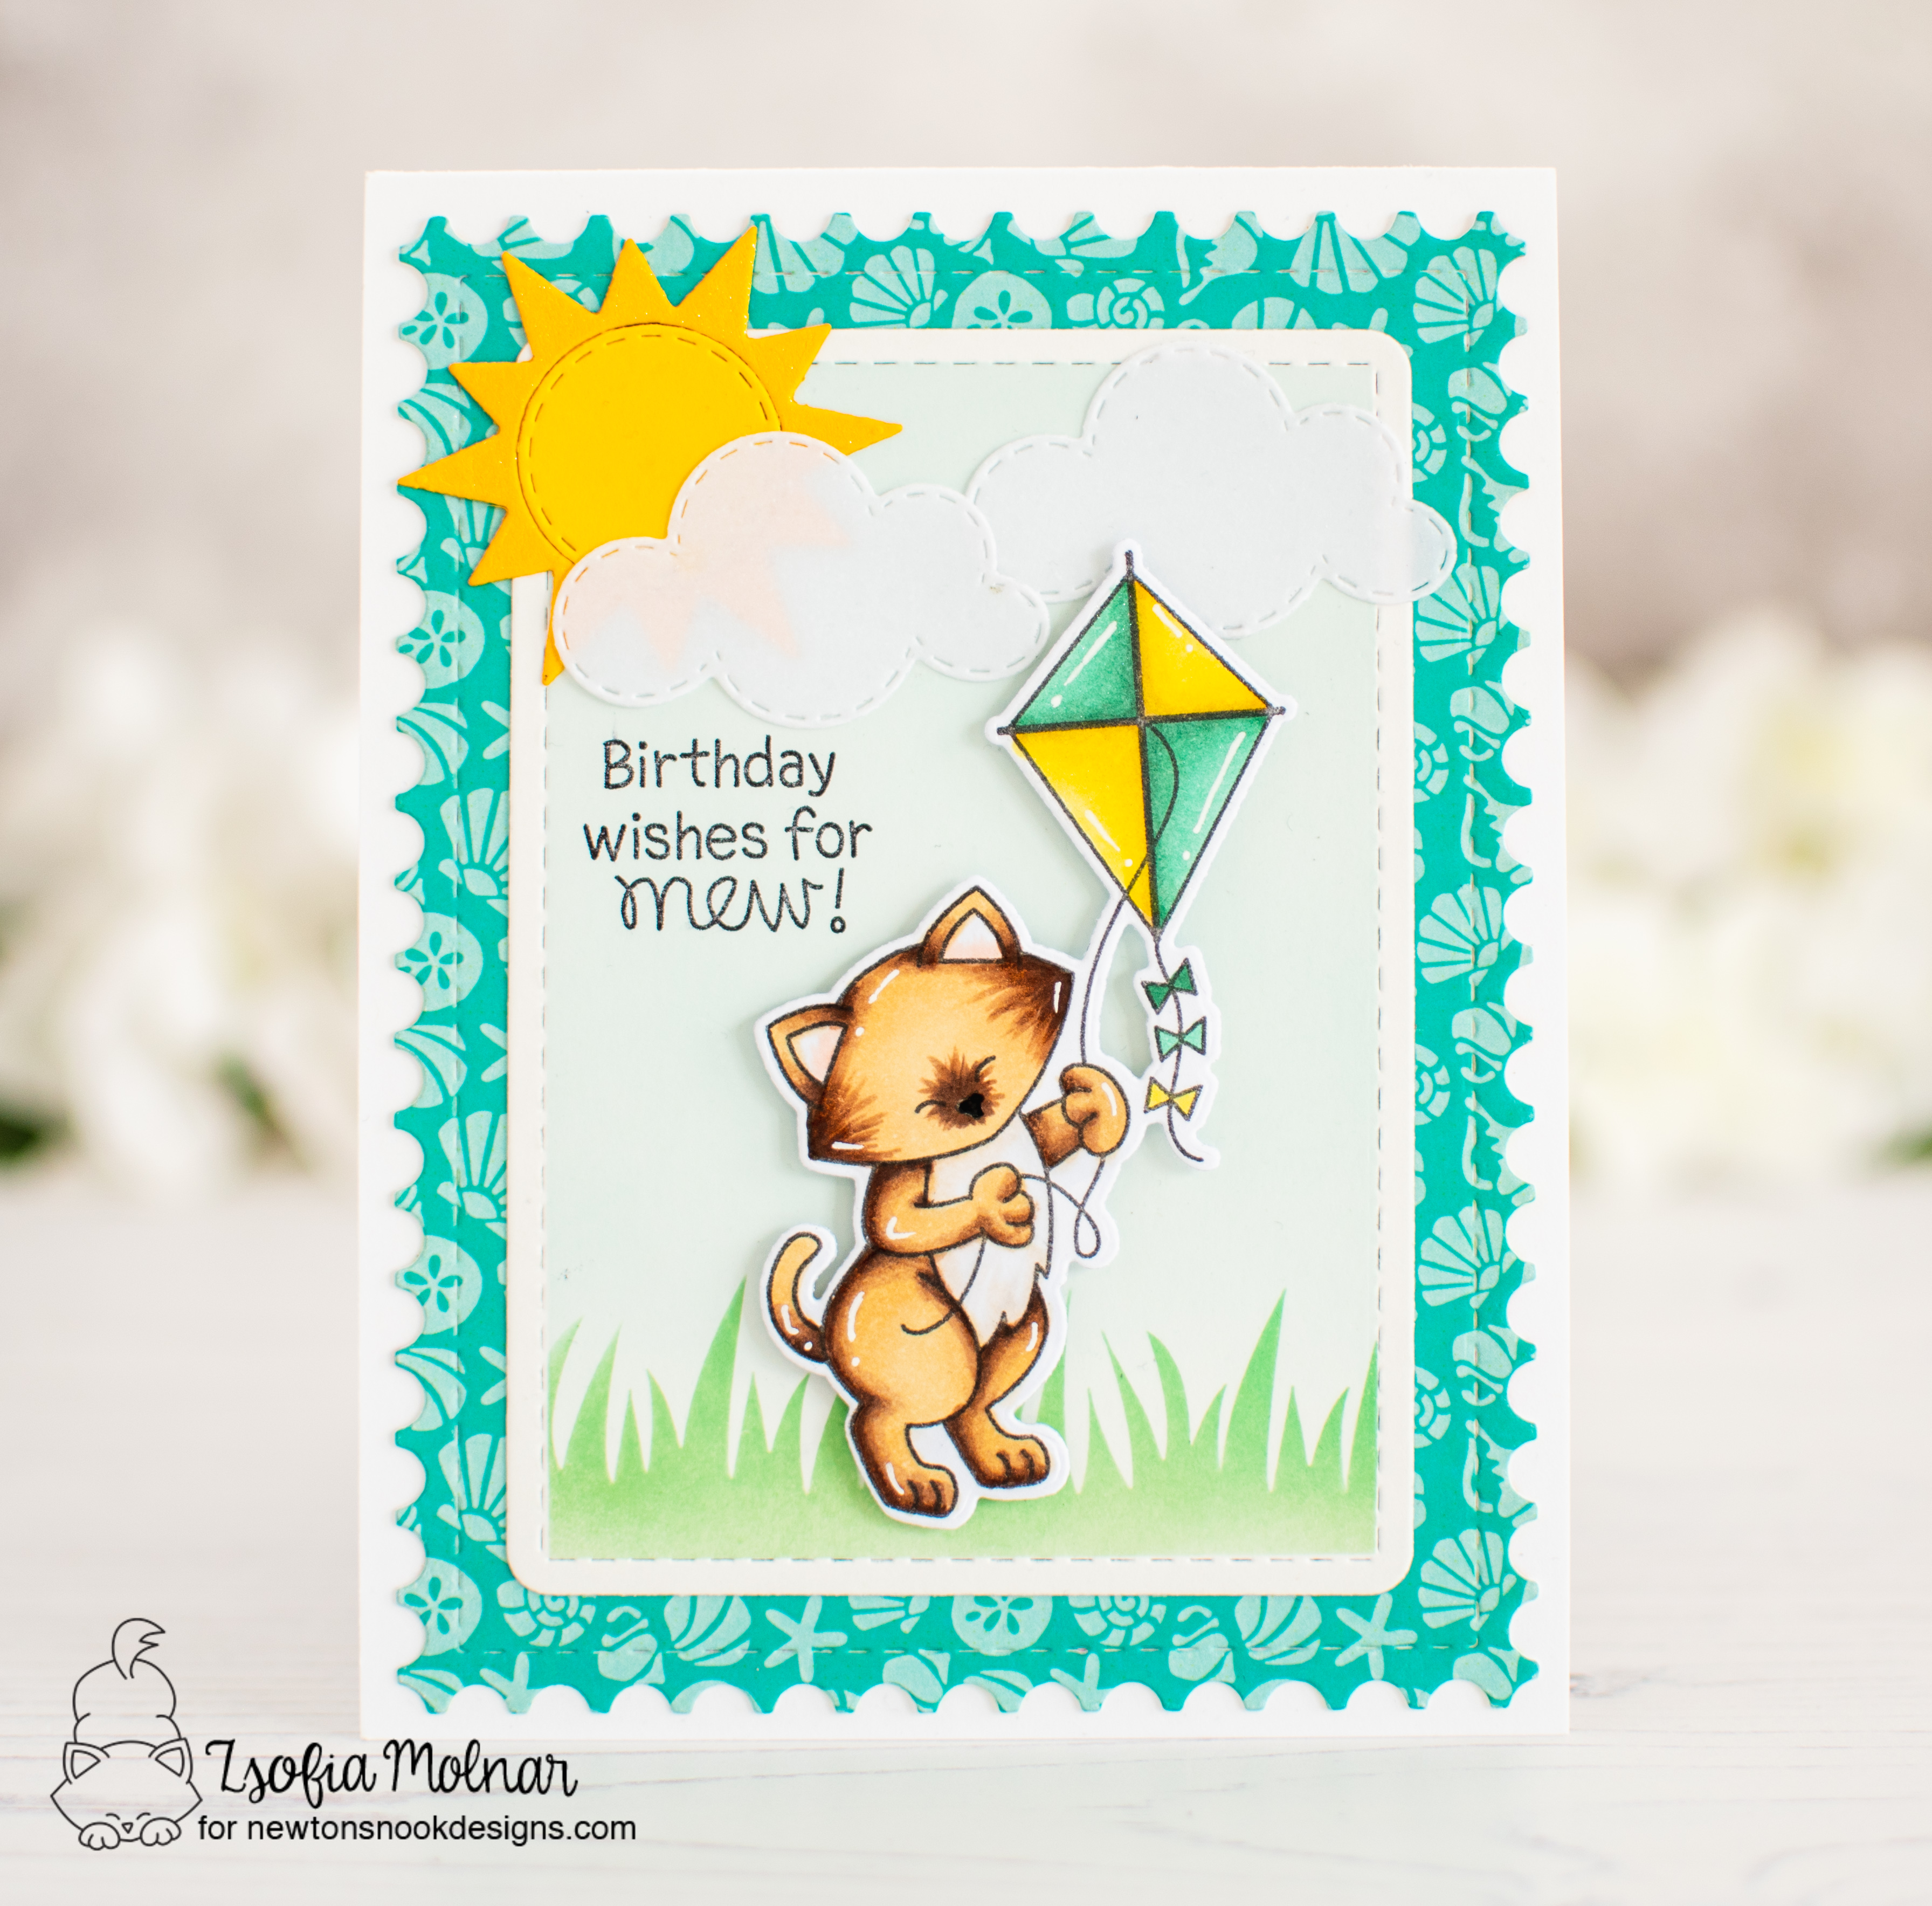
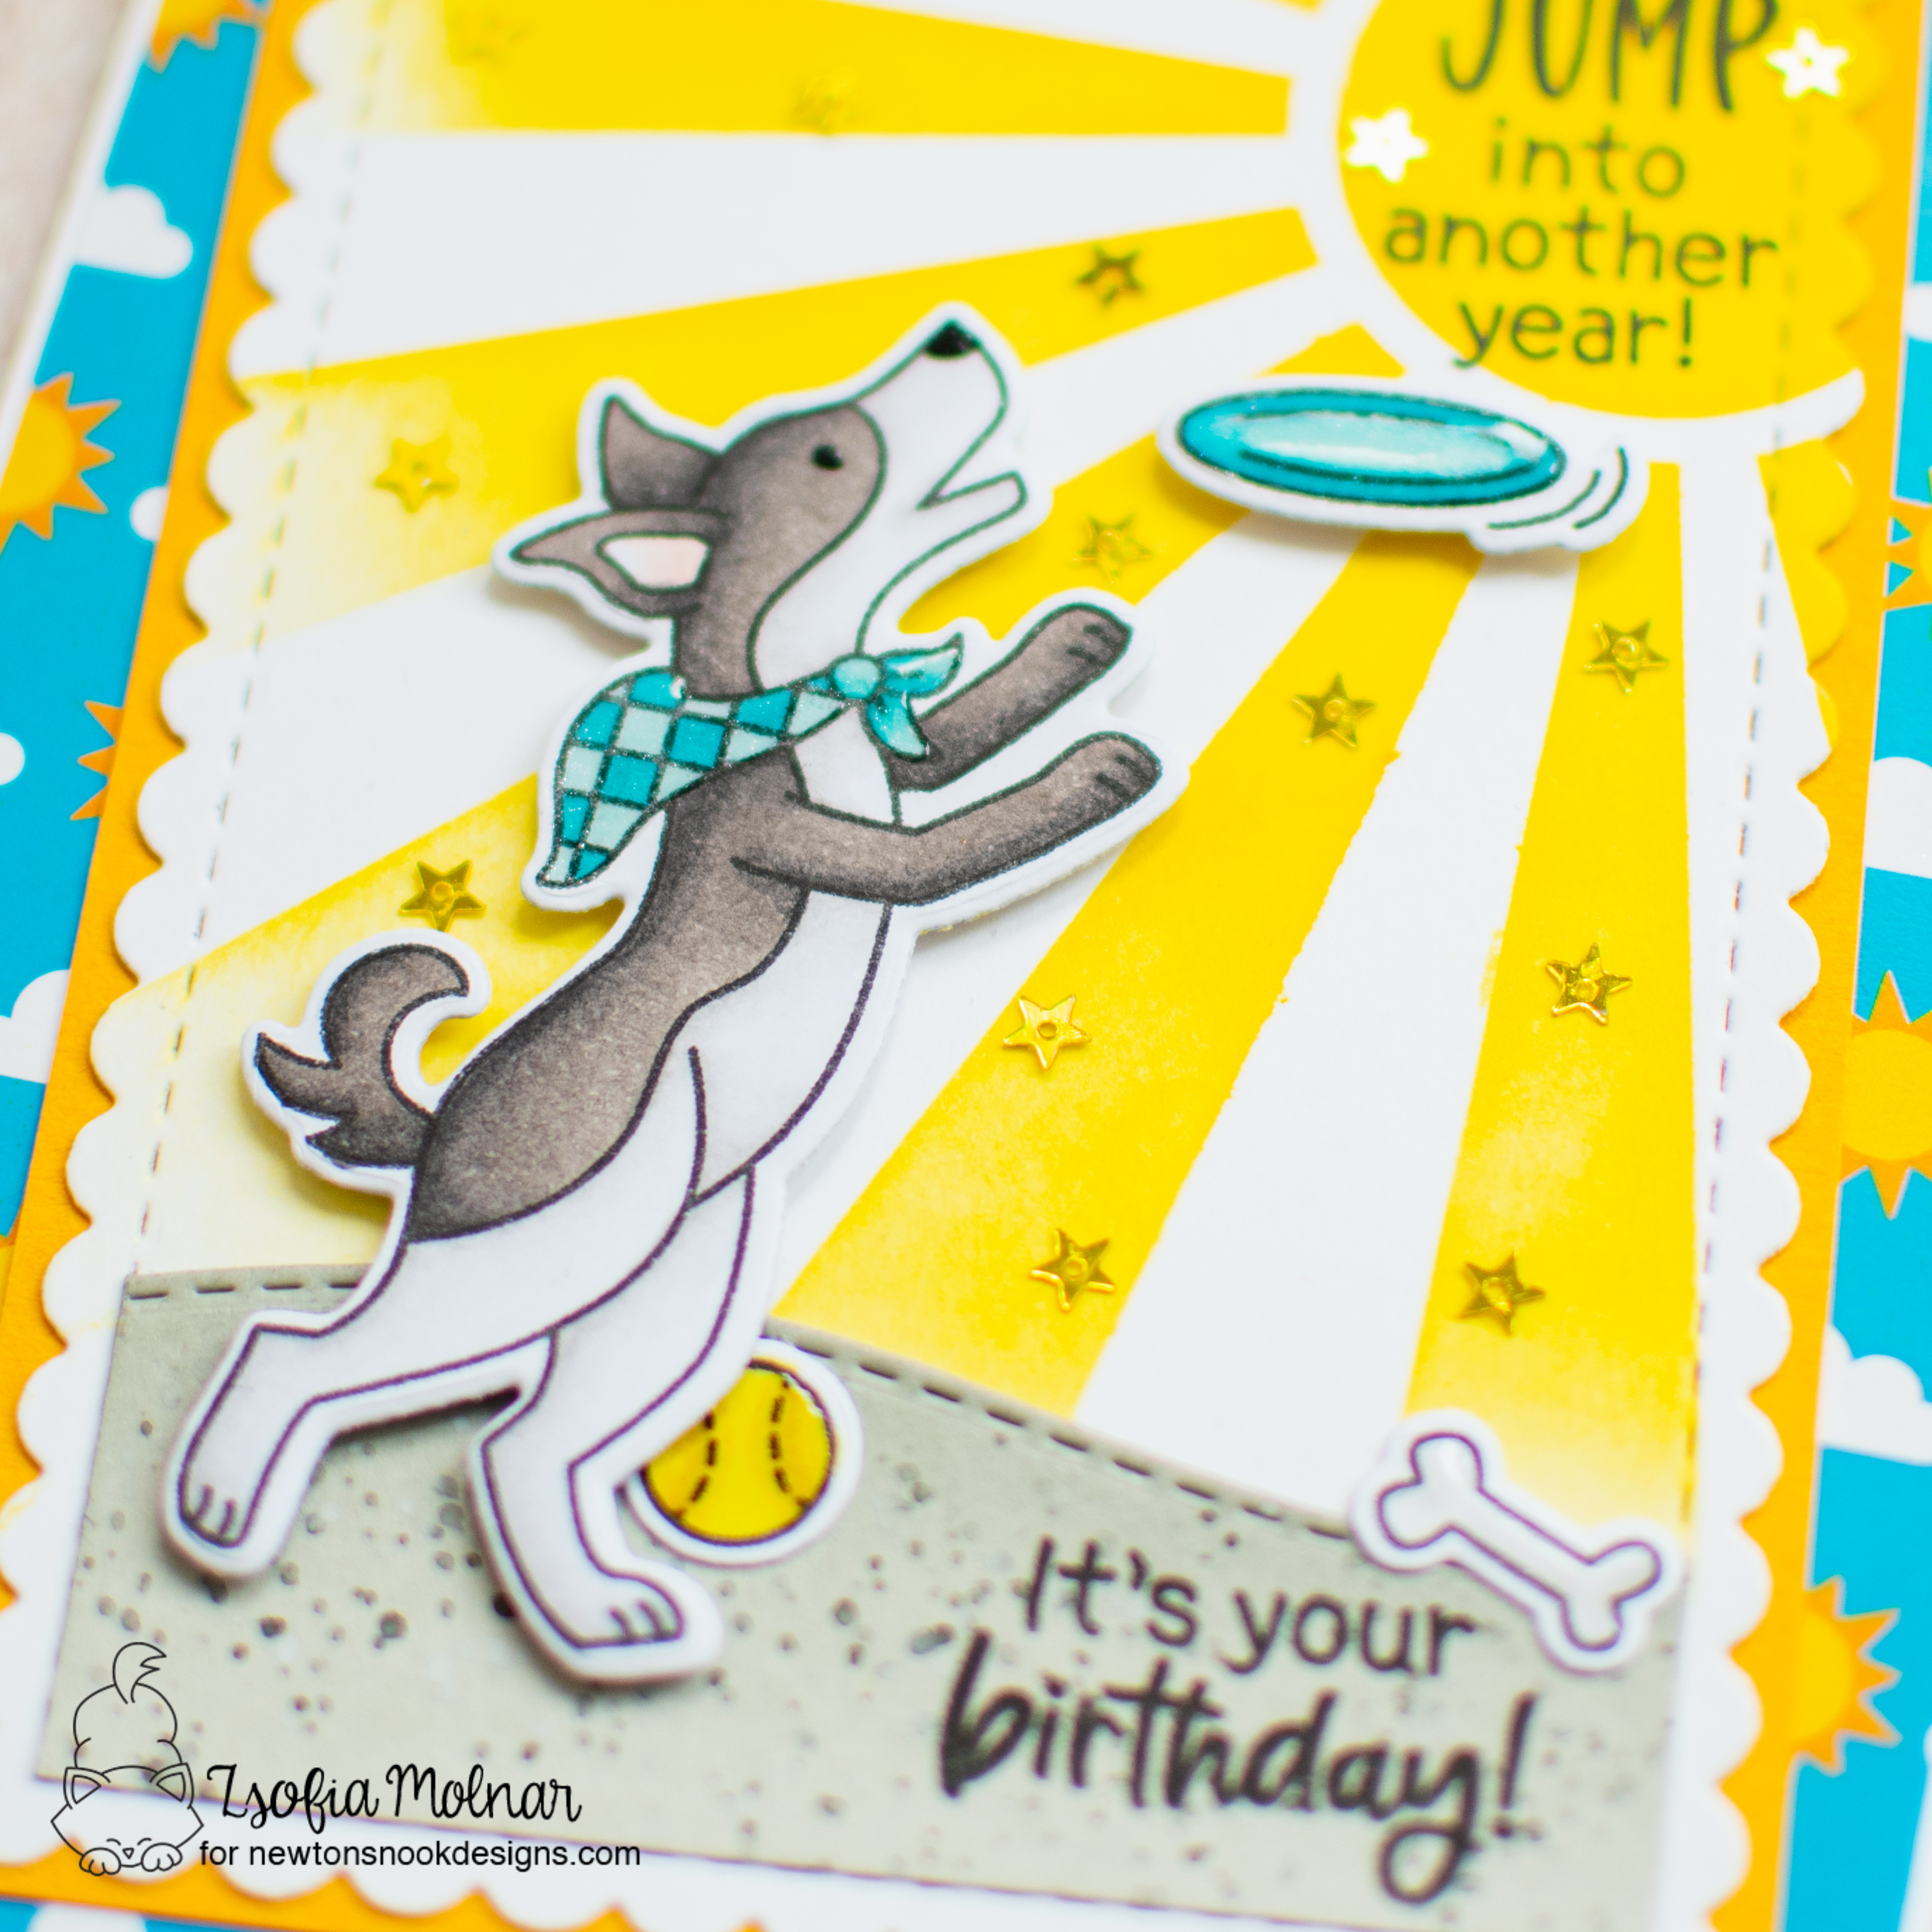
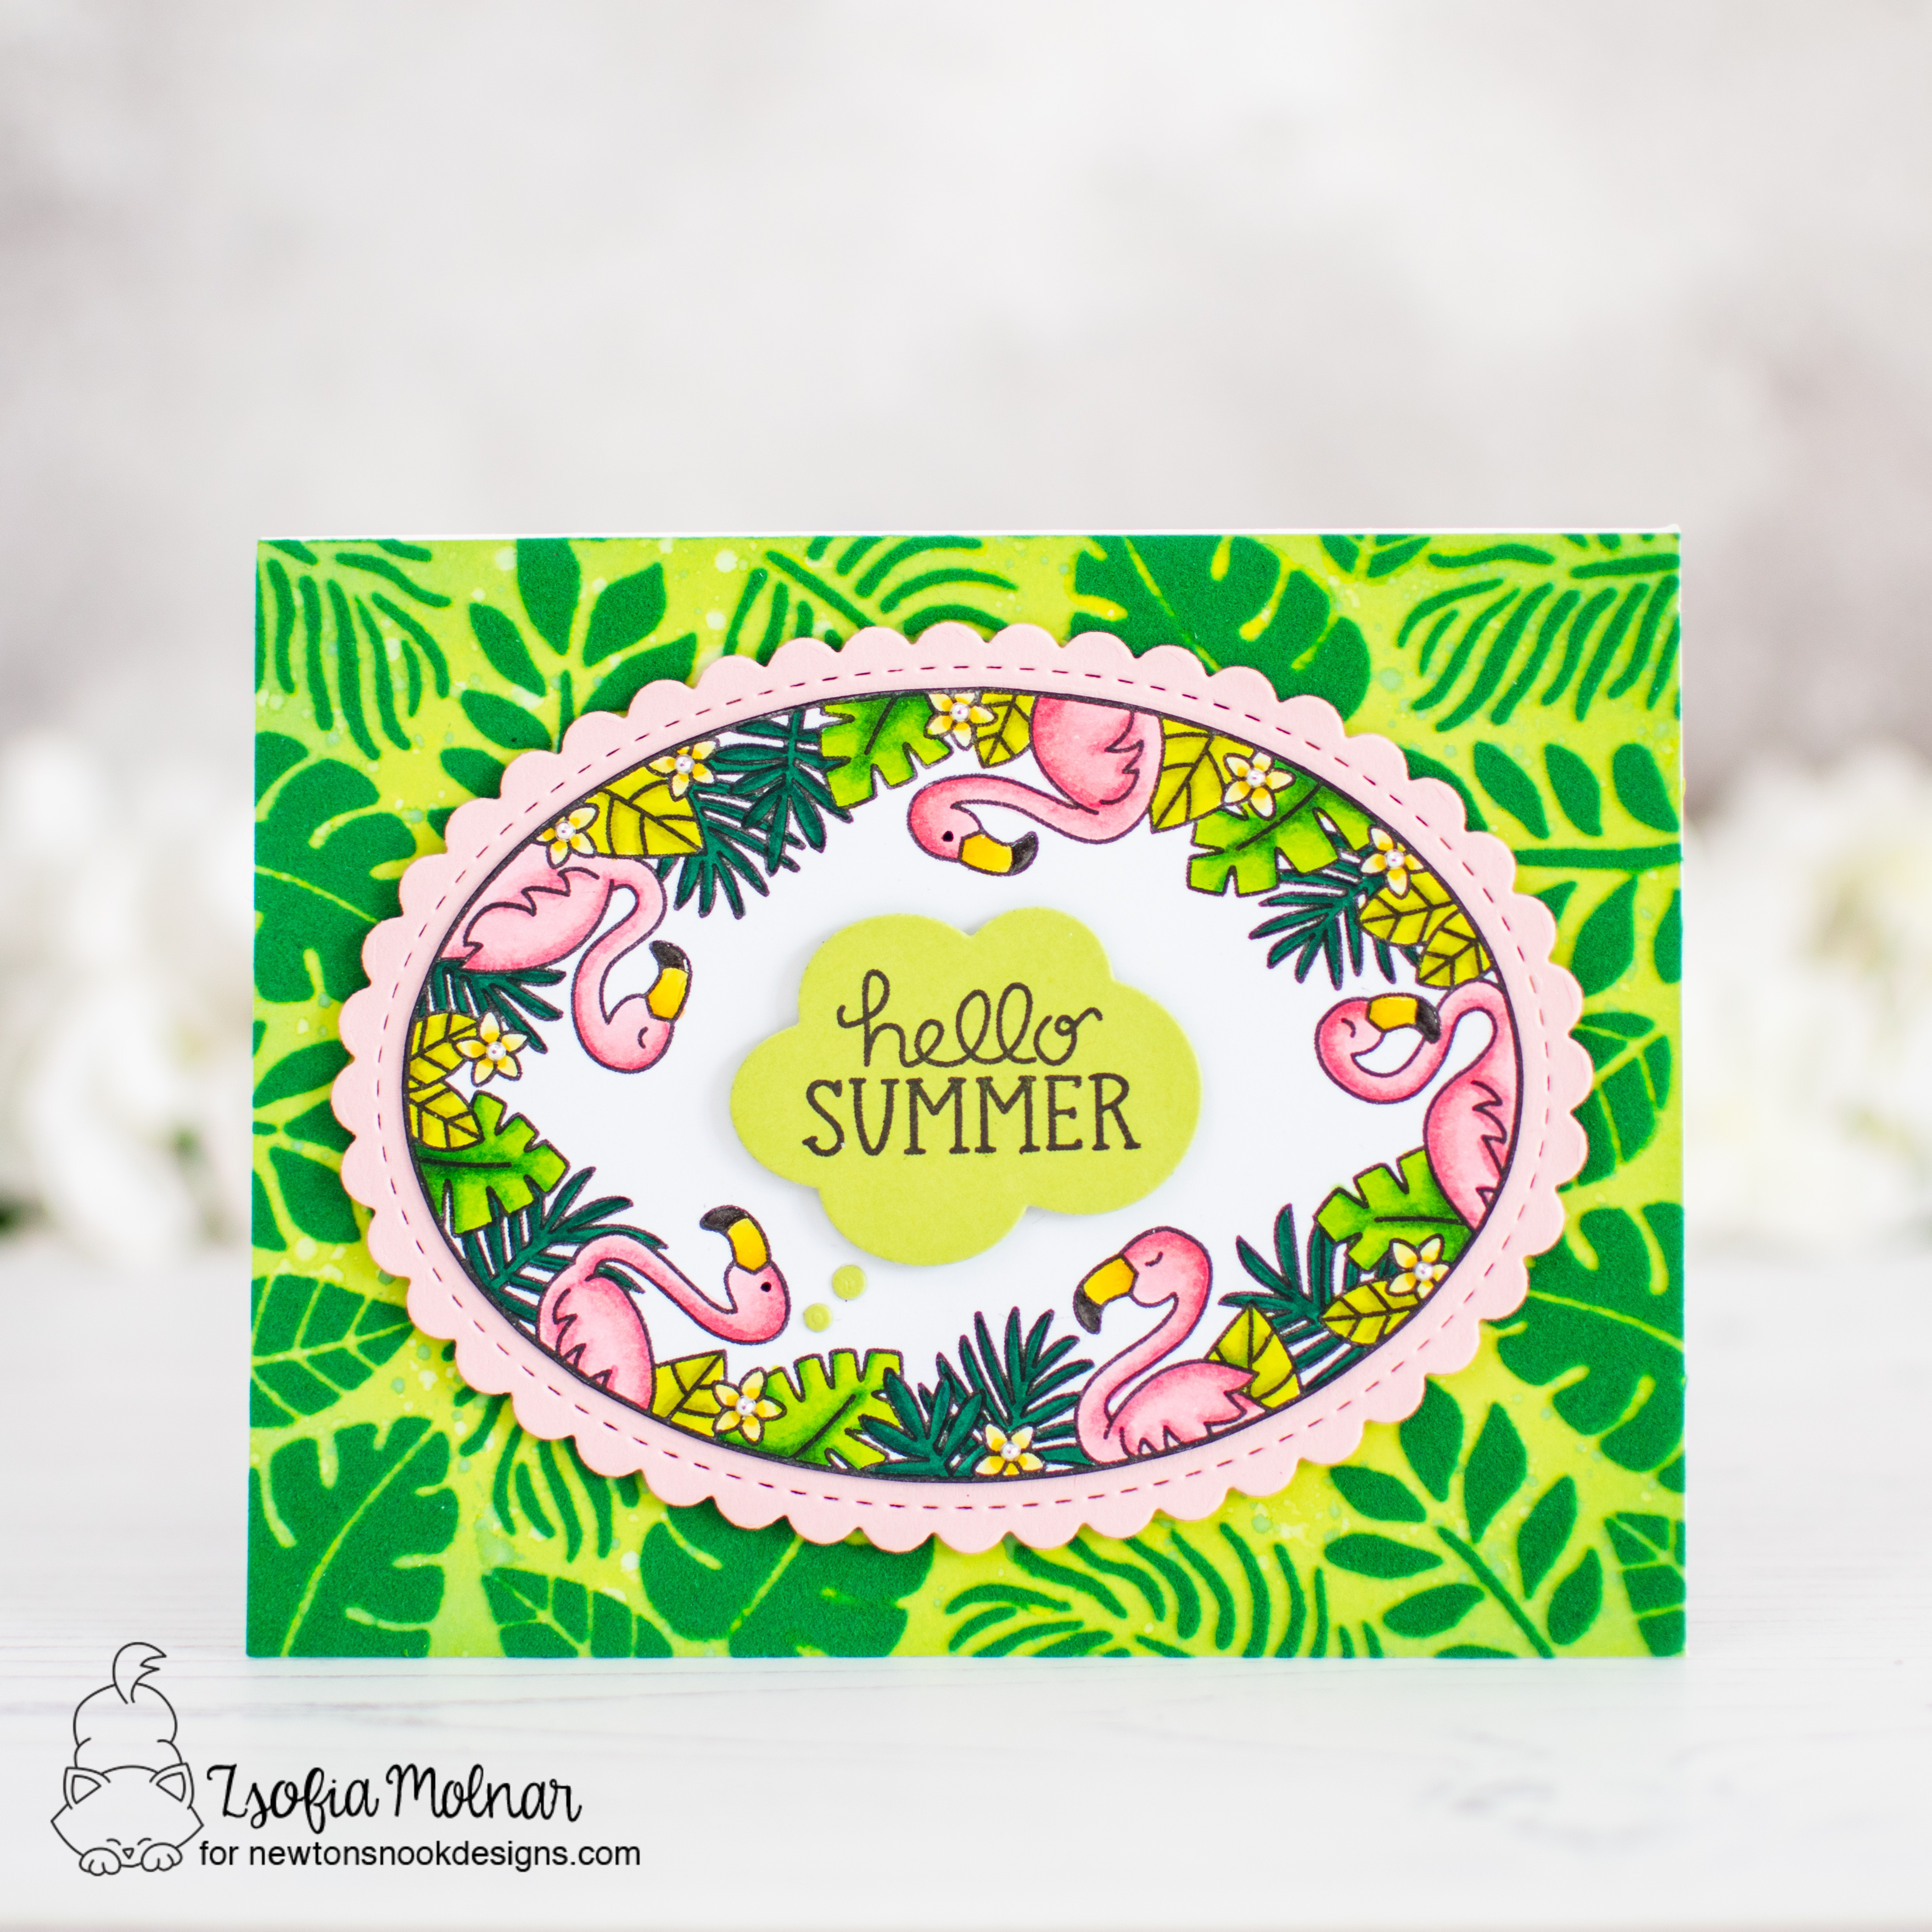
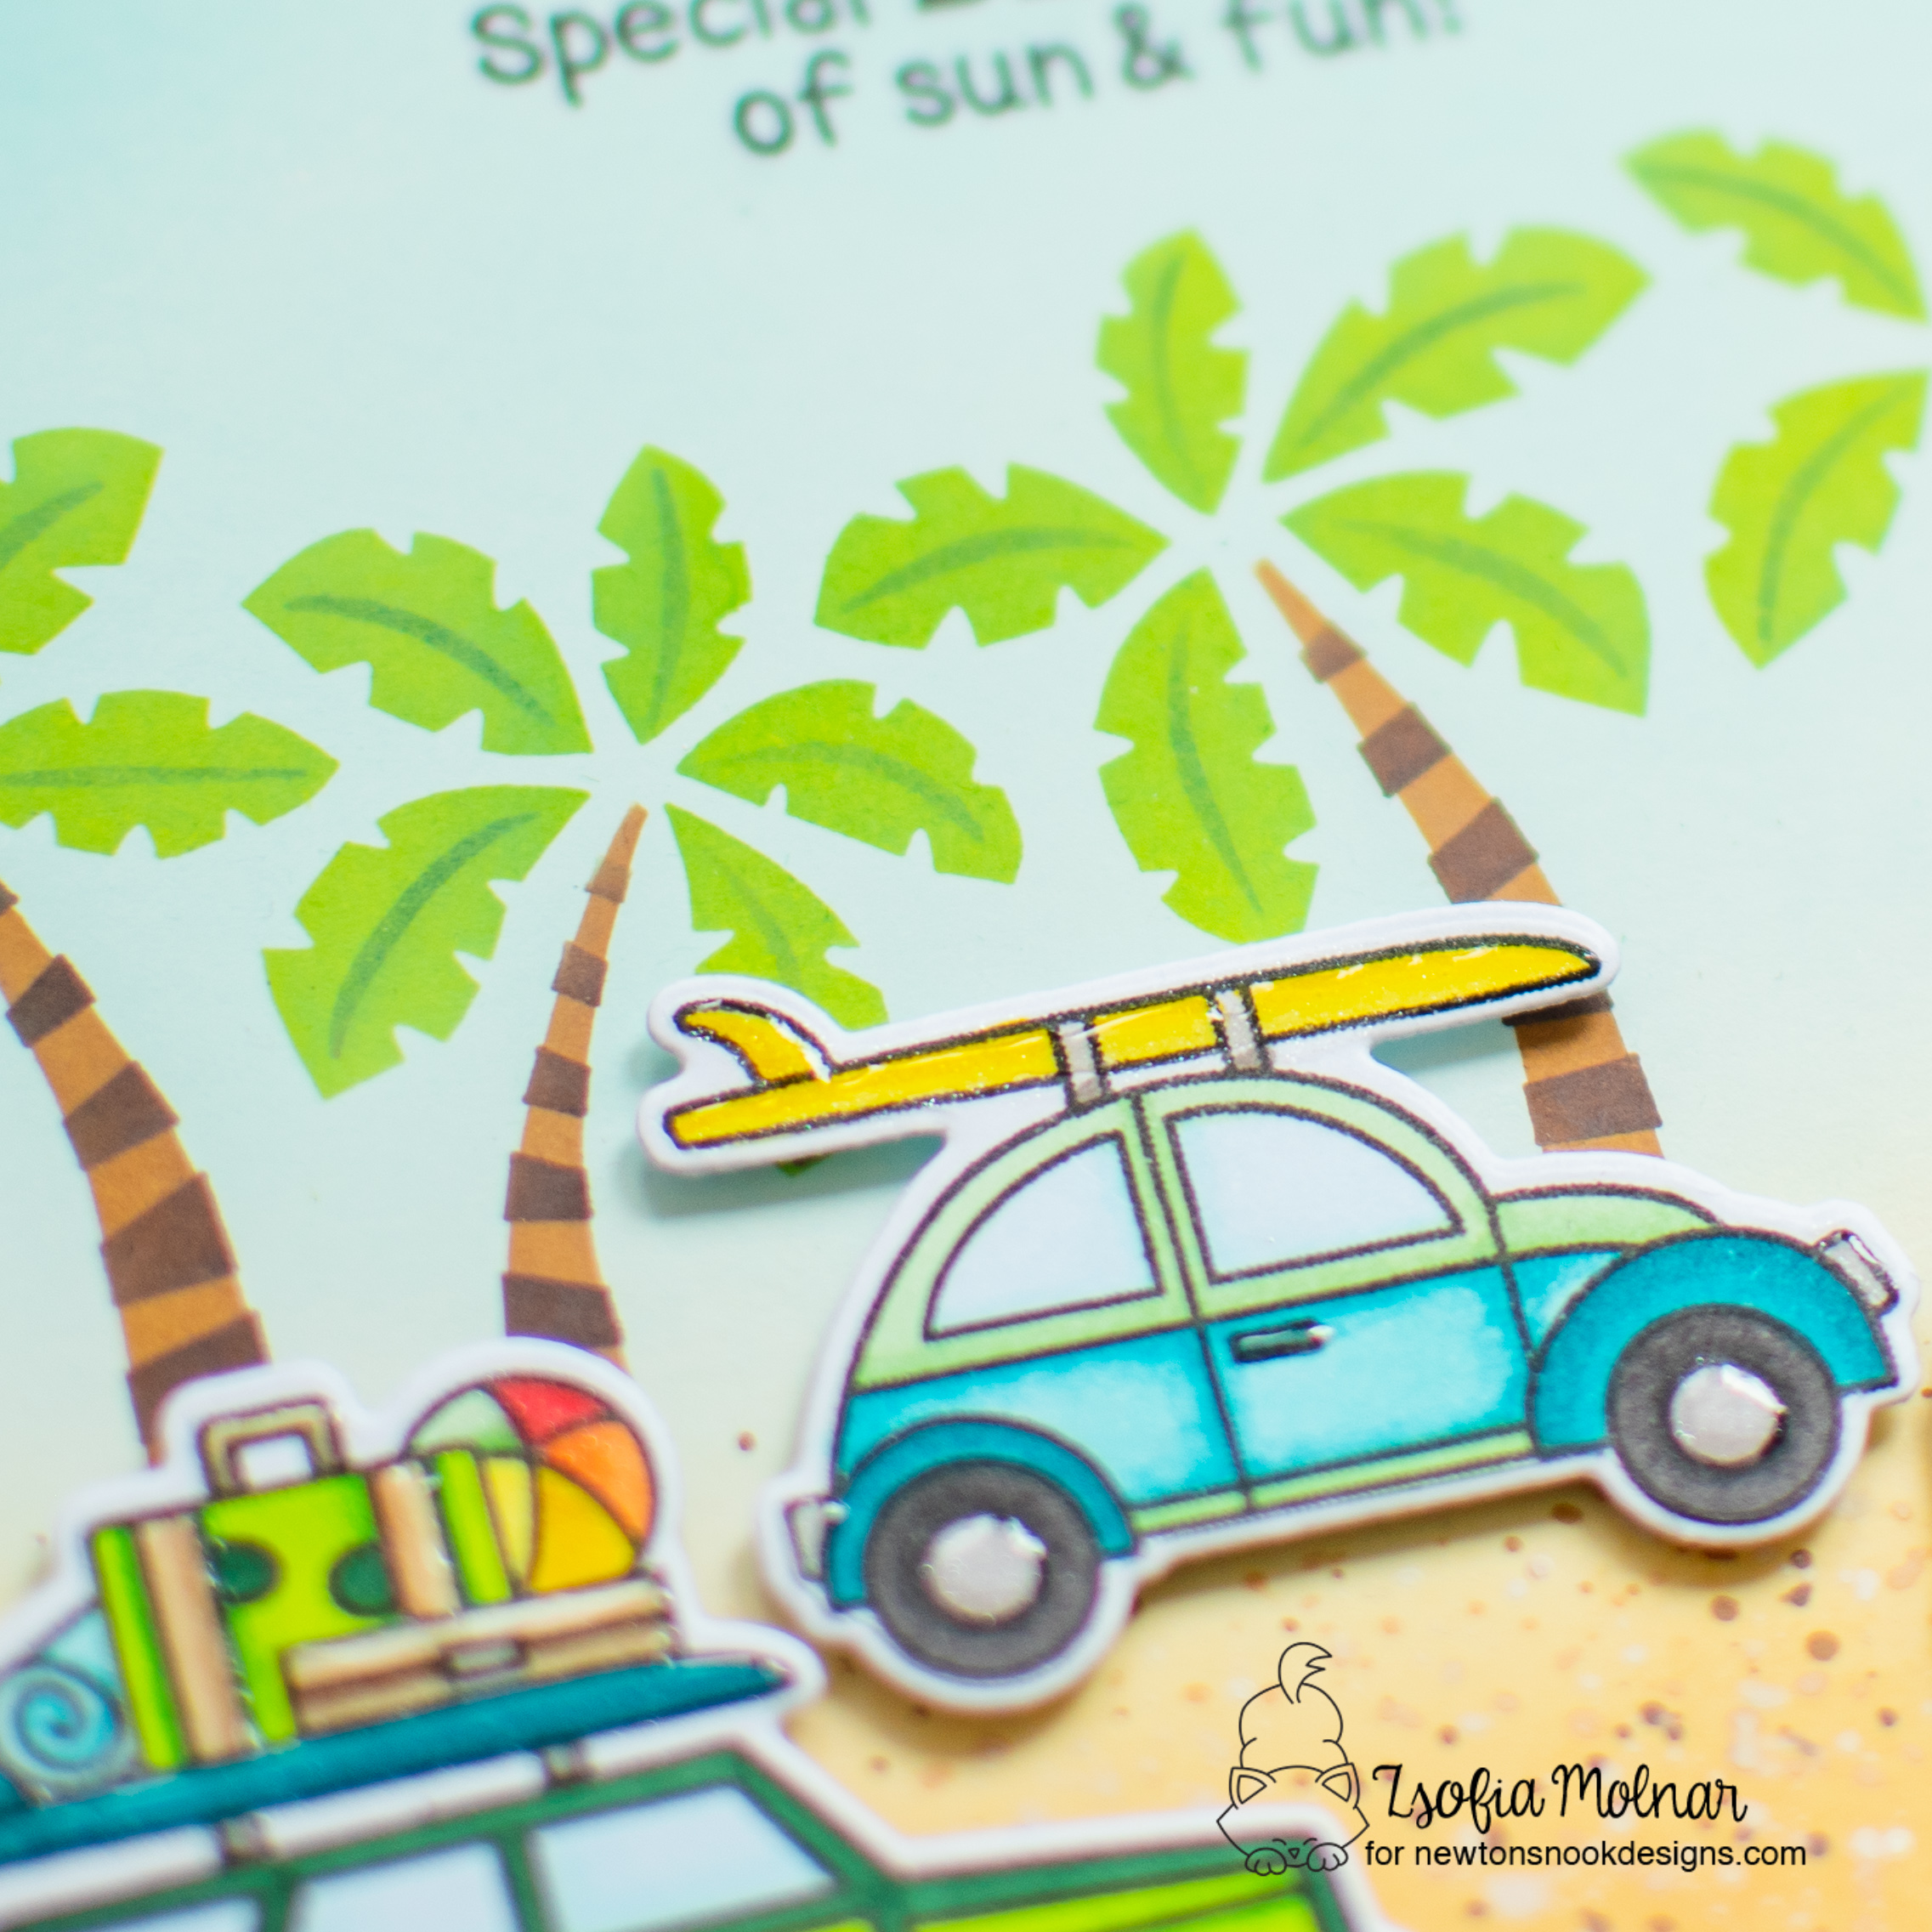
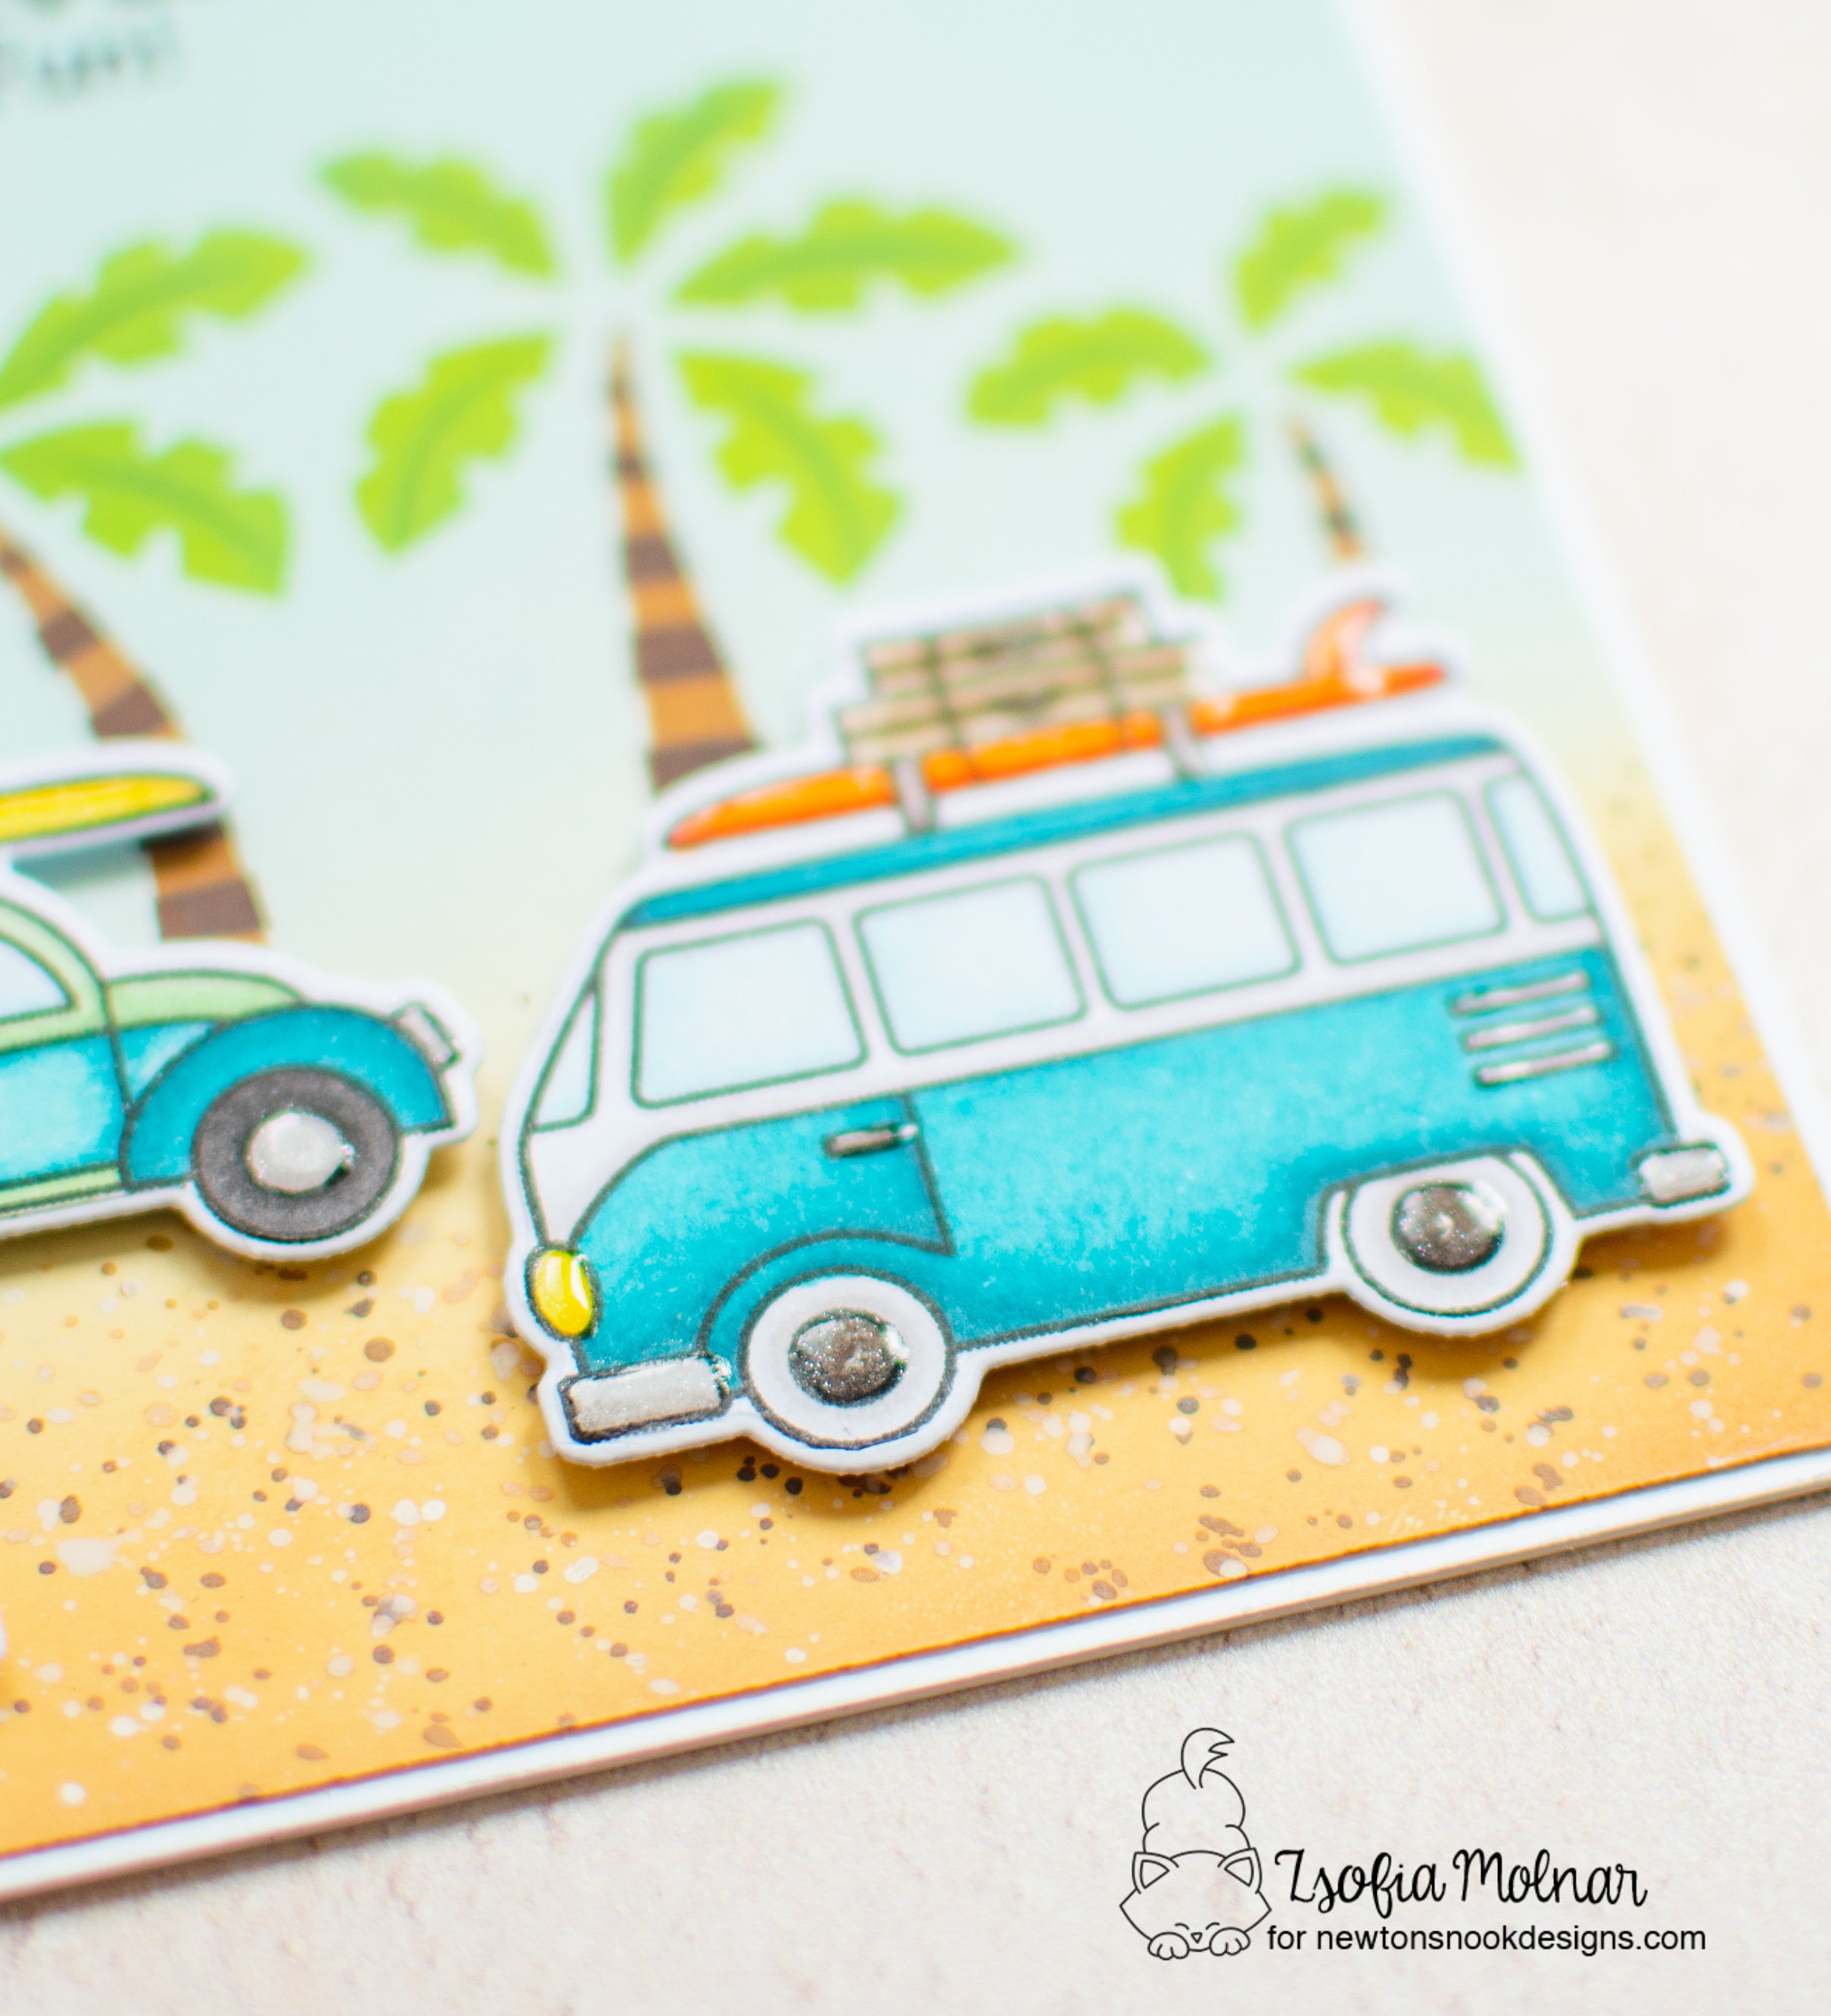
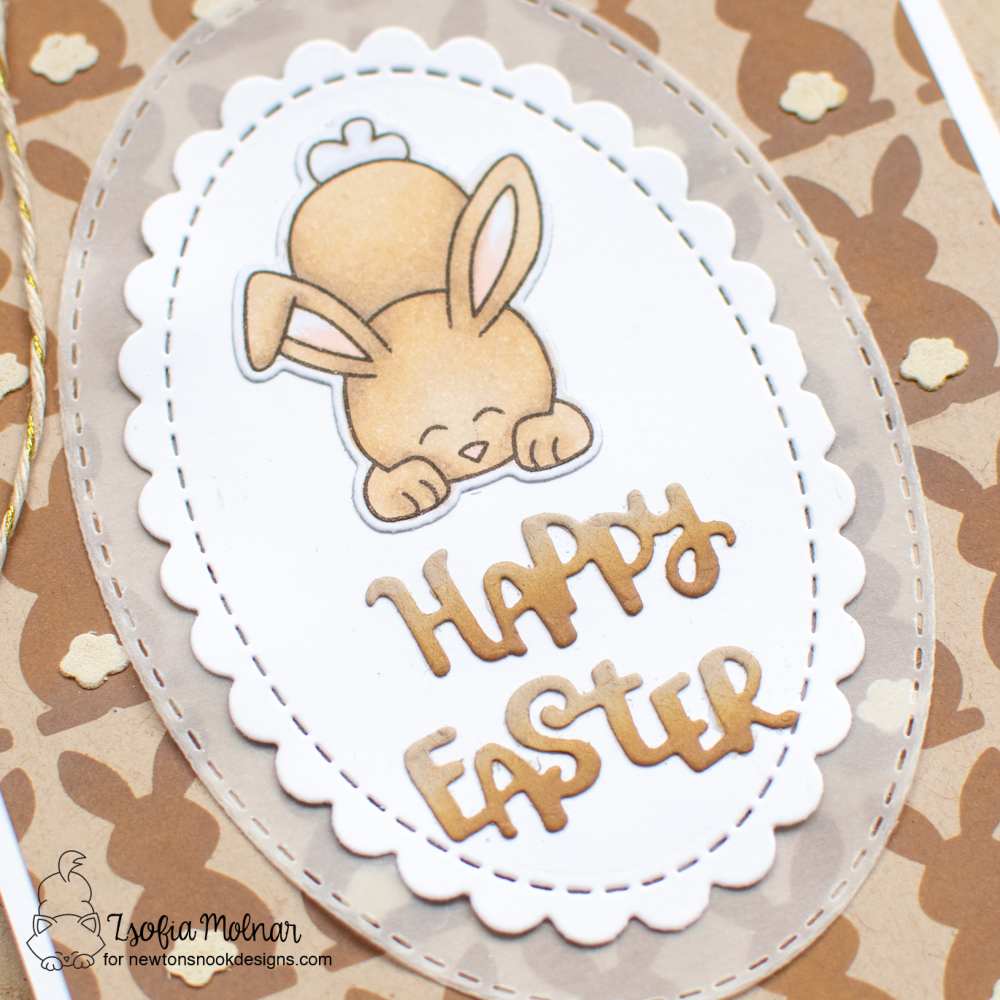
For my card I stamped and coloured the image using Spectrum Noir Illustrator markers. The colours I used are: EB5, EB3, RB2, RB1, RB05, GB4, CT4, CT2, JG6, JG4, JG2, FS7. I cut it out with the coordinating die.

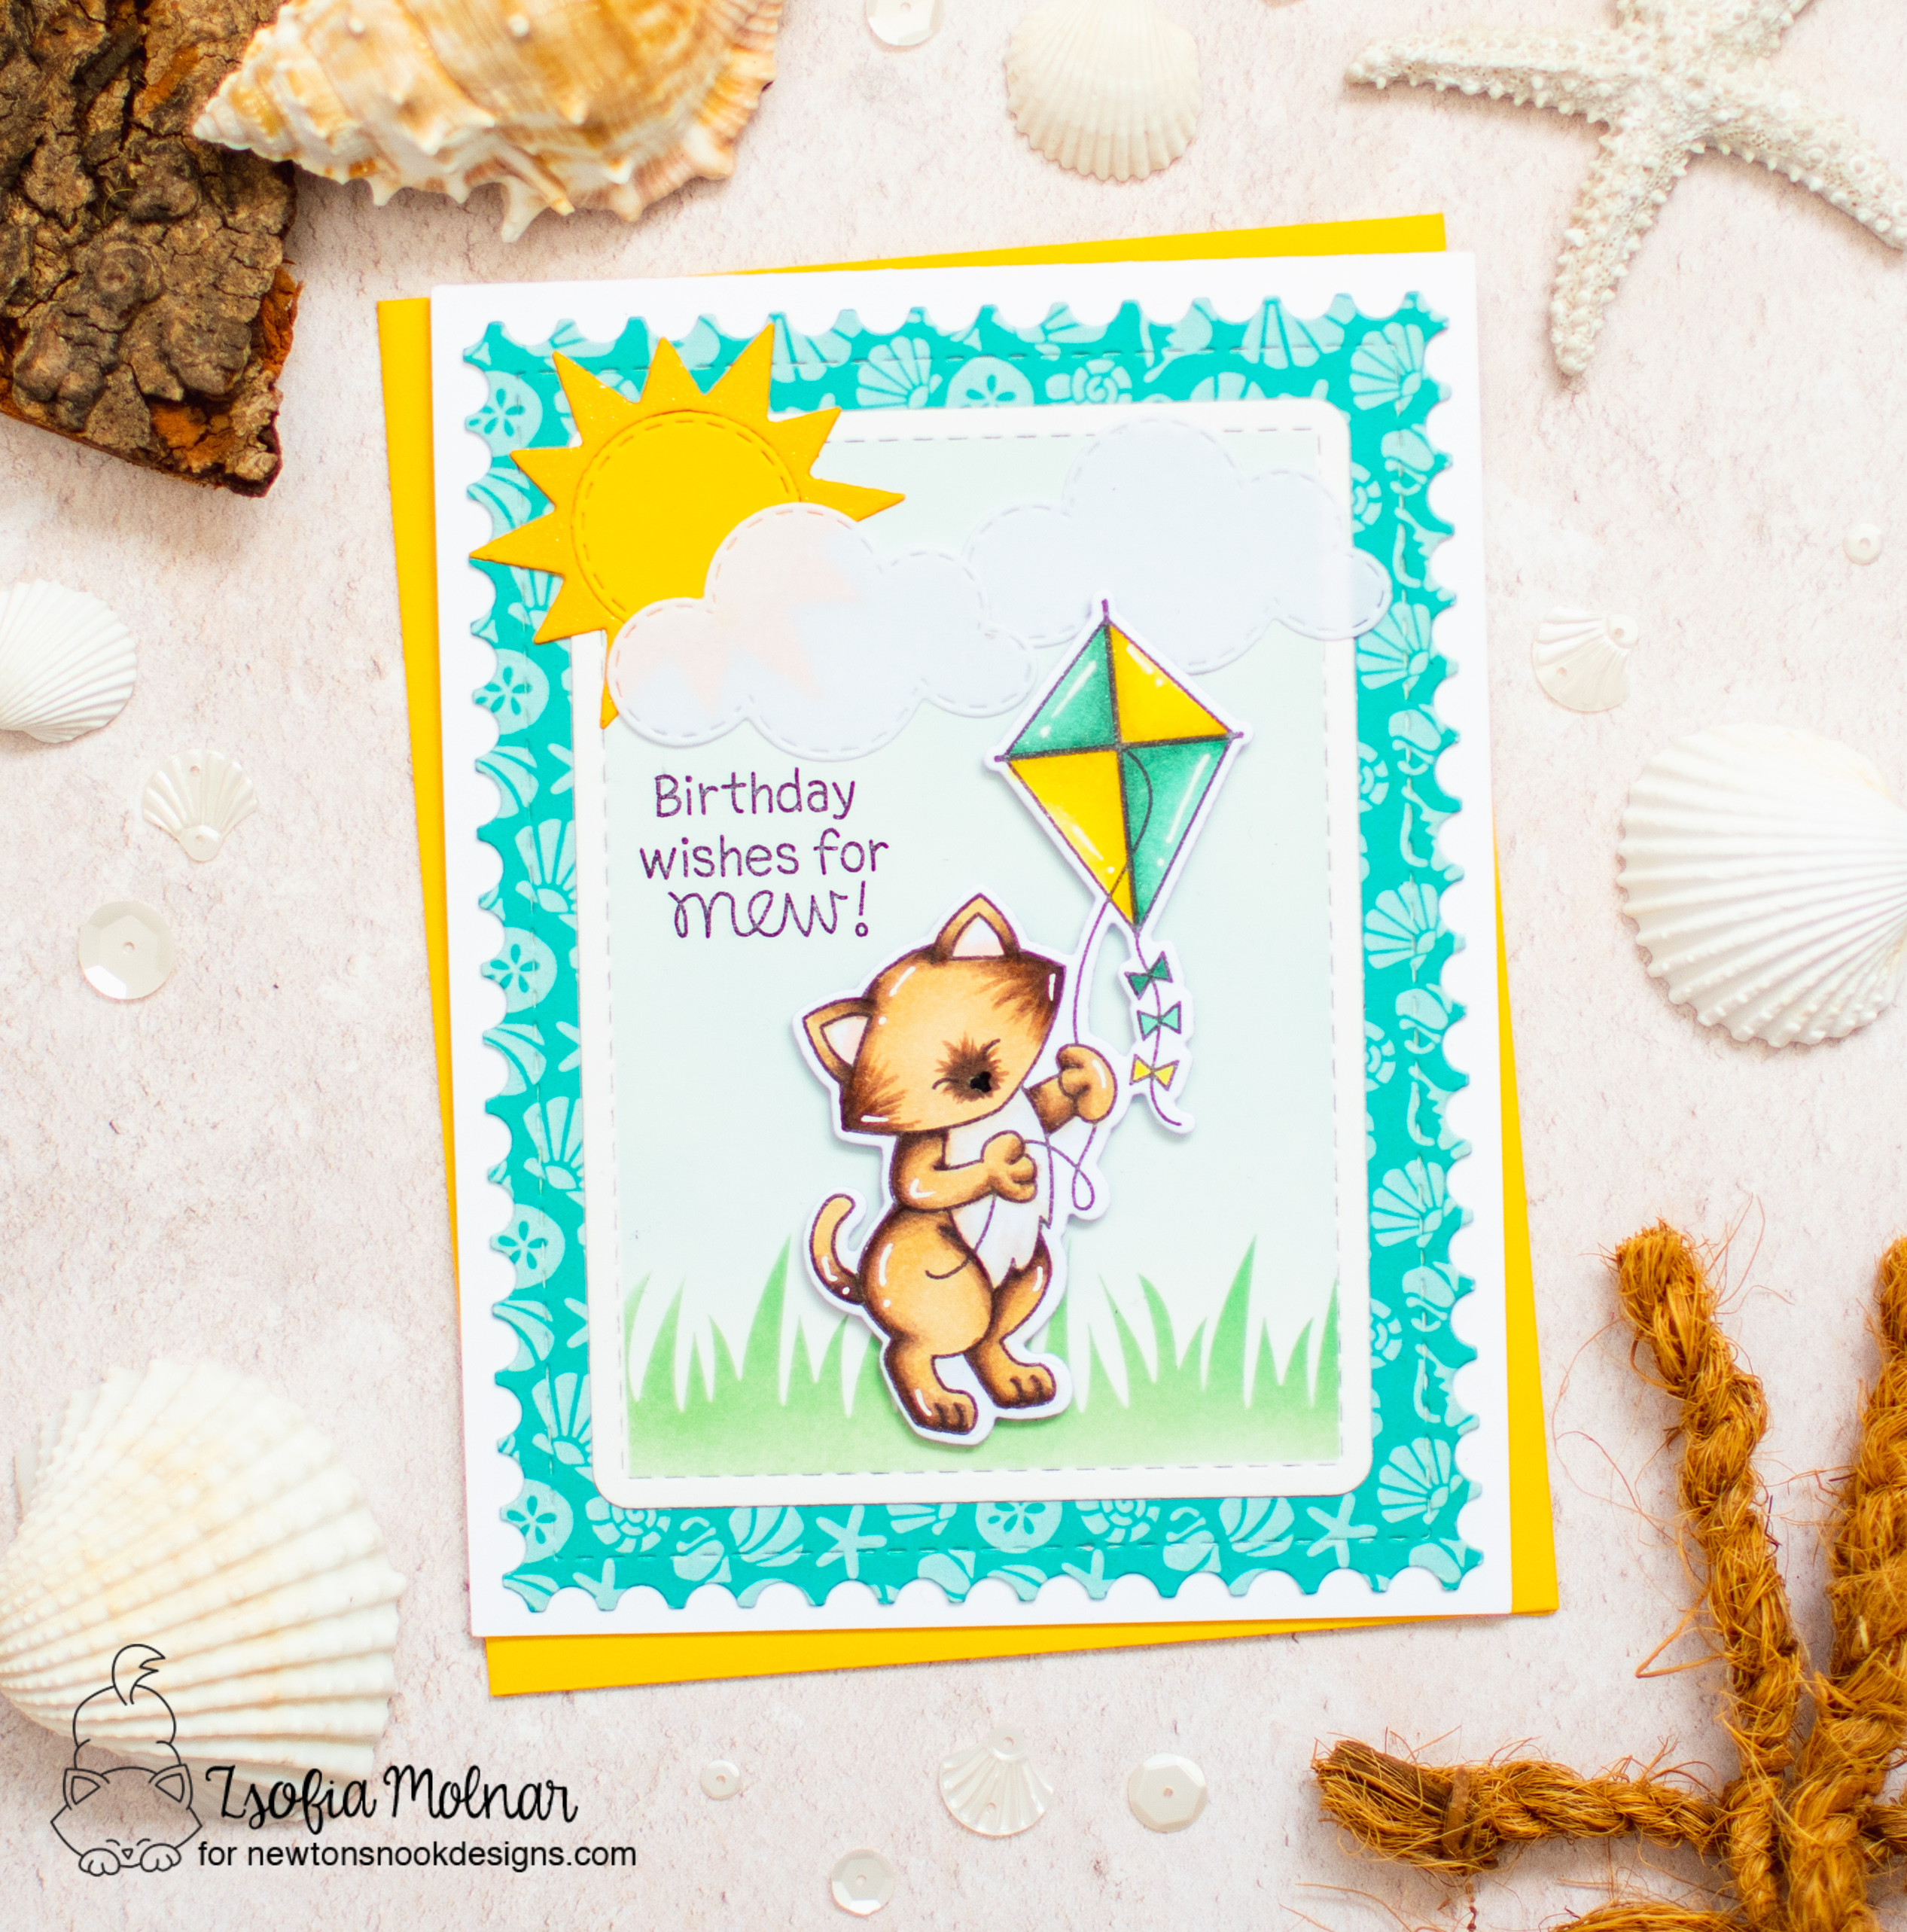
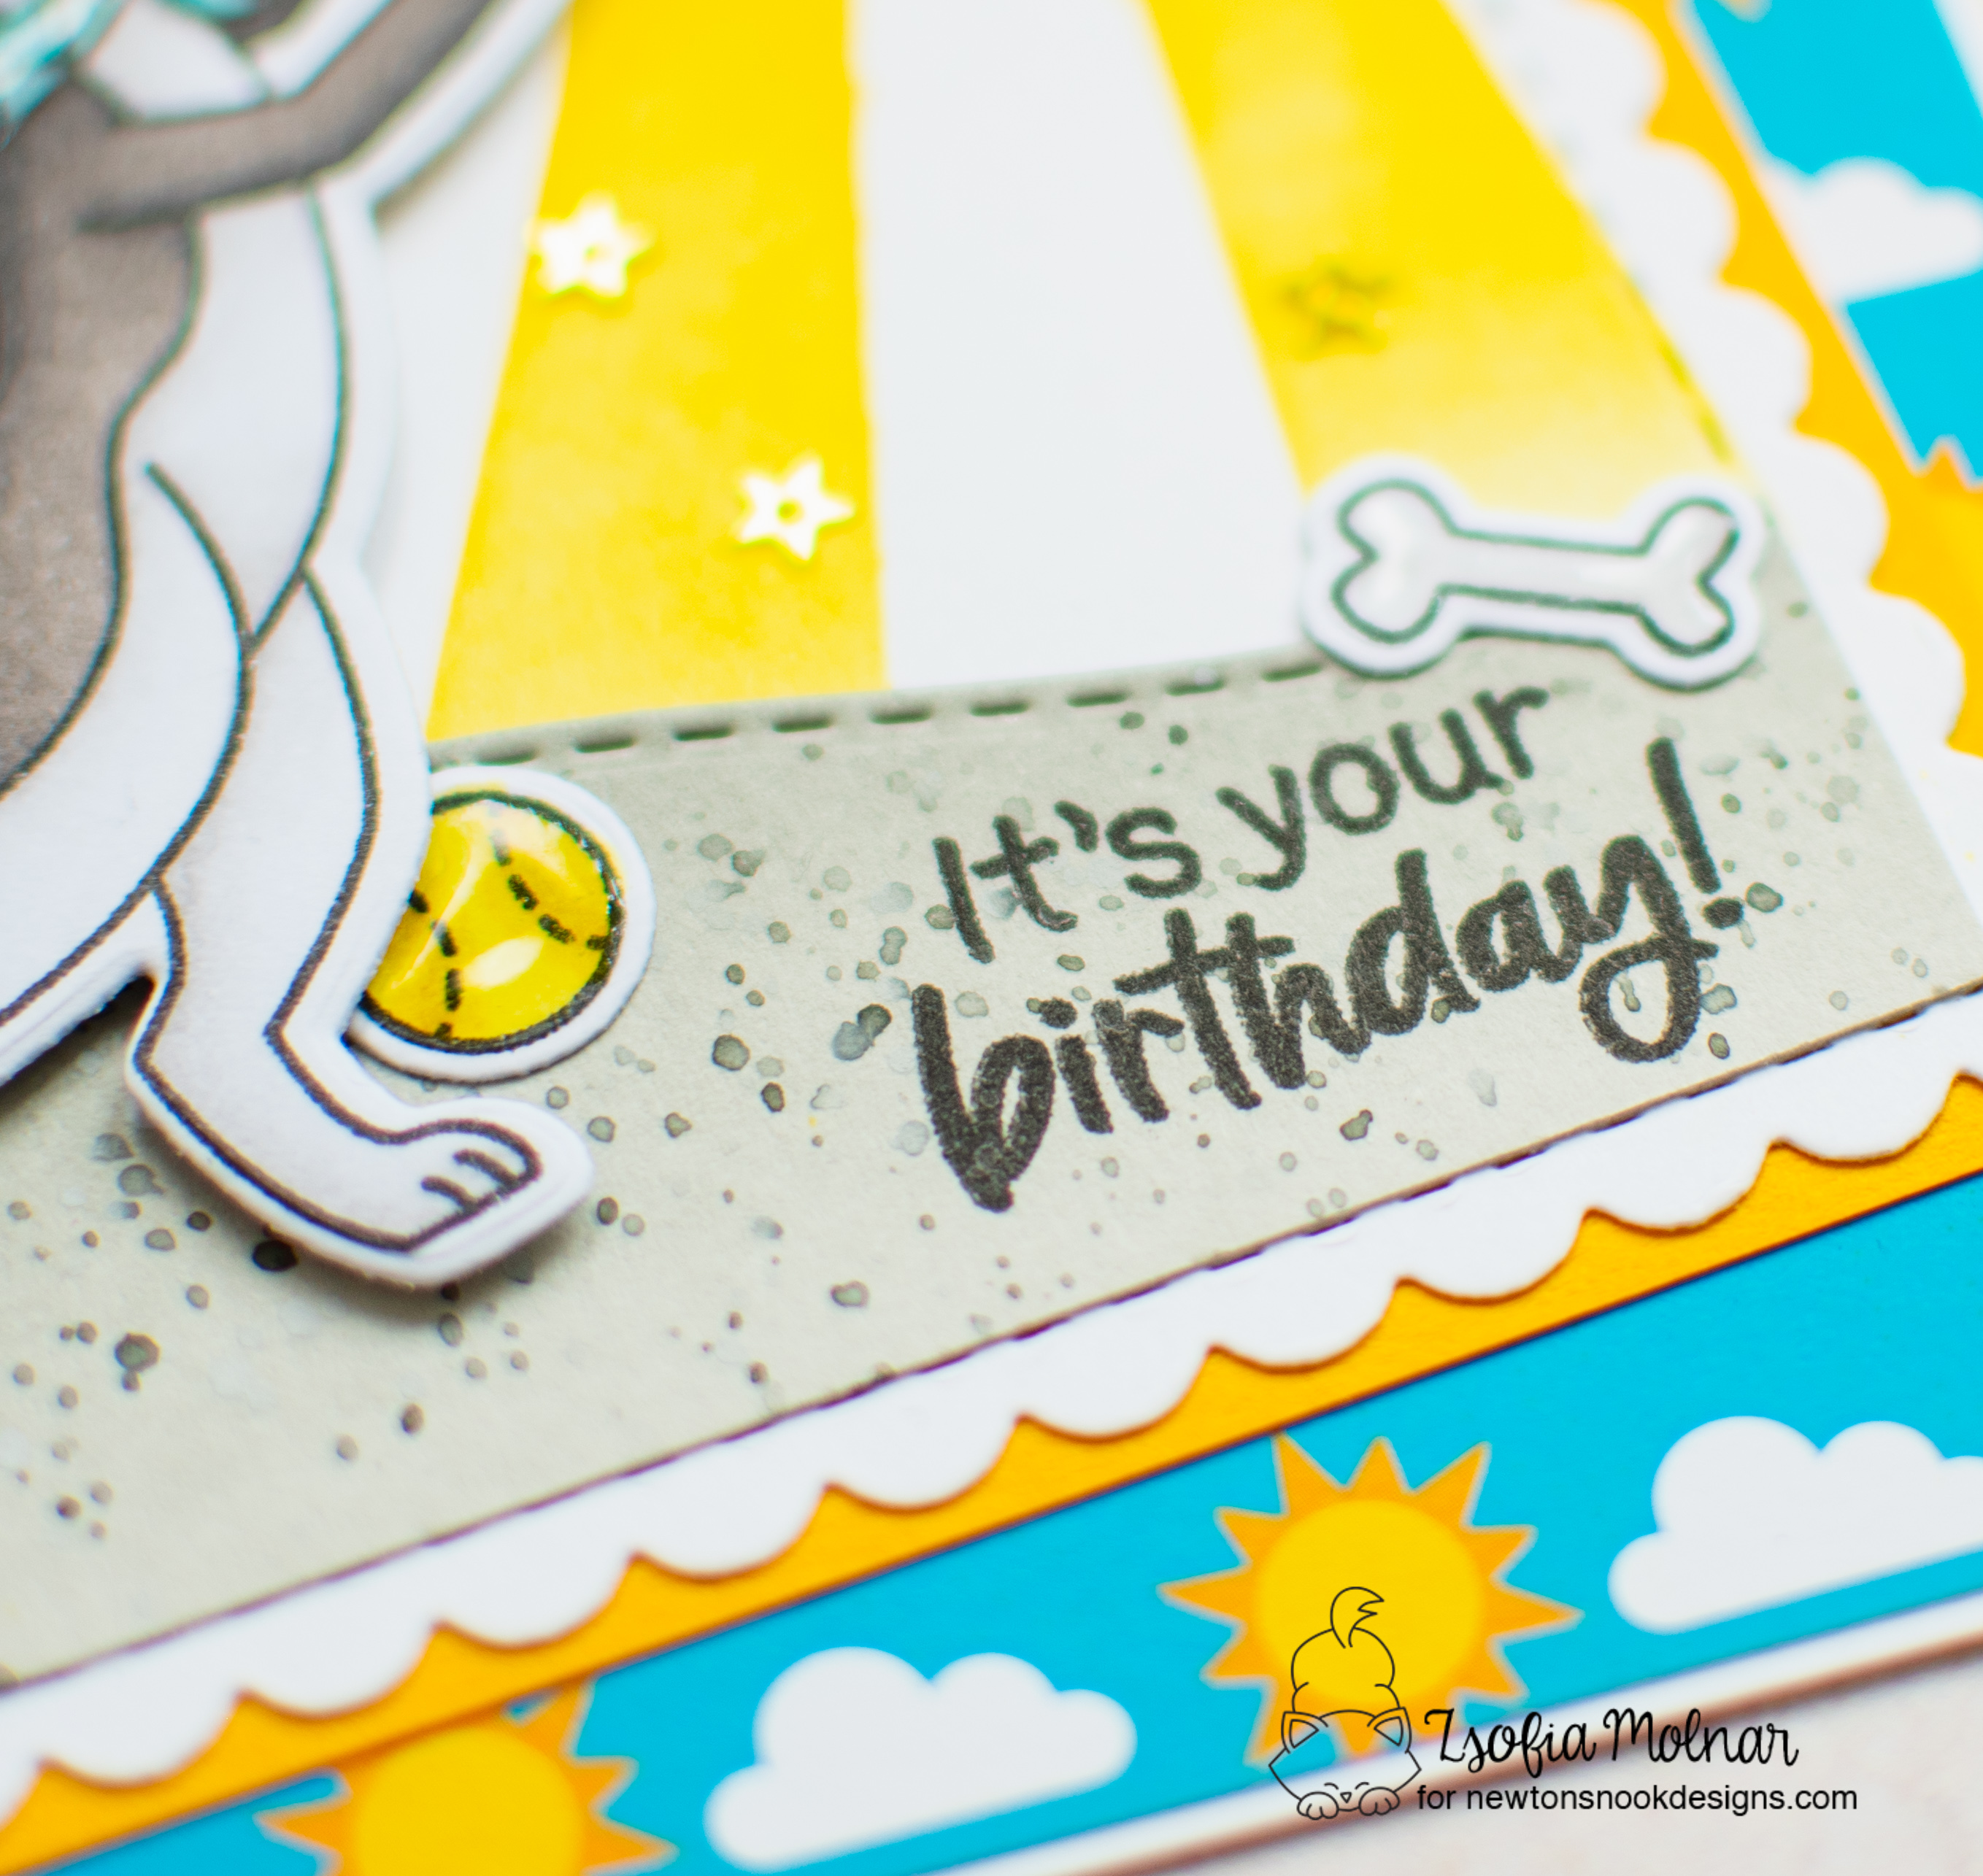
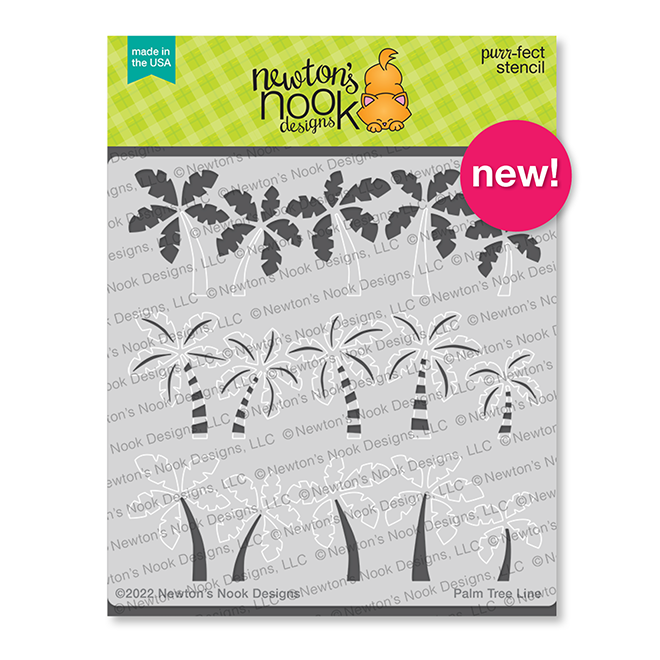
I die cut a rounded stitched rectangle from Bristol Smooth cardstock using the Frames and Flags die set. I masked off the edges with Purple tape and did a light ink blending for the sky with Tumbled Glass Distress Oxide ink. I also added grass with the Hills and Grass stencil and Mowed Lawn Distress Oxide ink.

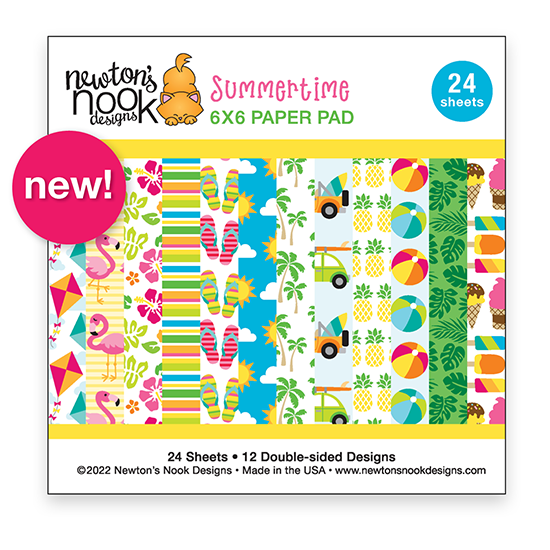
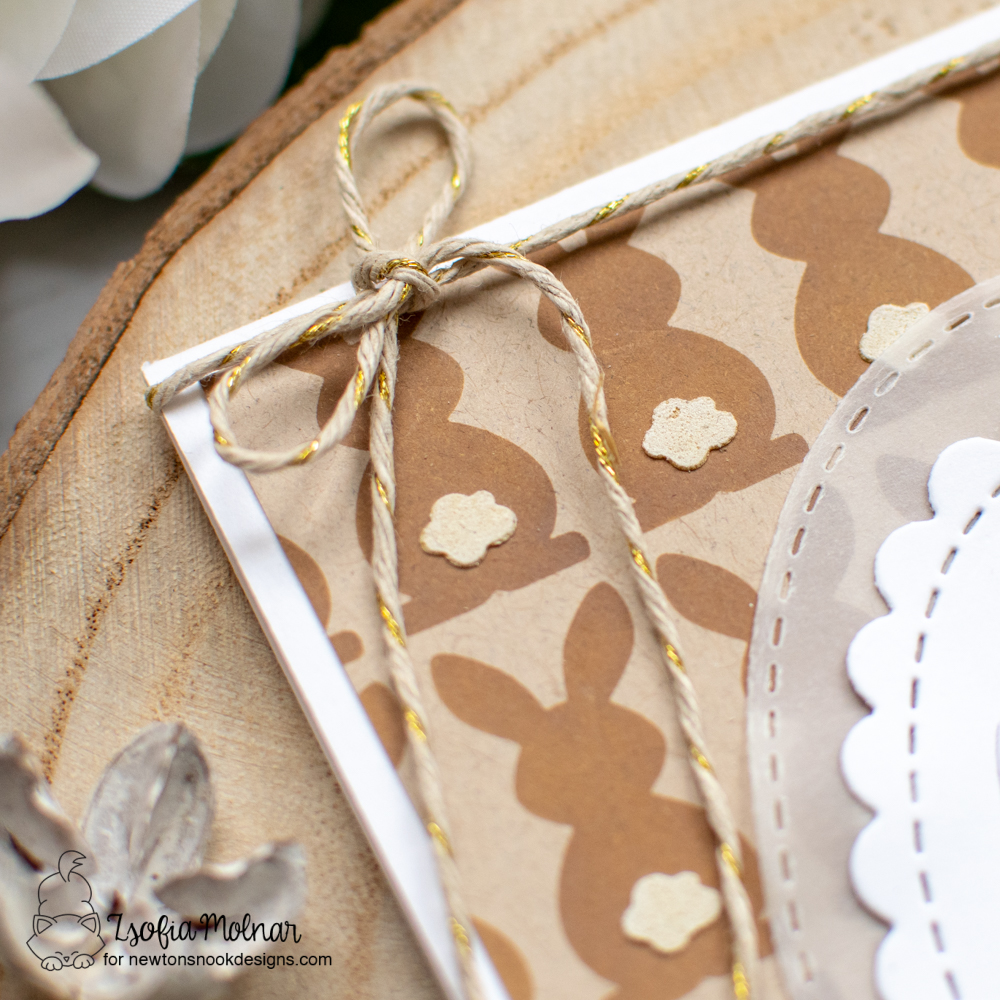
I needed a sun and clouds for my scene so I grabbed the Sky scene builder die set and die cut the elements from coloured cardstock and thick vellum. For the background I chose a pretty patterned paper from the Summertime paper pad and cut it with a Frameworks die.

After assembling the card I popped up the kitty with 3D foam squares and stamped the sentiment under the clouds.

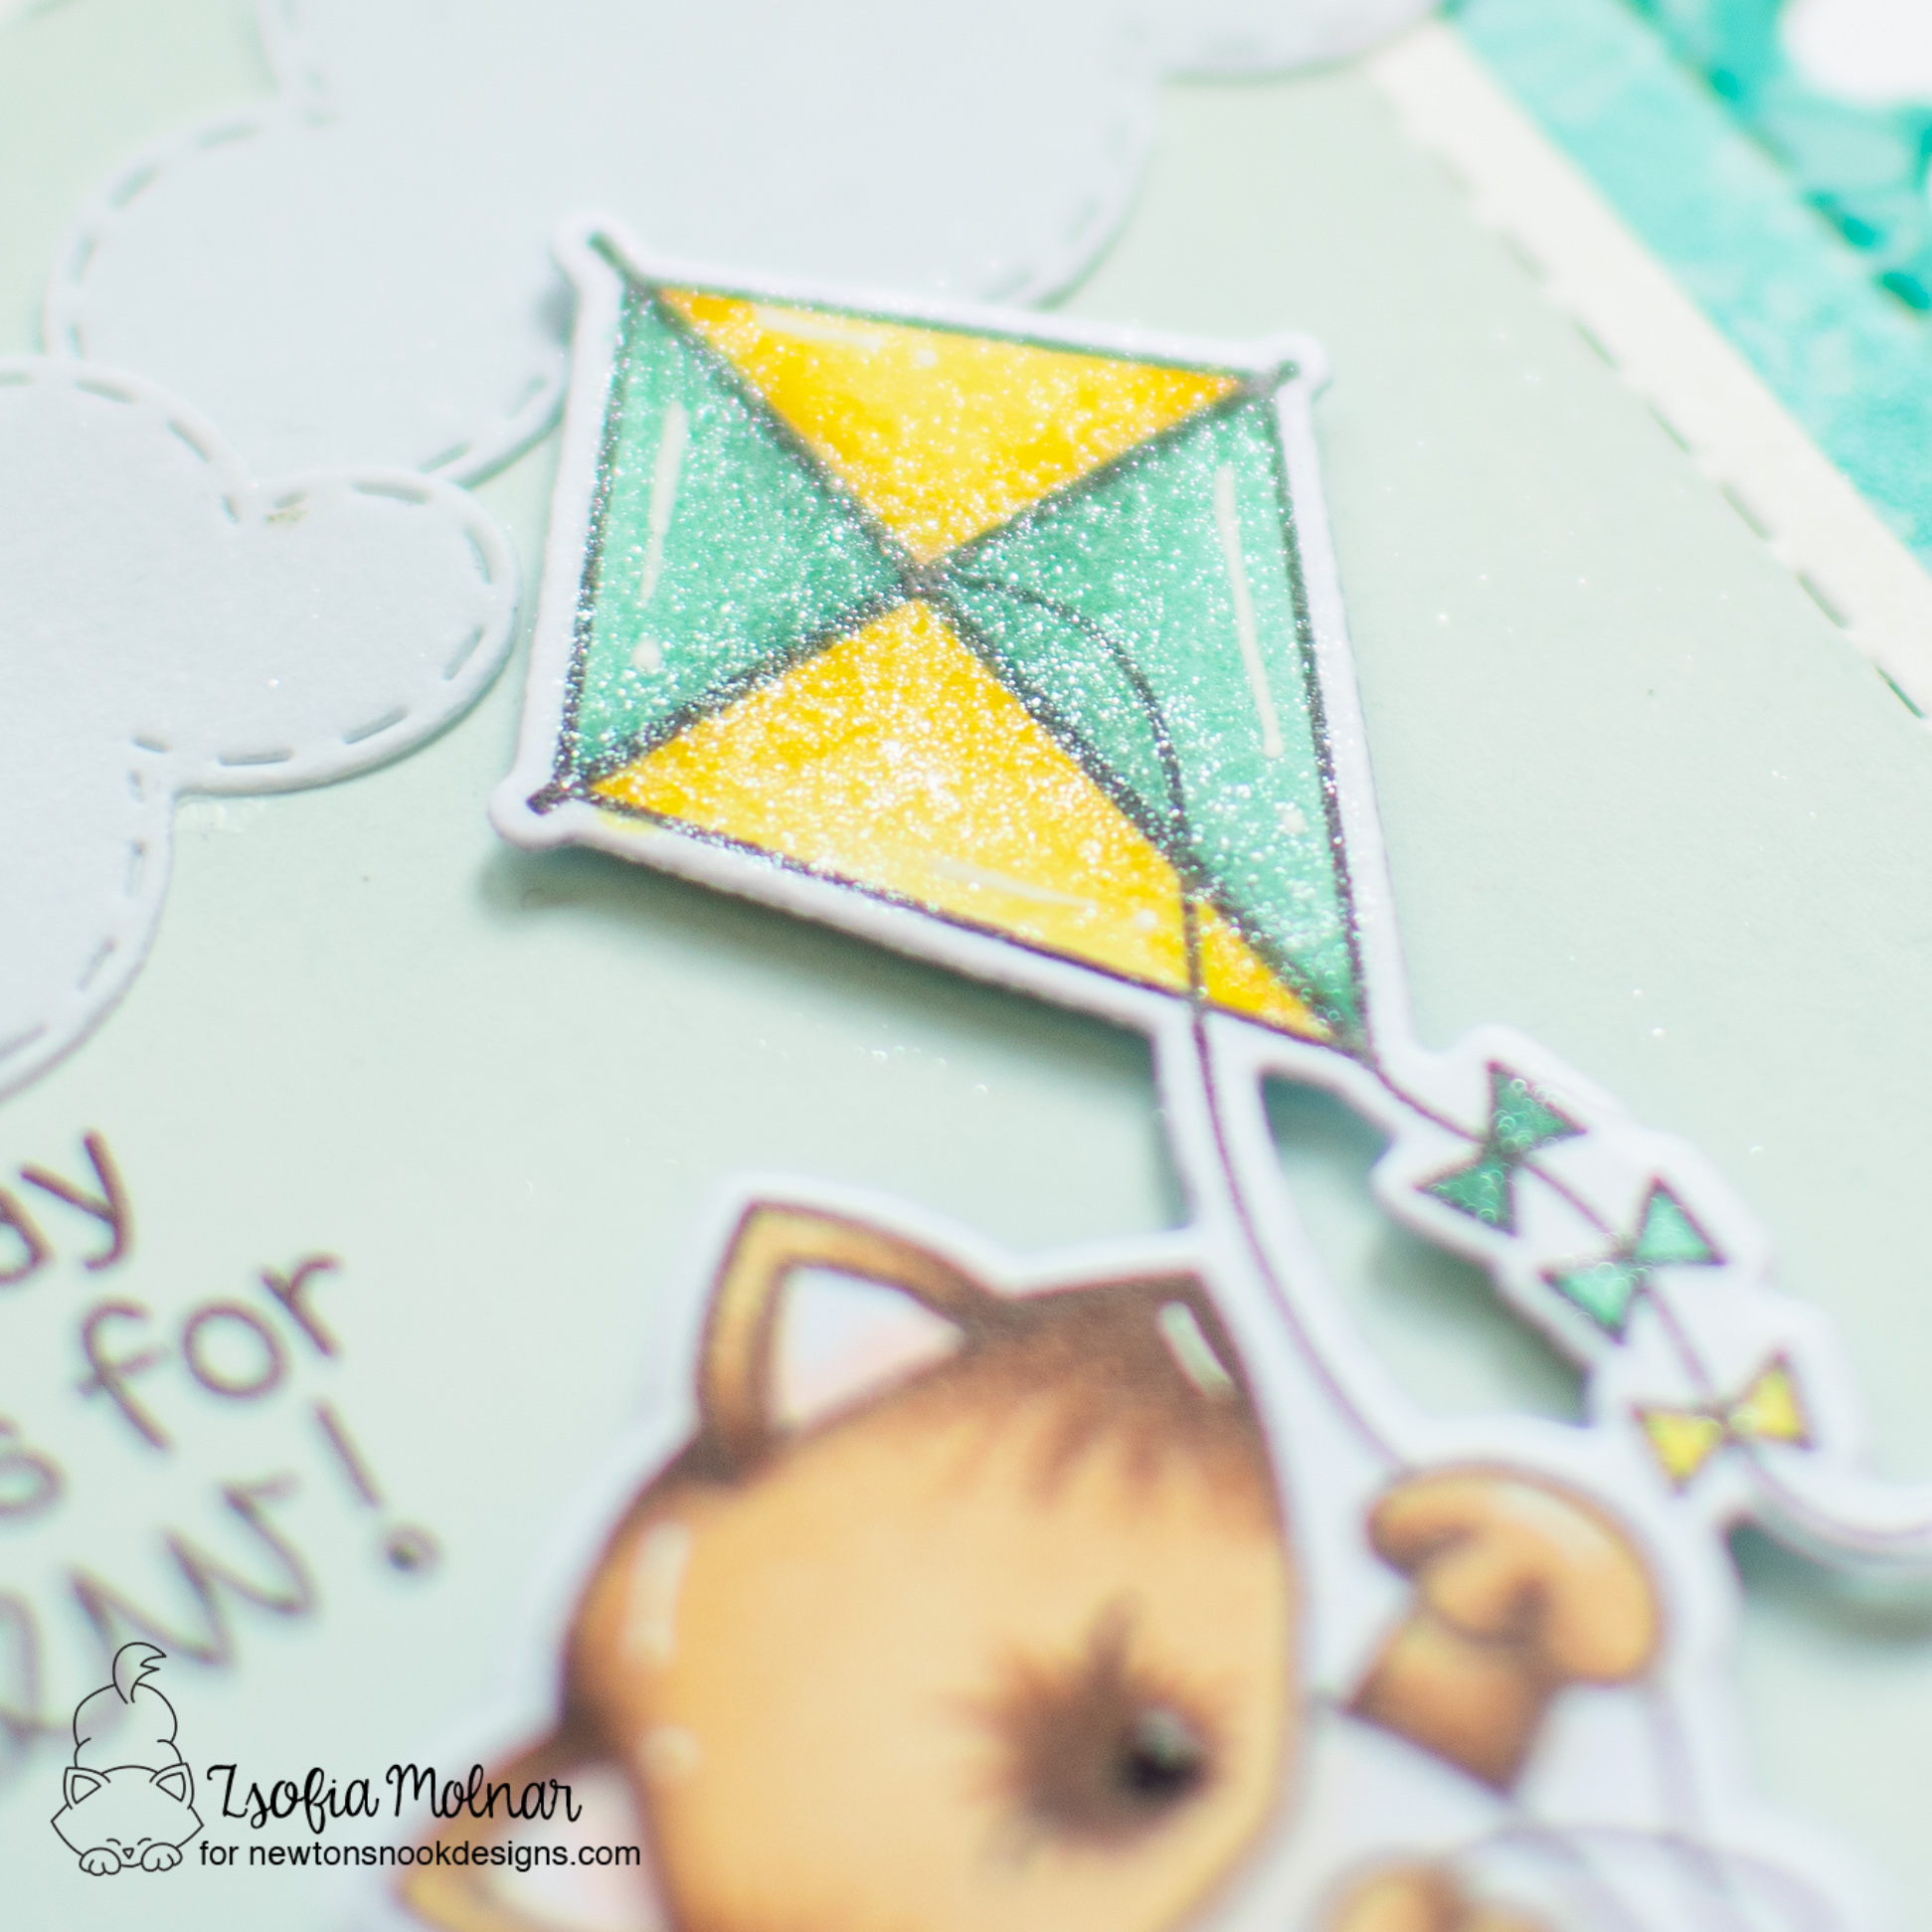
As a finishing touch I used a clear shimmer pen for the sun and kite and added some highlights with a white gel pen.

GIVEAWAY

Would you like to win the “Newton’s Kite” Stamp Set? This stamp set will be given away to ONE lucky winner! Here’s how to win: comment on the NND blog and Design Team blogs (see list below)! Thewinner will be chosen at random from the collective reveal posts. Make sure to check out each of their blogs and comment for your chance to win. You will not know which blog has been chosen so the more you comment on the better your chances are of winning! You have until Thursday June 16th at 9pm ET to comment  — winners will be announced on the blog post on Friday June 17th. 

Check out all the awesome Design Team Blogs below to enter:

Newton’s Nook Designs

Donna Idlet

Ellen Haxelmans

Tina Herbeck

Larissa Heskett

Samantha Mann

Zsofia Molnar

Maria Russell

Farhana Sarker

Tatiana Trafimovich

Amanda Wilcox

I hope you enjoyed the first day of the new release reveals and you will pop in again tomorrow for more fun!

See you,

Zsofi

Newton’s Nook Designs June Release – Day 3

Hello Everyone,

We are halfway through the summer release week at Newton’s Nook Designs! No worries, we have more cuteness for you! Today we are showcasing the super fun Dog Park stamp/die set.

All products will be available on 17/06/2022!

For my card I stamped and coloured the dog and accessories from the set using Spectrum Noir Illustrator markers: BG10, BG8, BG6, BG4, BG2, BG1, BG05, FS7, GB4, CT4, CT1, BT7, BT5, BT2. I used the coordinating dies to cut them out.

To set the scene I die cut a scalloped rectangle using the Frameworks die set, masked off the edges with Purple tape and used the Sunscape stencil with Mustard Seed Distress Oxide ink to create the background. I stamped the sentiment on the sun using black ink.

Then I die cut a little piece of grey cardstock with the Land border die, added some shading with Black Sooth Distress Oxide ink and some diluted ink splatters for a textured look. When it was dry, I stamped another sentiment on the right side of the pavement.

I assembled the scene, gave it a yellow mat and mounted it on a cheerful patterned paper from the new Summertime paper pad. I used 3D foam squares to attach the dog and the frisbee.

As a finishing touch I used little golden stars to make the sunrays shine and glossy accents on the dog’s accessories. I also emphasized the eyes and nose with a black glaze pen.

GIVEAWAY

Would you like to win the “Dog Park” Stamp Set? This stamp set will be given away to ONE lucky winner! Here’s how to win: comment on the NND blog and Design Team blogs (see list below)! The winner will be chosen at random from the collective reveal posts. Make sure to check out each of their blogs and comment for your chance to win. You will not know which blog has been chosen so the more you comment on the better your chances are of winning! You have until Thursday June 16th at 9pm ET to comment  — winners will be announced on the blog post on Friday June 17th. 

Check out all the awesome Design Team Blogs below to enter:

Newton’s Nook Designs

Donna Idlet

Ellen Haxelmans

Tina Herbeck

Larissa Heskett

Samantha Mann

Zsofia Molnar

Maria Russell

Farhana Sarker

Tatiana Trafimovich

Amanda Wilcox

I hope you enjoy the new release reveals and you will pop in again tomorrow for the last day of the fun!

See you,

Zsofi

Newton’s Nook Designs June Release – Day 2

Hello Everyone,

Welcome to Day 2 of the June Release reveals of Newton’s Nook Designs. We have a great new Oval set to feature: Flamingo Oval. It coordinates perfectly with the previously released Oval Frames die set.

All products will be available on 17/06/2022!

For my card I stamped and coloured the image with Spectrum Noir Illustrator markers: AG5, AG3, AG1, AG05, JG7, JG5, CG3, CG2, CG1, PP5, PP4, PP2, GB4, CT4, CT2, CT1, CT05, BG10, BG8. I used scissors to cut the image out and used a black Memento marker on the edges to cover up any imperfections.

I also die cut a scalloped oval with the Oval Frames die set from pink cardstock ad a green thought bubble with the Speech Bubbles die set. I stamped the sentiment on this one and popped it up with 3D foam squares in the middle of the oval.

Then I worked on the background: on a piece of Bristol Smooth cardstock I did some ink blending with Mowed Lawn and Twisted Citron Distress Oxide inks. I added a lot of diluted paint and ink splatters and let it dry completely.

I wanted to try something new, so I used the Tropical Leaves stencil over the background with Thermoweb Transfer Gel. I set it aside to dry (I left it for a day) and used Green Flock sheets with my Minc machine to add a fantastic velvety feel to the stenciled leaves. It is jaw-dropping in real life, so nice to touch!

I popped up the focal panel on it using 3D foam squares, used glossy accents on the beaks and embellished the flowers with tiny gold pearls in the center.

GIVEAWAY

Would you like to win the “Flamingo Oval” Stamp Set? This stamp set will be given away to ONE lucky winner! Here’s how to win: comment on the NND blog and Design Team blogs (see list below)! Thewinner will be chosen at random from the collective reveal posts. Make sure to check out each of their blogs and comment for your chance to win. You will not know which blog has been chosen so the more you comment on the better your chances are of winning! You have until Thursday June 16th at 9pm ET to comment  — winners will be announced on the blog post on Friday June 17th. 

Check out all the awesome Design Team Blogs below to enter:

Newton’s Nook Designs

Donna Idlet

Ellen Haxelmans

Tina Herbeck

Larissa Heskett

Samantha Mann

Zsofia Molnar

Maria Russell

Farhana Sarker

Tatiana Trafimovich

Amanda Wilcox

I hope you enjoyed the second day of the new release reveals and you will pop in again tomorrow for more fun!

See you,

Zsofi

Newton’s Nook Designs June Release – Day 1

Hello Everyone,

I am thrilled to announce the summer release week at Newton’s Nook Designs! The June release is ful of adorable and very summery sets, today we are showcasing the super cool Beach Bound stamp/die set along with the Palm Tree stencil and a new paperpad!

All products will be available on 17/06/2022!

For my card I stamped and coloured the cars using Spectrum Noir Illustrator markers. The list of colours I used: BT9, BT7, BT5, BT2, BT1, BT05, LG3, LG1, LG05, CT4, CT2, GB4, BG10, BG8, BG3, BG1, LG5, AG5, AG3, AG05, OR3, OR1, OR05, RB2, RB1. Then I die cut everything with the coordinating dies.

Next step was to make the background: on a piece of Bristol Smooth cardstock I created the raw of Palm trees with the new layering stencil. I used Distress Oxide inks: Gathered Twigs, Ground Espresso, Mowed Lawn and Rustic Wilderness.

On the bottom of the panel I blended a bit of Scattered Straw for the sand, and on the top Tumbled Glass for the sky. I covered the upper part of the panel with a typing paper and added diluted brown ink and white gouache splatters to look like sand.

I popped up the cars with 3D foam squares and stamped a sentiment on the sky.

As a finishing touch I used a clear shimmer pen and glossy accents to emphasize some details on the cars.

GIVEAWAY

Would you like to win the “Beach Bound” Stamp Set? This stamp set will be given away to ONE lucky winner! Here’s how to win: comment on the NND blog and Design Team blogs (see list below)! Thewinner will be chosen at random from the collective reveal posts. Make sure to check out each of their blogs and comment for your chance to win. You will not know which blog has been chosen so the more you comment on the better your chances are of winning! You have until Thursday June 16th at 9pm ET to comment  — winners will be announced on the blog post on Friday June 17th. 

Check out all the awesome Design Team Blogs below to enter:

Newton’s Nook Designs

Donna Idlet

Ellen Haxelmans

Tina Herbeck

Larissa Heskett

Samantha Mann

Zsofia Molnar

Maria Russell

Farhana Sarker

Tatiana Trafimovich

Amanda Wilcox

I hope you enjoyed the first day of the new release reveals and you will pop in again tomorrow for more fun!

See you,

Zsofi

Heffy Doodle New Release Inspiration Blog Hop

Hello Everyone,

Welcome to the Heffy Doodle New Release Inspiration Blog Hop!  We are so excited to share amazing cards from 8 Design Team members using the new release!  For today’s special Blog Hop, you can win a £50 voucher to the Heffy Doodle store!

For my card I used a couple of stamps and dies from the new release and also some oldie but goodie products. Let me guide you through the process. First I stamped the images from the Udderly Fabulous stamp set and coloured them with my Spectrum NOir Illustrator markers. The full list of colours i used: BG9, BG7, BG5, BG3, BG1, GB4, CT2, FS7, FS6, MG3, MG1. Then I cut them out with their coordinating dies.

On a piece of white cardstock I used the Stoney Maloney stencil with Black Soot Distress Oxide ink, then die cut the word Thanks from the new Slimline Scalloped Peekaboo die set. I also cut another 3 layers from white cardstock and one from black. I layered them on top of each other, making sure to adhere the black layer a bit offset so it looks like shadow. Then I used a black glaze pen and went over the stenciled pattern. It looks so cool and shiny!

While I was die cutting I also cut the frame 3 times from white cardstock, layered them on top of each other and cut the shadow of the Thanks die from vellum. I cut grass with the Slimline Scenery die set from Greenbean cardstock.

I chose a Lawn Fawn patterned paper for the background, it measures 3,5*8,5 inches. I assembled the scene and popped up the cows with 3D foam squares. I also heat embossed a sentiment from the Udderly Fabulous stamp set on a thin strip of black cardstock and added it under the die cut sentiment. As a finishing touch I used a black glaze pen on the hooves and glossy accents on the horns, bell, and the little flower.

GIVEAWAY

To be entered to win the giveaway, all you need to do is comment at each stop along the Blog Hop before May 4th, 2022 at 11:59 PM EST.  The winner will be announced on the Heffy Doodle Blog on May 5th at 10:00 AM EST!

Heffy Doodle Blog
Claudia Mauri
Amanda Fitterer
Tatiana Trafimovich
Lauren Taylor
Zsofia Molnar – you are here
Ali Farmer
Amanda Stevens
Carrie Rhoades

Thanks so much for spending time with me today and I hope you liked my inspiration. Make sure to follow me on Instagram too, where I share some extra crafty tips for each of my cards.

See you soon,

Zsofi

Happy Easter – Newton’s Nook Designs

Hello Everyone,

After a little break I am back with a cute monochrome Easter card for Newton’s Nook Designs.

This time I started with the background: on kraft cardstock I used the Bunny Tails layering stencil. For the first layer I chose Gathered Twigs Distress Oxide ink and for the tails I applied White Textured Paste. I set it aside to dry.

Meanwhile I stamped and coloured a cute bunny from the Bitty Bunnies stamp set. I used Spectrum Noir Illustrator markers: MB4, MB3, MB2, MB1, MB05, FS7, BG1. Then I cut it out with the coordinating die.

While I was die cutting I also cut the sentiment from the Spring Pile Up die set from kraft cardstock and shaded it with a bit of Gathered Twigs Distress Oxide ink. I also cut a white scalloped oval and a bit bigger stitched oval from vellum using the Oval Frames die set.

After assembling the card, I embellished it with a bit of natural twine. It is such an easy design that I could easily imagine it in other colours too. Perfectly simple enough for mass production too.

I wish you like my card inspiration today and you will come back for more soon.

See you,

Zsofi

Hello baby – Heffy Doodle

Hello Everyone,

Welcome to another edition of my Perfect Combos series for Heffy Doodle, this time a new baby card. I used a couple of stamps, dies and stencils to create this cutie, let me guide you through the process.

First I stamped and coloured the images from the Absotoothly Awesome and Mewniverse stamp sets using my Spectrum Noir Illustrator markers. The colours I used are the following: FS4, FS7, FS8, BP6, BP4, BP2, BP1, BP05, BG1, GB7, GB5, GB2, GB1. Then I die cut them all with their coordinating dies.

For the background I took a piece of Oyster Shell cardstock and cut it out with an Imperial Stitched Rectangle die. Then I used the Head in the Clouds stencil with Kitch Flamingo Distress Oxide ink first. I made sure not to add clouds to the bottom part of the panel. Then I shifted the stencil and ink blended it with Picked Raspberry Distress Oxide ink. I made sure the first two layers were dry before adding a third layer of clouds, this time I used white texture paste.

While the clouds were drying, I white heat embossed a sentiment on a thin strip of black cardstock from the Special Day Sentiment duos.

I also cut grass with the Grassy Lass border die set and a pink blanket using a small Stitched Circle die. I assembled the scene using 3D foam squares to pop up the images.

I chose a pink checked patterned paper (Doodlebug Designs) for the background and added a shiny silver mat to the focal panel before adhering it to the card base. As a finishing touch I added Clear Star Sequins as falling blessing from the fairies and used a clear shimmer pen on their wings.

I wish you enjoyed my card today and share with us in our Facebook group if I inspired you. Follow me on Instagram if you like my cards, your support means so much to me! Thank you!

See you soon,

Zsofi

Newton’s Nook Designs January Release – Day 4

Hello Everyone,

It is the last day of the January Release reveals at Newton’s Nook Designs but there is something supercute to showcase today: Love Bots. It is a sweet new stamp set which comes with coordinating dies.

All new products will be available on 21/01/2022.

For my card I stamped and coloured the images in rainbow colours. I used Copic markers this time. I cut them all out with the coordinating dies.

For the background I used a 3,5*8,5 inches white cardstock panel and blended some Distress Oxide ink on it: Kitch Flamingo, Spiced Marmelade, Squeezed Lemonade, Twisted Citron and Salvaged Patina. I used blending brushes, they make ink blending so smooth and easy. Then I used the new Petite Hearts stencil and used the same colours (I used Mustard Seed for the yellow and Mowed Lawn for the green) to add a tone-on-tone pattern. As this stencil is 6 inches long, I simply shifted it to cover the rest of the panel. Thanks to the pattern the transition is not visible.

After removing the stencil I added some water droplets and dried them after 20 seconds with a paper towel. Then I used the Slimline Frames and Porthole die set to cut it out.

I adhered it to a slimline cardbase (3,5*8,5 inches) and popped up the robots with 3D foam squares. Then I stamped sentimens in black above them.

As a finishing touch I emphasized some details with glossy accents and a clear shimmer pen.

GIVEAWAY

Would you like to win the “Love Bots” Stamp Set? This stamp set will be given away to ONE lucky winner! Here’s how to win: Comment on the NND blog and Design Team blogs (see list below)! Thewinner will be chosen at random from the collective reveal posts. Make sure to check out each of their blogs and comment for your chance to win. You will not know which blog has been chosen so the more you comment on the better your chances are of winning! You have until Thursday January 20th at 9pm ET to comment  — winners will be announced on the blog post on Friday, January 21st. 

Check out all the awesome Design Team Blogs below to enter:

Newton’s Nook Designs

Donna Idlet

Ellen Haxelmans

Tina Herbeck

Larissa Heskett

Samantha Mann

Zsofia Molnar – you are here

Maria Russell

Farhana Sarker

Tatiana Trafimovich

Amanda Wilcox

I hope you enjoyed all the inspiration today and throughout the week. Now it is time to get your shopping list ready. Happy shopping!

See you soon,

Zsofi

Snow much fun – Heffy Doodle

Hello Everyone,

It is my first card this year for my Perfect Combos series for Heffy Doodle, and as it is getting super chilly here in Budapest (-10 °C is in the forecast, brrr for me), I allowed my favourite little mice to have some snow-fun. I mixed and matched a few stamps and dies to create this happy scenecard, let me guide you through the process.

First I stamped and coloured the images from Wanna build a snowman and Hello Squeakhearts. I used Copic makers this time and cut everything out with their coordinating dies. I love that the dies for the mice cut under the arms of the critters, so it is easy to add something to their paws.

For the background I took a Stitched rectangle die and cut it from white glitter cardstock and also from Ice Blast cardstock. I did some simple ink blending with Salty Ocean Distress Oxide ink on the top of the blue panel and added some white acrylic paint splatters. I made sure it was dry before I added some Gina K White Glitz Glitter Gel from Thermoweb through the First Snow stencil. It is very subtle but beautiful! Sparkly like real snow!

I used the Stitched Slopey Joes dies to cut the snowbanks from the white glitter cardstock rectangle and also cut some pine trees from Wintergreen cardstock using the Forest Builder die set. I love to add a little shading to my die cuts, so I used Pine Needles Distress Oxide ink for this.

I assembled the scene using thin 3D foam tape, added a black mat to it before adhering it all to a striped patterned paper. The sentiment I heat embossed on a thin black banner and added a blue Hello above it. When I add a die cut sentiment, I love to make it sturdy by layering 3 on top of each other. If I want to make it stand out, I use a 4th layer under it slightly offset from another colour, so it looks like shadow. Here I used simple white.

It was time for the finishing touches: black glaze pen on the eyes, buttons, noses and the pipe, glossy accents on the carrot and hat. I also added glossy accents to the Hello sentiment. A little White Blizzard Nuvo Glitter Drops on the trees added even more chill to this cute winter scene.

I hope you enjoyed my card inspiration and you got in the mood for some snow fun. I wish with the temperature drop we may have some snow too, I want to build a snowman!

See you soon,

Zsofi

Heffy Doodle and Newton’s Nook Designs Collaboration Blog Hop

Hello Everyone,

Welcome to the Heffy Doodle (HD) and Newton’s Nook Designs (NND) Collaboration Blog Hop!
Design Team members from both companies are sharing inspiration using products from both brands! I am so fortunate to be part of both Design Teams, it wasn’t easy to choose from all the great stencils, stamps and dies for today’s post. Let me show you what I created in the end.

First I stamped and coloured the images from the NND Dear Santa and Newton’s Curious Christmas sets. I used Spectrum Noir Illustrator markers: FS8, FS7, FS6, DR5, DR1, DR05, BG10, BG8, BG5, BG3, BG1, BG05, EB8, EB6, EB4, GB5, GB4, GB2, JG7, JG5, JG3, JG1. Then I used the coordinating dies to cut everything out.

Then I made a pretty brick wall background using the HD Brick by brick stencil and Candied Apple Distress Oxide ink. Before removing the stencil I added some white and black ink splatters for a textured look.

I wanted a window so the naughty kitty could peek on Santa. I used the HD Skinny Imperial Rectangle Frames dies to create it from white cardstock, it was so fun to find an alternative use for my all time favourite frames! For the curtains I used the NND Sky border and NND Sea border dies and red cardstock. Isn’t it fun to use our dies for something else than what they were designed for? I enjoy this so much!

For my winter scene I still needed a snowbank so I used the HD Stitched Slopey Joes border die set an white glitter cardstock. I also added a little snow to the top of the window too.

After assembling the scene I stamped 2 sentiments from the NND Dear Santa sets directly on the background and popped up the Santa with thin 3D foam tape.

As a finishing touch I used a clear sparkle pen and glossy accents to emphasize some details.

GIVEAWAY

To be entered to win the giveaway, all you need to do is comment at each stop along the Blog Hop!
Newton’s Nook Designs will be giving away $35 and Heffy Doodle will be giving away £25 to their respective stores!  Be sure to comment before 11:59 PM EST on Dec 28th to be entered to win!

Each company will post their random winner on Dec 29th at 10AM EST!  Make sure to check the Heffy Doodle Blog and Newton’s Nook Designs Blog to see if you’re a winner!

Blog Hop Lineup:

Heffy Doodle Blog

Tatiana Trafimovich

Tina Herbeck

Amanda Fitterer

Maria Russell

Cassie Trask

Samantha Mann

Amanda Stevens

Zsofia Molnar – you are here

Newton’s Nook Designs Blog

I hope you enjoyed my Christmas card inspiration and will pop in again for more fun still this year. Happy hopping and see you tomorrow,

Zsofi