Enjoy the waves – Newton’s Nook Designs

Hello Everyone,

I am so happy to be on the Newton’s Nook Designs blog with a real summer card! I have some tips along so make sure to read till the end!

I started with colouring this cute surfing kitty from Newton’s Perfect Waves stamp set with my Copic markes and used the coordinating dies to cut it out.

To build the scene I used the Frames and Flags die set to cut the rounded rectangle from white cardstock. I used Tumbled Glass Distress Oxide ink to add a bit of colour in the middle to be the sky. Then I used the Sea Border dies to cut the waves from blue cardstock and the sand from kraft cardstock. I used again Distress Oxide inks to give some shading and some splatters: Saly Ocean for the sea and Antique Linen / Walnut Stain to the sandy beach. On the latter I also added some dots with a white gel pen: it is more controlled and whiter than diluted acrylic paint for me.

The sentiment I decided to incorporate in the scene, so I used the Sky scene builder set to cut the sun from yellow cardstock and vellum for the clouds which I adhered to Stick-it double sided adhesive sheets beforehand. In this way the whole cloud was covered with Stick-it like a transparent sticker.

I used black Staz-on Pigment Ink to stamp the sentiment on the vellum, it gives a really crisp result and stays permanent. After assembling the background I popped up the surfing kitty with 3D foam squares and drew a few flying birds on the sky.

I found the perfect patterned paper in the Doodlebug Designs Fun in the sun paper pad and cut it down with the Framewoks postage stamp die – my all time favourite. The card base is made from simple heavy weight white cardstock. As a finishing touch I added clear shimmer and glossy accents to the hibiscus flowers on the board.

I hope you enjoyed my card today and will come back soon for more inspiration!

See you,

Zsofi

Go cray cray! – Heffy Doodle

Hello Everyone,

Welcome to another edition of my Perfect Combos series for Heffy Doodle. For this cheerful slimline birthday card I chose to feature the newly released A Little Shellfish stamp set paired with the current freebie Lil’ Lighthouse along with a new stencil stand alone dies. Let’s dive in the details!

First I stamped the critters in black and used my Copics to bring these cuties alive. Then I used the coordinating dies to cut them all out. When building a scene I alwasy colour more of each image to make sure I have enough to fill the space.

Next I worked on the background: I die cut a stitched rectangle from white cardstock using the new Stitched Slimline Trio dies and blended Tumbled Glass Distress Oxide ink very gently. Then I added clouds using the Head in the clouds stencil and Salty Ocean Distress Oxide ink. Even though the stecil is just 6×6 inches, it was so easy to fill a longer panel.

I also used the Breaking waves border dies to cut 2 long pieces from another white slimline rectangle: as the die gives double stitching I could use both sides to add interest. I blended Blueprint Sketch and Mermaid Lagoon Distress Oxides on both and added some blue splatters and also some sparkly ones using Liquid Stardust from Inkon3.

I needed a little island for the lighthouse and the birthday crab, so I cut a Stitched oval and blended it with Antique Linen Distress Oxide ink. I splattered it with Walnut Stain Oxide ink and white acrylic paint.

Then I assembled the scene alternating 3D foam squares and liquid glue for more dimension.

I heat embossed the sentiment in white on black cardstock and popped it up in the upper left corner. I used the Slimline Pull Tab dies to cut a white scalloped rectagle mat for the whole scene and popped it up on a kraft cardbase measuring 8,5*3,5 inches.

As a finishing touch I used a black glaze pen on the eyes of the critters and glossy accents on the stars, ribbon, party hats and the lighthouse too.

I hope you enjoyed today’s Perfect Combo and will check back later for more inspiration. If you like my cards, please make sure to follow me on Instagram where I share my happy creations! Thank you!

“Sea” you soon,

Zsofi

Heffy Doodle New Release Blog Hop

Hello Everyone,

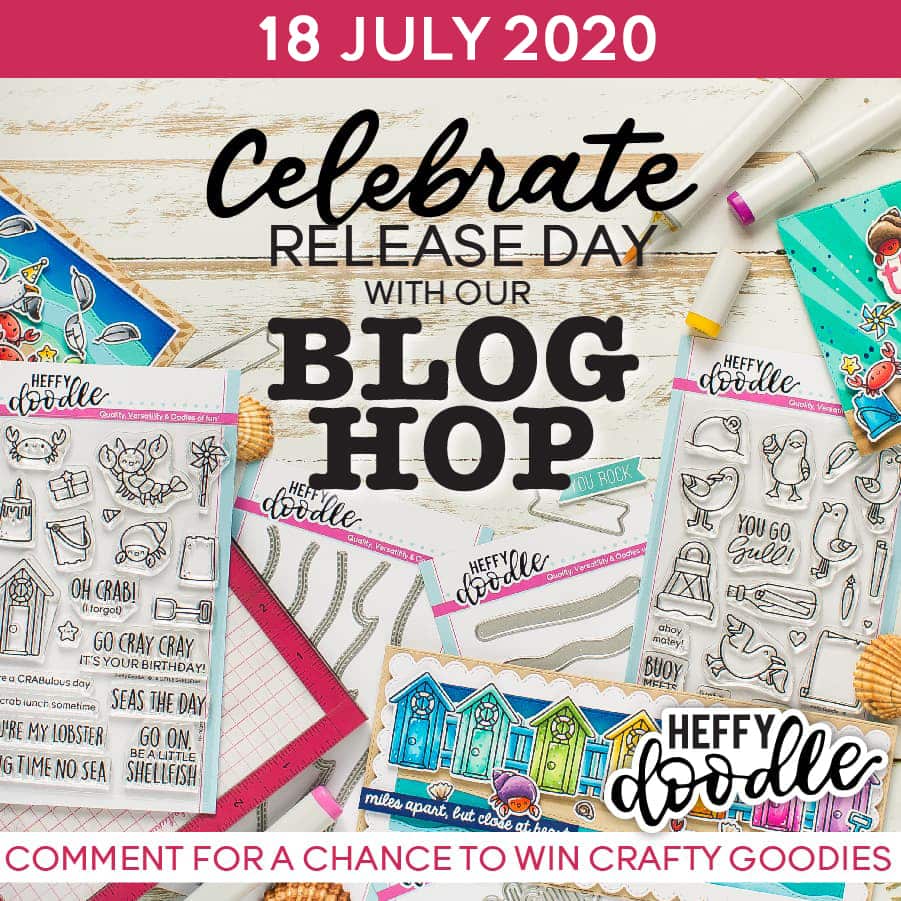
Welcome to the Heffy Doodle Release Blog Hop! The new release is now available for purchase from Heffy Doodle and official retailers, and we are celebrating with lots of inspiration and a giveaway, too!

For my card I used the Sealy friends stamp set, stamped the seals with Lawn Fawn Crunchy Leaf ink, the sea plants with Pine and Cardinal Red Hybrid inks from Scrapbook.com.

I used Copic markers to add colour and cut everything out with their coordinating dies. I love how the colourful ink gives the impression of no-line colouring!

The background is made with Nuvo Shimmer Powders: Blue Blitz and Atlantis Burst. I just added some sprinkles of the powders on watercolour carstock and spritzed it with water. I helped the drying with my heat tool. I cut it down with a Stitched Rectangle and matted it with a vivid blue cardstock.

I also cut some sand with the Stitched Slopey Joes die from kraft cardstock and adhered it to the ocean. I arranged the sea critters and adhered them flat with liquid glue.

I created a dimensional sentiment by die cutting the Hello Shadow Heffy Cuts die from white cardstock 3 times and stacking them up. I used blue ink to stamp another sentiment under it from Close at heart.

I adhered the panel on a white card base and embellished the scene with a few iridescent bubbles from Studio Katia.

GIVEAWAY

To celebrate the new release Heffy Doodle will be giving away a £50 voucher to the Heffy Doodle Store! Make sure to comment on each stop in the hop to be entered for your chance to win. The winner will be selected randomly and announced on Saturday, July 25th on the Heffy Doodle Blog.

Here is the list for the Blog Hop:

Heffy Doodle Blog

Davina Cantrell

Laura Sterckx

Olga Moss

Amanda Fitterer

Tallie Clewley

Ali Farmer

Zsofia Molnar -> you are here

Ashley Ebben

Channin Pelletier

Cassie Tezak

Cassie Trask

Furthermore, the Lil’ Lighthouse promo is renewing. See the details here:

I hope you enjoyed my card today and you hop along with us. Thanks for commenting and hope to see you soon!

Zsofi

Newton’s Nook Designs 7 year Blog Hop

Hello Everyone,

I am thrilled to join the Newton’s Nook Designs team in celebrating their 7th Anniversary with an amazing Blog Hop. There are 7 prizes to win and a fantastic weekend sale, scroll down for the details!

As slimline cards are oh so popular now I wanted to make a rainbow on using the new Slimline Frames and Windows and the Slimline Frames and Porthole dies. They layer on top of each other fantastically!

I started with a piece of Bristol Smooth cardstock which was 8,5 * 3,5 inches and blended Distress Oxide inks at a diagonal in rainbow order: Picked Raspberry, Spiced Marmelade, Mustard Seed, Twisted Citron, Peacock Feathers, Salty Ocean, Blueprint Sketch and Wilted Violet. I used blending brushes, I find them easier to get a smooth blend. I sprinkled the panel with water droplets and also added a bit of Tsukineko Shimmer Spritz for a subtle sparkle. When it was all dry I die cut it with the scalloped rectangle from Slimline Frames and Portholes.

I also cut the porthole die from white cardstock and a black frame using the other slimline die set. I layered them on top o each other using liquid glue.

Then I stamped two glasses from the Cocktail Mixer stamp set on Bristol Smooth Cardstock with Versafine Onyx Black ink and used clear embossing powder to heat emboss them. Then I added colour with my new favourite Karin Brush markers. I love how strong the pigment is in these markers and the tip of it is not flimsy but rather firm. I used the coordinating die to cut them out.

In the middle hole I stamped two sentiments with Stazon Black Pigment ink and popped up the glasses with 3D foam squares.

I finished the cards with tiny clear jewels from Studio Katia.

Celebrate with us and enter to win!

To celebrate 7 years, Newton’s Nook Designs is giving away a $20 store credit to spend in their online shop to 7 lucky winners! YAY!

Here’s how to win: comment on the NND Design Team blogs (see list below)! The winner will be chosen at random from the collective blog hop posts. Make sure to check out each of their blogs and comment for your chance to win. You will not know which blog has been chosen so the more you comment on the better your chances are of winning! You have until Monday, July 20 at 9pm EST to comment. Winners will be announced on NND blog post on Tuesday, July 21 and will need to contact us to claim their prize so make sure you check back to see if you’ve won!

Check out all the awesome Design Team Blogs below to enter:

Newton’s Nook Designs

Ellen Haxelmans

Larissa Heskett

Samantha Mann

Zsofia Molnar – you are here

Maria Russell

Andrea Shell

Tatiana Trafimovich

Amanda Wilcox

I hope you enjoyed today’s project and you will return tomorrow for another fun Blog Hop! If you like my cards, make sure to subscribe to my blog and follow me in Instagram where I hare my happy creations!

See you,

Zsofi

Rainbow unicorns – Heffy Doodle

Hello Everyone,

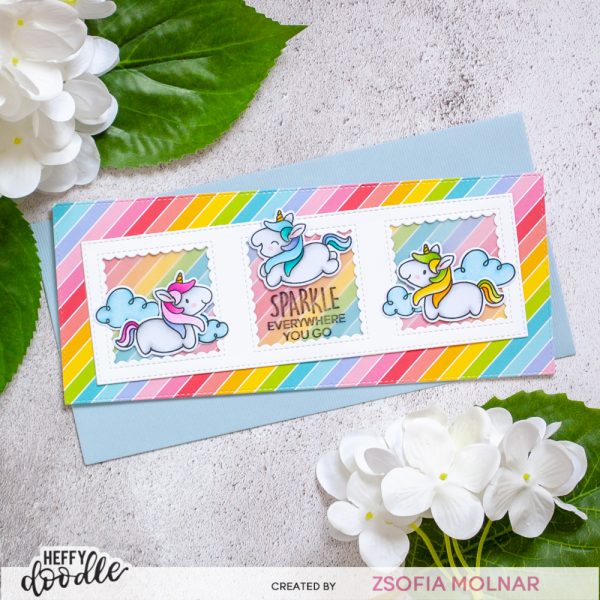
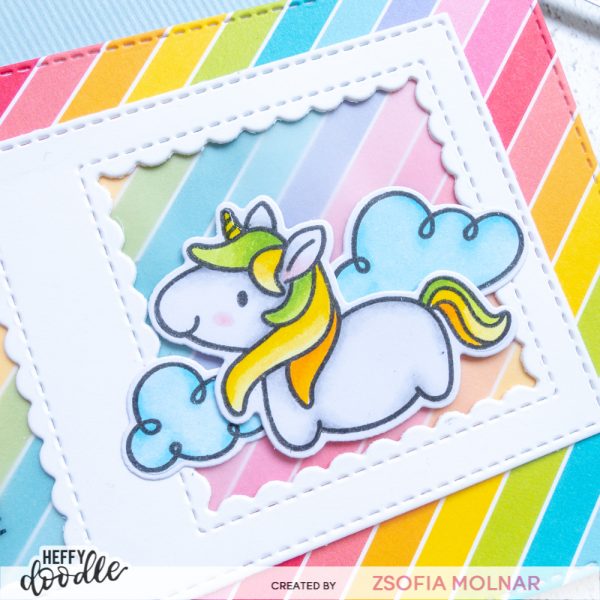
Welcome to another edition of my Perfect Combos series for Heffy Doodle. I hope you all had a chance to shop your favourites from the new release! Today I brought you a fun rainbow slimline card filled with Fluffy Puffy Unicorns. Let’s get started!

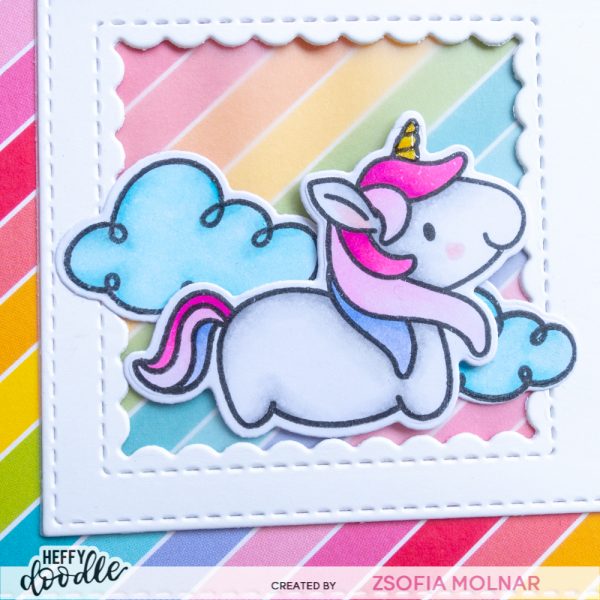
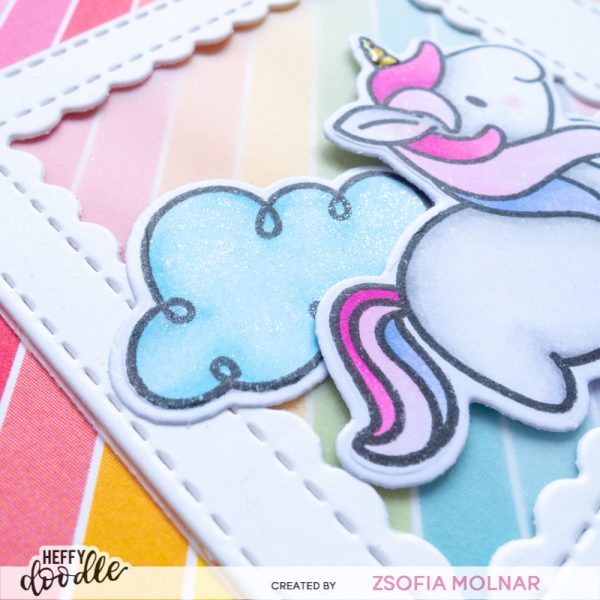
First I stamped and coloured the cute chubby unicorns with Copic markers. I used some light greys from the N series for their bodies and went rainbow with their hair and tails. When choosing the colours I was heavily inspired by a gorgeus patterned paper from Lawn Fawn which I wanted to use for the background. When the unicorns were all coloured I used their coordinating dies to cut them out.

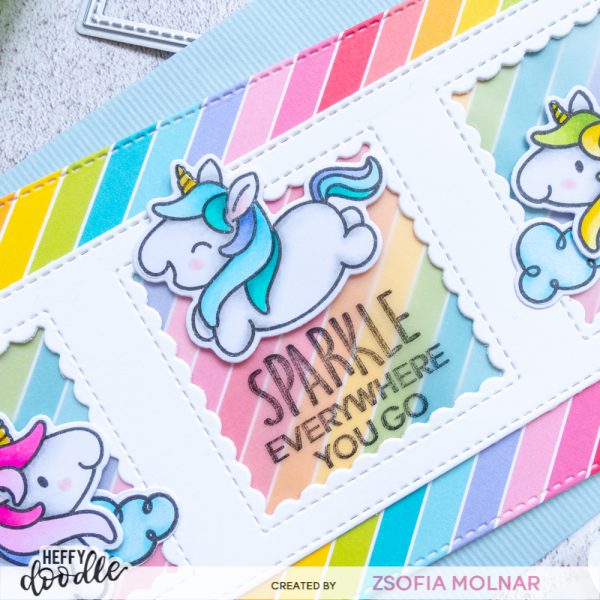
Then I used the Stitched Slimline trio die set to cut down the patterned paper. I also used the window die from the same set to cut a white frame. I love the stitching details so much! I backed the frame with vellum and stamped a sentiment in the middle window using black STAZ-on ink.

I created a card base from heavy weight white cardstock, measuring 8,5 x 7 inches and scored it in half. I adhered the patterned piece, then the white frame at an angle. I used liquid glue to attach the clouds and popped up the unicorns with 3D foam squares.

As a finishing touch I added some clear shimmer to the clouds for a subtle sparkle and my card is finished!

I hope you enjoyed today’s Perfect Combo and will check back later for more inspiration. If you like my cards, please make sure to follow me on Instagram where I share my happy creations! Thank you!

See you soon,

Zsofi