Coffee Card Series – Pink and Main

Hello Everyone,

Welcome back to my Coffee Card Series in honour of the Fall/Winter Coffee Lovers Blog Hop. Today’s card fills me with nostalgia as I used to be part of Pink and Main’s Design Team a few years ago. I love this brand ever since and I really enjoyed colouring their cute critters for today’s coffee card.

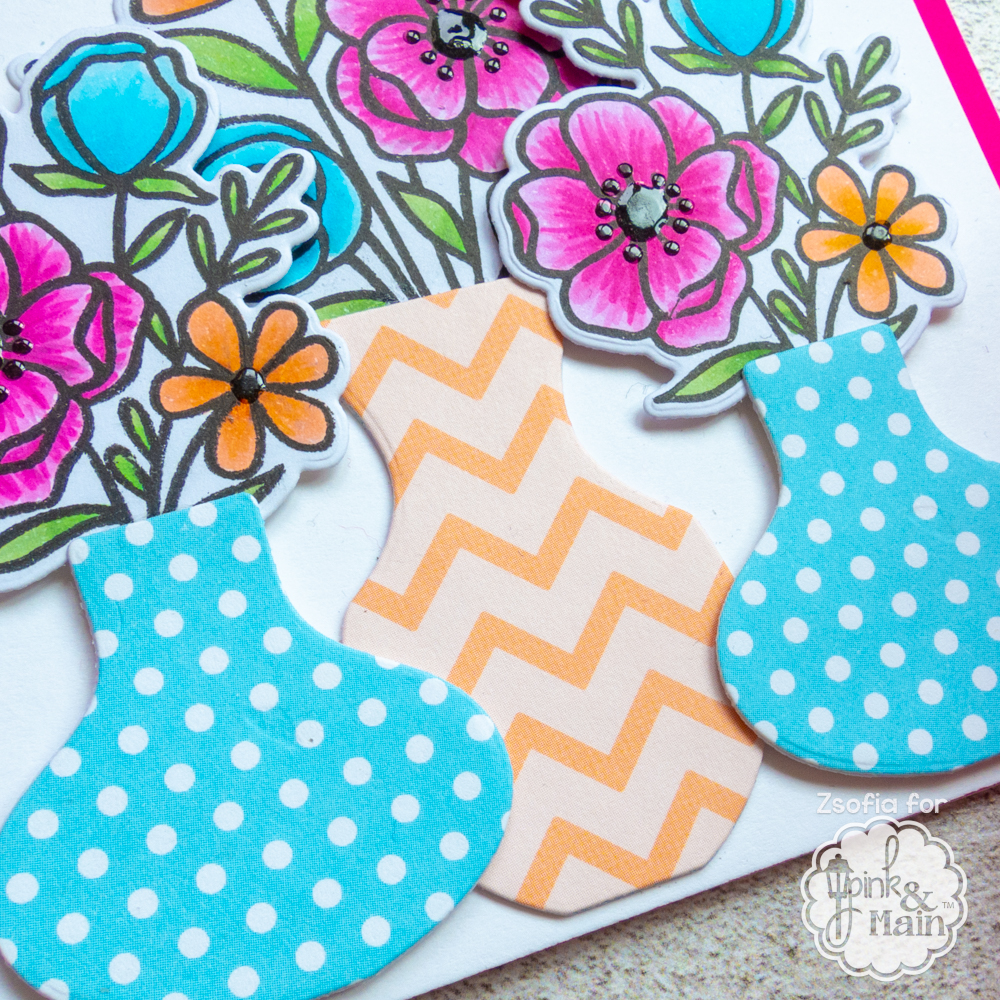
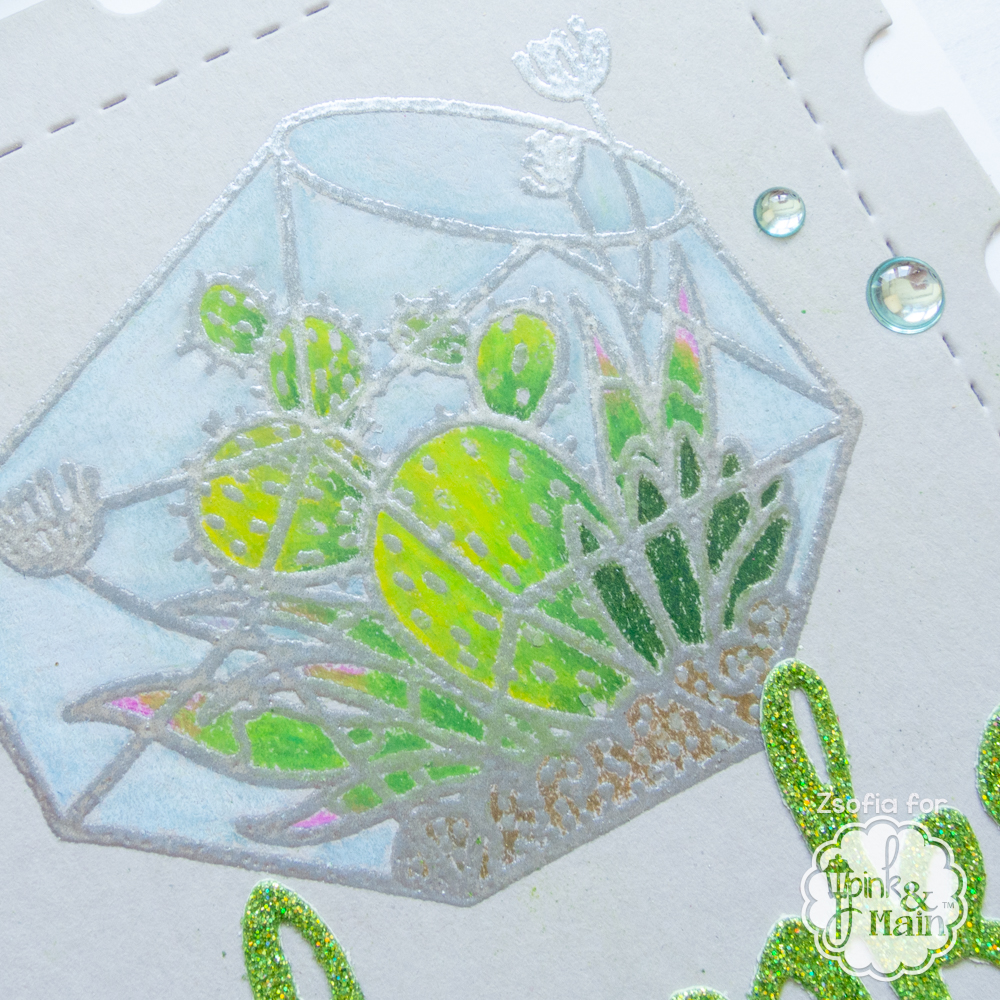
I started with stamping and colouring the images from the Pink and Main Cozy Critters stamp set. I used Spectrum Noir Illustrator markers: EB5, EB4, EB3, RB2, RB1, GB9, GB7, BT9, BT7, BT5, VB1, CT1, LY1, BO4, BO3. I cut everything out with the coordinating dies.

I used the largest of the Pink and Main Stitched Rectangle Set 2 to cut a piece of a pretty patterned paper from their Pumpkin Season paper pad. I also die cut grass from a textured light yellow cardstock and adhered it to the bottom of the patterned panel. I popped up the images with thin 3D foam tape, doubling it up under the squirrel in the middle.

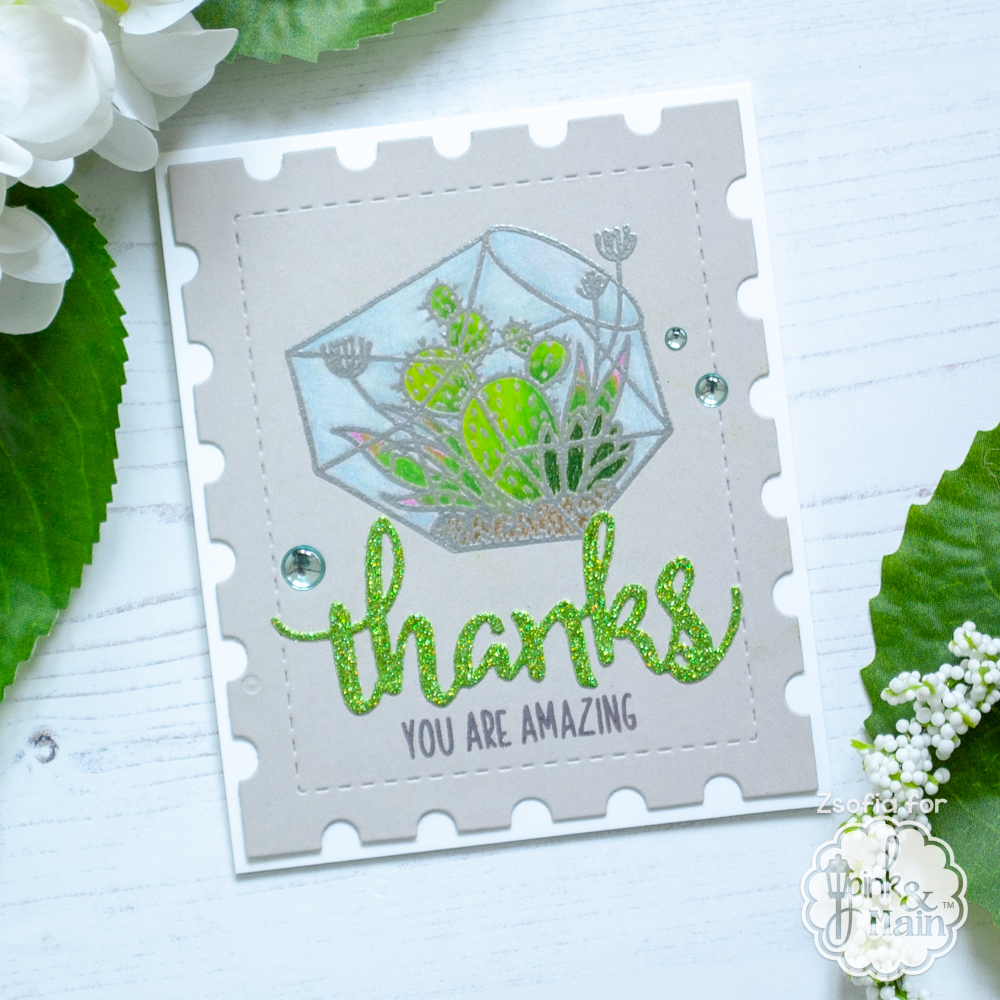
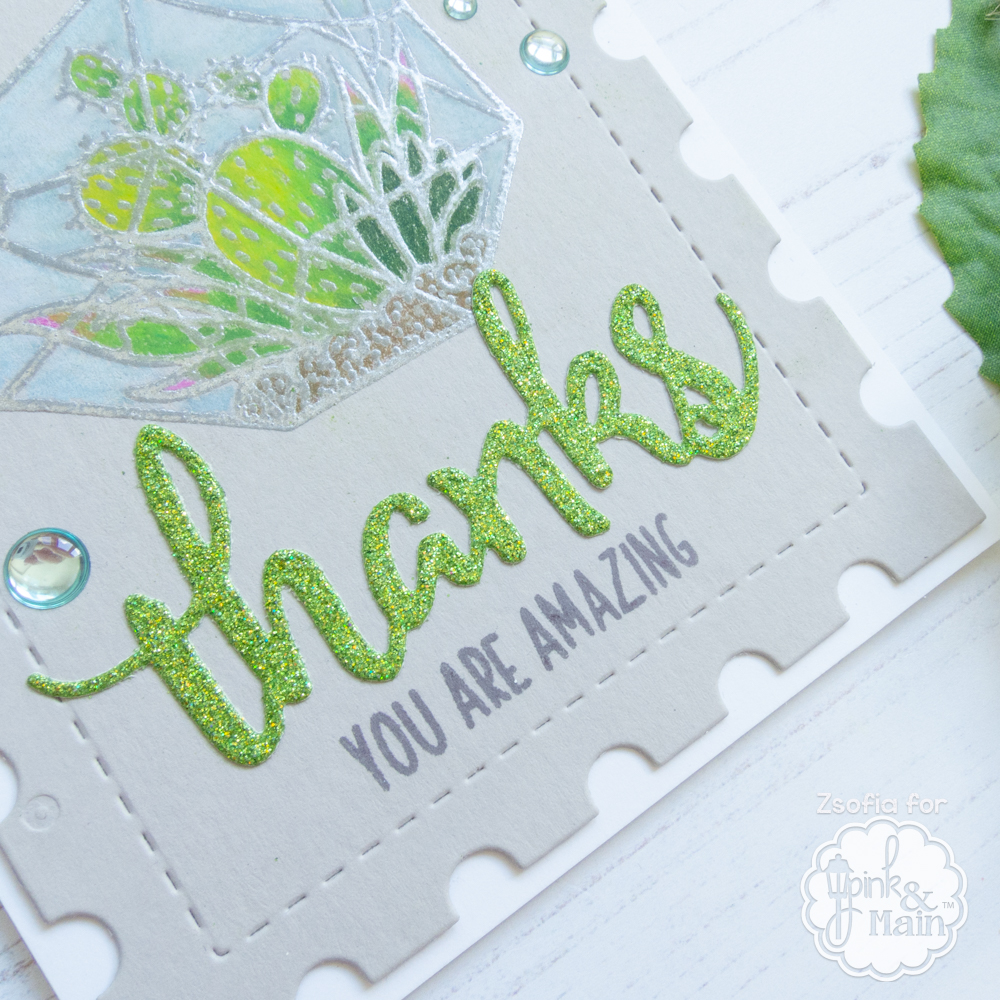
For the sentiment I chose the Thanks word die from Pink and Main, cut the shadow from white cardstock and the word from teal. I also heat embossed a sentiment from the Cozy Critters stamp set on a thin brown cardstock strip and popped it up under the thanks die cut.

I gave the whole scene a teal mat before mounting it on a white card base. As a finishing touch I used a clear shimmer pen on the thanks die cut and also on the scarves of the critters. I emphasized their noses with a black glaze pen and added a drop of glossy accent to the coffee cup and cupcake.

I will link this up to the Coffee Lovers Fall/Winter Blog Hop.

I hope you enjoyed today’s cute critter card and will come back tomorrow for the last day of the Fall/Winter Coffee Lovers Blog Hop. I saved the cutest for last 😉

See you,

Zsofi

Floral birthday and Farewell – Pink and Main

Hello Everyone,

Iam back today with a bright and cheerful floral birthday card using some older goodies from Pink and Main. It is my last post for them as a Design Team member, but I am sure you will still see me using their stamps/dies and stencils as I love what they have! But enough of goodbyes, let’s dive in the card details.

I stamped and coloued some of the pretty bouquets from Gorgeous Vases using my Copic markers. I kept the colours the same: pink, orange and light blue. I used the coordinating dies to cut them all out.

I used the vase dies to cut some patterned paper from the Pastel Dreams paper pad. I made them sturdier by cutting them also from white cardstock and layering the patterned vases on top of these. I arranged my flowers on a 4,25*4,25 inches white piece of cardstock using 3D foam squares to achieve a dimensional look.

I really love the Vertical greetings stamp set but I could not decide which sentiment to use. So I chose 3 and stamped them on coloured cardstock. I adhered them on top of each other so only the sentiment shows. Isn’t it a unique design? And so easy!

As embellishment I added glossy accents to the flower centers and my card is all done! I can imagine this design with different colour combos. So versatile!

I hope you enjoyed my card today and all my previous Pink and Main projects. See you soon with more cheerful cards!

Big hugs,

Zsofi

Hello Beautiful – Pink and Main

Hello Everyone,

I am back today with a delicate, all occasion card I created for Pink and Main.

First I stamped the pretty butterfly outline from the Hello Beautiful stamp set with Versafine Onyx Black ink on Bristol Smooth cardstock and heat embossed it with clear embossing powder.

I added colour with Altenew watercolour brushes. When I thought it was dry I cut the panel down and stamped the antlers of the butterfly. I was just about to mat it with black cardstock when I realised that I smooshed the ink which was obviously not dry. I was lazy to start it over so I took my chance and spritzed the whole paper with water. I was very generous with it and moved the cardstock around to get the colours move and blend. I dried it with my heat tool and voilá – a saved but totally differently looking image was finished.

After matting it with black cardstock I adhered it to a top folding A2 sized notecard which I previously covered with a polka dot patterned paper from Something Whimsy.

I added a white heat embossed sentiment to the middle of the butterfly and embellished it with a bunch of glossy dots. It looks like jewel, so pretty!

I hope you enjoyed today’s inspiration and story. Come back over the weekend for another fun project!

See you soon,

Zsofi

Coffee…you’re unforgettable!

Hello Everyone,

I have another funny card inspired by my love for coffee 😀 This time I used stamps and dies from Pink and Main.

For this clean and simple design I first stamped the cute elephant from Ears to you and the little mug from an older set called Cocoa Cafe. I coloured them with my Copics and cut them out with the coordinating dies.

On a 3 inches tall and 4.25 inches wide white piece of cardstock I stamped a sentiment from Ears to you in black. I die cut the word Coffee using the Thin Aplha dies and Green Sparkle Sheet. I adhered them above the stamped sentiment and placed the sleeping elephant with the mug on top of the letters.

I gave the panel a black thin mat and chose a patterned paper from the Beach Babe paper pad as background. The only embellishment I used are tiny clay hearts which bring a little dimension to this otherwise flat card.

I will link this up to the Coffee Lovers Spring/Summer Blog Hop and to the Simon Says Stamp Wednesday Challenge Anything goes.

Hope you liked my card today and will come back tomorrow for another coffee related cutie! 😉

See you,

Zsofi

Coloured pencil on grey – Pink and Main

Hello Everyone,

I brought you a fun technique today which I have not tried for a while. It is using coloured pencils on grey cardstock on a heat embossed image from Pink and Main.

This image has an empty alt attribute; its file name is PM_cactus_zsm01b-1.jpg

Heat embossing on its own is so pretty, I usually use white embossing powder or black, but today I wanted something more elegant. I used silver embossing powder on one of the images from the Terrariums stamp set on grey cardstock. Then I used my Prismacolor pencils to add colour to it. I started with the darkest shade next to the embossed lines and blended it out with a medium shade. I finished it off with the lightest colour, making sure that I get a nice blending. I still have a lot to practice but I love the delicate look coloured pencils give.

This image has an empty alt attribute; its file name is PM_cactus_zsm05-1.jpg

I cut the panel down with a Postage die. While I was at die cutting I also cut the word Thanks from green sparkle sheet and adhered it under the coloured image. I stamped a sentiment from the Thanks to you stamp set under it with grey ink.

This image has an empty alt attribute; its file name is PM_cactus_zsm02-1.jpg

I used liquid glue to add the panel to a white top folding note card and embellished the scene with a couple of light blue glossy dots.

This image has an empty alt attribute; its file name is PM_cactus_zsm04-1.jpg

I hope you enjoyed today’s inspiration and you will come back for more.

See you soon,

Zsofi

Meerkat wishes – Pink and Main

Hello Everyone,

I am back with a very clean design, but versatile enough to be used for multiple occasions. I was playing with stamps and stencils from Pink and Main.

I started with the Mask it Square stencil and blended Tumbled glass Distress Oxide ink wih the Ergonomic Blending Brush in the middle of a 4.25×5,5 inch Bristol Smooth cardstock piece. Then I covered the blue square with the inner part of the stencil and moved the frame tiny to the right. I applied Mermaid Lagoon Distress Oxide ink. I did the same on the left side too. Then I covered the squares and repeated the previous step with Blueprint Sketch Disress Oxide. It is such a cool pattern and could be done with any geometric stencil and any colour combo!

Then I stamped the meerkat from the Meerkats stamp, coloured him with Copics and fussy cut him out. I used a black glaze pen on his eyes an nose to make it shiny.

I white heat embossed a sentiment on black cardstock and cut it down to be a small sign the meerkat can hold.

I used a stitched rectangle to cut down the stenciled background a bit and assembled the card on a kraft card base. The meerkat I popped up with 3D foam squares for more dimension.

I finished the card with tiny clear sequins. Isn’t it cute? Fitting any gender for any occasion, I really need cards like this in my stash! I hope I inspired you and you will pop in again soon for more ideas.

See you,

Zsofi

Celebrating mum – Pink and Main

Hello Everyone,

Mother’s Day is quickly approaching in America therefore I decided to bring you some quick but very pretty inspiration using a stencil and dies from Pink and Main.

I started with applying Tumbled Glass and Shaded Lilac Distress Oxide inks over the Daisies stencil. I love to use Bristol Smooth cardstock as it allows the ink blending like a breeze. It was a very quick process thanks to the Ergonomic blending brush. I also added a bit darker colours over the flowers (Dusty Concord and Wilted Violet).

Then I cut the panel down with the biggest of the Stitched Top Note dies. I cut another piece from black cardstock and layered it under the stenciled panel before adhering it all on a top folding white note card.

The sentiment is from the Special Day set, I used black and blue inks.

To make it even more special I used the Thin Alpha dies to cut the word Mom 2 times: once from black and once from purple Sparkling Sheet. I layered them on top of each other tiny offset and added them in the center of the stenciled piece. I finished the design with a few Glossy dots in the middle of the flowers.

I wish you enjoyed this delicate card. It is easy to customize for any occasion, not only for Mother’s Day.

Hugs,

Zsofi

A wooly great birthday – Pink and Main

Hello Everyone,

I am back today with a really fun card which I created for Pink and Main. I chose a Christmas set to make this super cool birthday card. I love to stretch my stamps and use them differently.

I started with stamping the llama from the Fa la Llama stamp set and coloured it with my Copics. Then I used the coordinating dies to cut it out.

I die cut two stitched stars: one from blue cardstock and one from thick vellum. I layered them on top of each other and adhered the llama in the middle.

I whie heat embossed a small sentiment from the Fa la llama set on black cardstock and cut it out with the Sentiment strips die set. I adhered it under the llama.

On a piece of Bristol Smooth cardstock I added Distress Oxide inks over the Petite petals stencils using the Ergonomic Blending brush. I love how easy it was to clean it in-between the colours on a scrap paper and the result is much smoother than if I used a sponge dauber. Incredibly pretty and easy to achieve! The colours I used are Blueprint Sketch, Peacock Feathers and Cracked Pistachio. I cut the panel down with a Stitched rectangle die.

I still needed a birthday sentiment, so I die cut it with the Happy birthday die from blue sparkle sheet. After assembling the card I added some blue glossy dots and embellished the llama and presents with a clear shimmer pen and glossy accents. Isn’t it cute?

I hope you enjoyed today’s card and will pop in again soon for more inspiration. Take care and stay at home (to craft)!

Hugs,

Zsofi

Floral birthday – Pink and Main

Hello Everyone,

I am back today with a pretty stenciled floral card I created for Pink and Main, it is matching the beautiful Spring weather we have here in Hungary. How much I wish we could all enjoy the smell of nature in full, without restrictions! But until we get through these hard times, let’s enjoy some delicate flowers on paper!

I was longing to use the Memow’s Roses stencil since I first saw it, it is so delicate and pretty! I chose simple Neenah Solar White cardstock this time with Distress Oxide inks: Peeled paint and Warn Lipstick. As I was not using any masking, I used a small blending brush which allowed me to ink the leaves and the flowers separately.

When the panel was dry I cut it down with a Stitched Rectangle die and matted it with a scalloped rectangle from olive cardstock. I love how the darker mat makes the flowers pop even more!

The Happy Birthday sentiment I cut from pink cardstock and the shadow from vellum to match the delicacy of the design. I felt I wanted an extra line so I white heat embossed a sentiment from the Special Day stamp set.

I finished the card with a couple of glossy dots in matching colour.

I hope you enjoyed today’s inspiration and will come back again soon for more! Big hugs and stay safe!

Zsofi

Stenciled Easter eggs – Pink and Main

Hello Everyone,

Iam here with you today to show you an easy stenciled Easter card, perfect for the last minute crafters. I used the Easter Egg stamps and Easter eggs stencil from the latest release of Pink and Main.

I started with stamping the bunny and the chic on white cardstock and coloured them with my Copic markers. I chose to fussy cut them this time, to give them another look.

Then I applied Distress inks on Bristol Smooth cardstock through the Easter eggs stencil at a diagonal: Picked Raspberry, Spiced Marmelade and Mustard Seed. Before removing the stencil I sprayed it with Tsukineko Shimmer Spritz. I love the subtle sparkle it gives to all the colourful eggs.

I did not want to cover the pretty background – which I die cut with a Stitched Rectangle 2 die – so i wrapped a strip of vellum around it and added 2 very thin guava cardstock strips to the edged. It helped to hide the adhesive also.

I added the critters and stamped a sentiment with Staz-on Black ink. Then I mounted the panel on a white top folding A2 sized notecard.

I will upload this project to the Simon Says Stamp Instagram challenge and to the Simon Says Stamp Wednesday Challenge Spring moodboard.

I hope you enjoyed my card today and will pop in again soon. Have rest and stay at home for the holidays too!

Hugs,

Zsofi