Heffy Doodle and Studio Katia Blog Hop

Hello Everyone,

I am thrilled to be part of a wonderful collaboration Blog Hop with two of my favourite companies. Heffy Doodle and Studio Katia have teamed up to bring you a ton of new inspiration. And there are prizes to win! YAY!
I have 2 birthday cards for you today, let’s dive in the details!

CARD 1

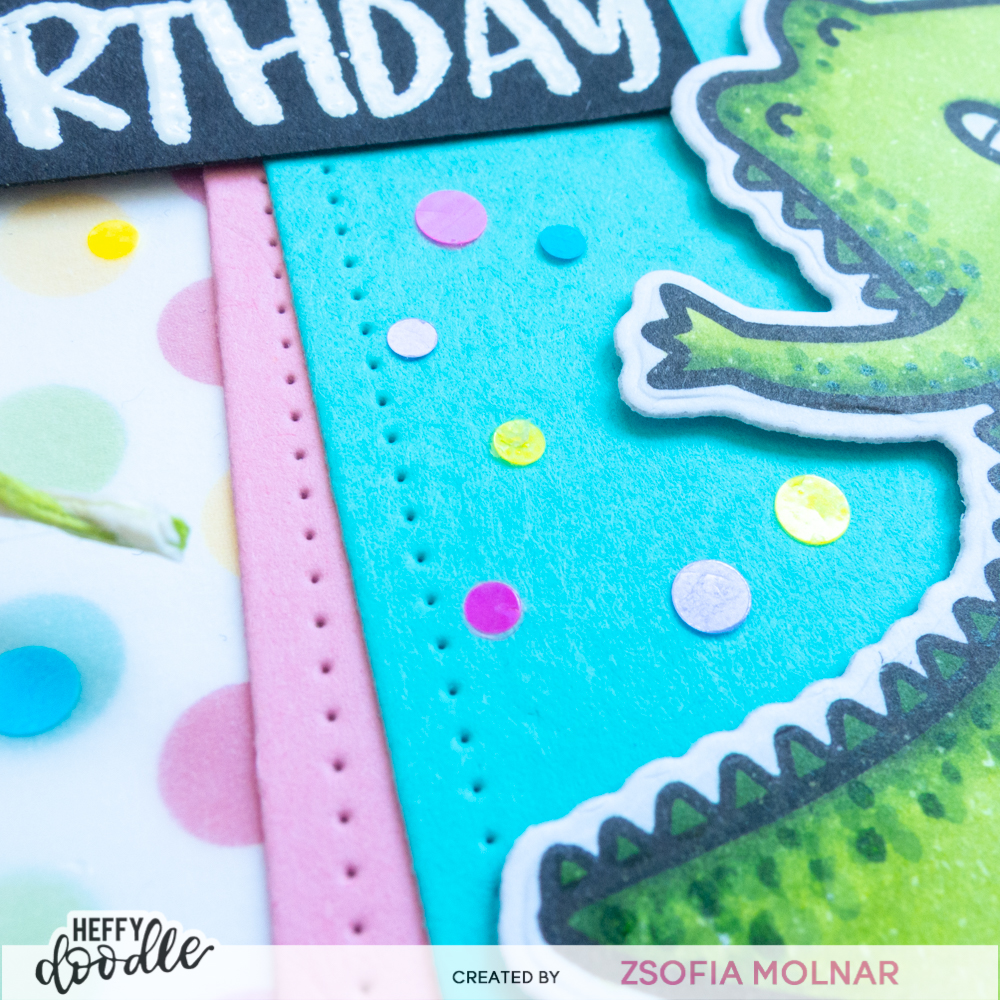
As always I started with stamping and colouring the crocodile from the Happy Snappy Crocs from Heffy Doodle using Copic markers and cut it out with the coordinating die.

I used the Dotted Shaker Tag 2 die from Studio Katia to cut an aqua, yellow and a pink tag. From the yellow one I cut the grass with a Grassy Lass border die from Heffy Doodle. While I was at die cutting I also cut a piece of vellum using the rectangle from Studio Katia Dotted Patterns Set 1.

For the background I chose a dotted patterned paper from Doodlebug Designs and matted it with hot pink cardstock. I assembled the tag as on the picture, used a white eyelet for the top and added green twine to it. I popped up the croc with 3D foam squares and stamped a small sentiment on the very top of the tag from the same stamp set.

The rest of the sentiment I white heat embossed on black cardstock and cut them down to very narrow strips which I adhered hanging off the tag.

I finished the card with a sprinkle of Rainbow Dots Glitter from Studio Katia. It makes it so festive and matches the patterned paper too!
CARD 2

On my second card I went underwater šŸ™‚ I stamped and coloured images from the Heffy Doodle Shellabrate and Oceans of Love sets and used their coordinating dies to cut them out.

I applied Blueprint Sketch and Salty Ocean Distress Oxide inks with a light hand on Bristol Smooth cardstock. Then I used the same coloured just over the Wave to me stencil. I repeated the process after shifting the stencil a bit. This way I got the perfect wavy background which I sprinkled with pearlized water for more texture.

I used the Seashell shaker die from Studio Katia to cut into the background and I also cut another one from blue violet cardstock for the thin frame. I adhered a piece of acetate on the back of the panel to create a shaker window.

I also die cut sand with the Heffy Doodle Stitched Slopey Joes dies and added Antique Linen and Gathered Twigs Distress Oxide inks with a blending brush. I splattered the sand dune with diluted inks and white acrylic paint so it really looks like sand! I stamped a sentiment on the bottom of it from Shellabrate. The rest of the sentiment is from Oceans of Love which I white heat embossed in black cardstock and cut them into very thin strips.

I assembled the scene and added 3D foam strips to the back of it. On a white notecard I sponged a little Salty Ocean Distress Oxide and added some Chunky Dots Glitter and July Crystals and Poseidon Crystals from Studio Katia for the shaker part.

After the shaker was ready I used the same jewels to embellish the front of the card too. I also added glossy accents to the turtles and the starfish and used a black glaze pen on their eyes.

GIVEAWAY

Heffy Doodle will be giving away a  25Ā£ CG and Studio Katia a  25$ CG to their stores. Winners will be chosen randomly and announced on July 7th  on the Heffy Doodle and Studio Katia blogs. Make sure to comment on each stop in the hop to be entered to win! Here is the full list:

Studio Katia Blog

Ashley Ebben

Kaja VezenŔek

Zsofia Molnar – you are here

Galina Filippenko

Cassie Trask

Ilda Dias

Cassie Tezak

Tracy Freeman

Ali Farmer

Tracey McNeely

Amanda Fitterer

Dana Gong

Heffy Doodle Blog

I hope you enjoyed this wonderful hop and got inspired! If you like my cards please subscribe to my blog and follow me on Instagram to make sure you will not miss any project I share! Thank you!

See you soon,

Zsofi

Bearing gifts ft. Studio Katia New Release

Hello Everyone,

Last Friday & Saturday Studio Katia had a mega Blog Hop as their 2nd anniversary celebration. It was a blast andĀ I could not stop making more cards with the new release.. Today I brought you a birthday card made with the new Kobi set.Ā 

SKbloghop_11

I made a very vibrant birthday card. I used a dotted stencil to apply Abandoned Coral, Wild Honey and Mustard Seed distress inks on Bristol Smooth cardstock. After removing the stencil I went back gently with the same inks to cover the whole panel.

SKbloghop_12

I stamped and coloured the bear from Kobi Bearing Gifts using Copics. I used the coordinating die to cut him out and popped him on a Dotted Shaker tag using 3D foam tape. I white heat embossed the little sentiments on very thin black cardstock strips and adhered them to the tag. I used a piece of black gingham ribbon and white twine to complete the tag and mounted it on the background using 3D foam tape.

SKbloghop_13

The usual shimmer pen-glossy accent combo I used on the presents an added a few Gold Crystals to make it festive.

STUDIO KATIA NEW RELEASE

Studio Katia is celebrating their birthday with a new release, whichĀ includes 6 new Clear Stamp Sets and 4 sets of Coordinating Dies, 4 new stand alone Creative Dies, 2 new Stencils and new Embellishments! Check them out here!

BLOG HOP GIVEAWAY

Don’t forget that Studio Katia is giving away TWO $100 CAD gift certificates on each day of the Hop, winners will be chosen from the comments left on all blogs of the Hop! Make sure to leave all the comments by Saturday, June 2nd, 2018 11:59 PM EST. Please leave your comment on this blogpost if you want to enter the giveaway.

All winners will be announced on Sunday, June 3rd, 2018 on the Studio Katia Blog.

Hope you like my card for today and will return soon for more inspiration.

See you,

Zsofi


Studio Katia 2nd Anniversary Blog Hop

BLOG_HOP_2ND_ANIVERSARY

Hello Everyone,

I am so excited to be part of the Studio Katia 2nd Anniversary Blog Hop as a guest designer. I feel honoured to be part of such a gorgeous celebration.

You should have arrived from my talented friend, Laura Volpes’s blog and I am the last stop for today. If you get lost you can find the full hop list below or visit Studio Katia Blog!

CARD 1.

SKbloghop_01

For my first card I applied Distress Inks gently on Bristol Smooth cardstock, then through the Brush Stroke Waves stencil I reapplied the same inks once more. Before removing the stencil I sprayed Iridescent Shimmer Mist on it for a subtle sparkle. Until my background was drying I stamped and coloured the images from the Under the sea stamp set using Copic markers. I die cut them with the coordinating dies.

SKbloghop_03

I also inked up a stitched hillside border with distress inks, splattered some Gathered Twigs and Antique Linen inks on it to look like sand. Before assembling the card I white heat embossed the sentiment on the top. I decided to make this card really festive by adding the present and the little birthday hat from the Shell-ebration stamp and die set.

SKbloghop_04

As a finishing touch I emphasized the eyes of the fish with a black glaze pen and added a bit of glossy accents to some details. I also scattered a bunch of Clear confetti to look like bubbles.

SKbloghop_02

CARD 2.

SKbloghop_08

For my second card I die cut a Stitched Creative window in the middle of a white cardstock, and once more from light grey cardstock. I adhered a piece of an alcohol ink background to a white card base and popped up the window with the inlaid frame using 3D foam tape.

SKbloghop_10

I carefullyĀ white heat embossed the sentiment in the middle window and adhered the sea critters using 3D foam squares for ore dimension. A few Iridescent bubbles, glossy accent andĀ white gel pen detailsĀ finished this card off.

SKbloghop_09

CARD 3.

SKbloghop_05

After seeing the Seashell Shaker die I just had to make an underwaterĀ shaker card too. I die cut a white cardstock piece with the rectangle from the Dotted Patterns Set 1 with the Shell die in it. I added a piece of transparency to the back of it and made the tunnel for the shaker part with 3D foam tape. I used a small piece of the alcohol inked background adhered to a blue violet mat and added Crystal Clear, Silver Foil Confetti and a bit of the Shimmering Ice Fusion sequin mix.

SKbloghop_07

When my shaker piece was all sealed I decorated the front with the little turtle from the Shell-ebration set. The sentiment I white heat embossed on a black banner. A bit of glossy accent, some clear shimmer on the present and black glaze pen on the eyes made it finished.

SKbloghop_06

STUDIO KATIA NEW RELEASE

Studio Katia is celebrating their birthday with a new release, whichĀ includes 6 new Clear Stamp Sets and 4 sets of Coordinating Dies, 4 new stand alone Creative Dies, 2 new Stencils and new Embellishments! Check them out here!

GIVEAWAY

Studio Katia is giving away TWO $100 CAD gift certificates on each day of the Hop, winners will be chosen from the comments left on all blogs of the Hop! Make sure to leave all the comments by Saturday, June 2nd, 2018 11:59 PM EST.

All winners will be announced on Sunday, June 3rd, 2018 on the Studio Katia Blog.

Here is the full list of blogs participating onĀ Friday, 25th May:

I hope you enjoyed my cards and will return soon for more fun projects.

See you,

Zsofi


Simple & colourful thank you

Hello Again,

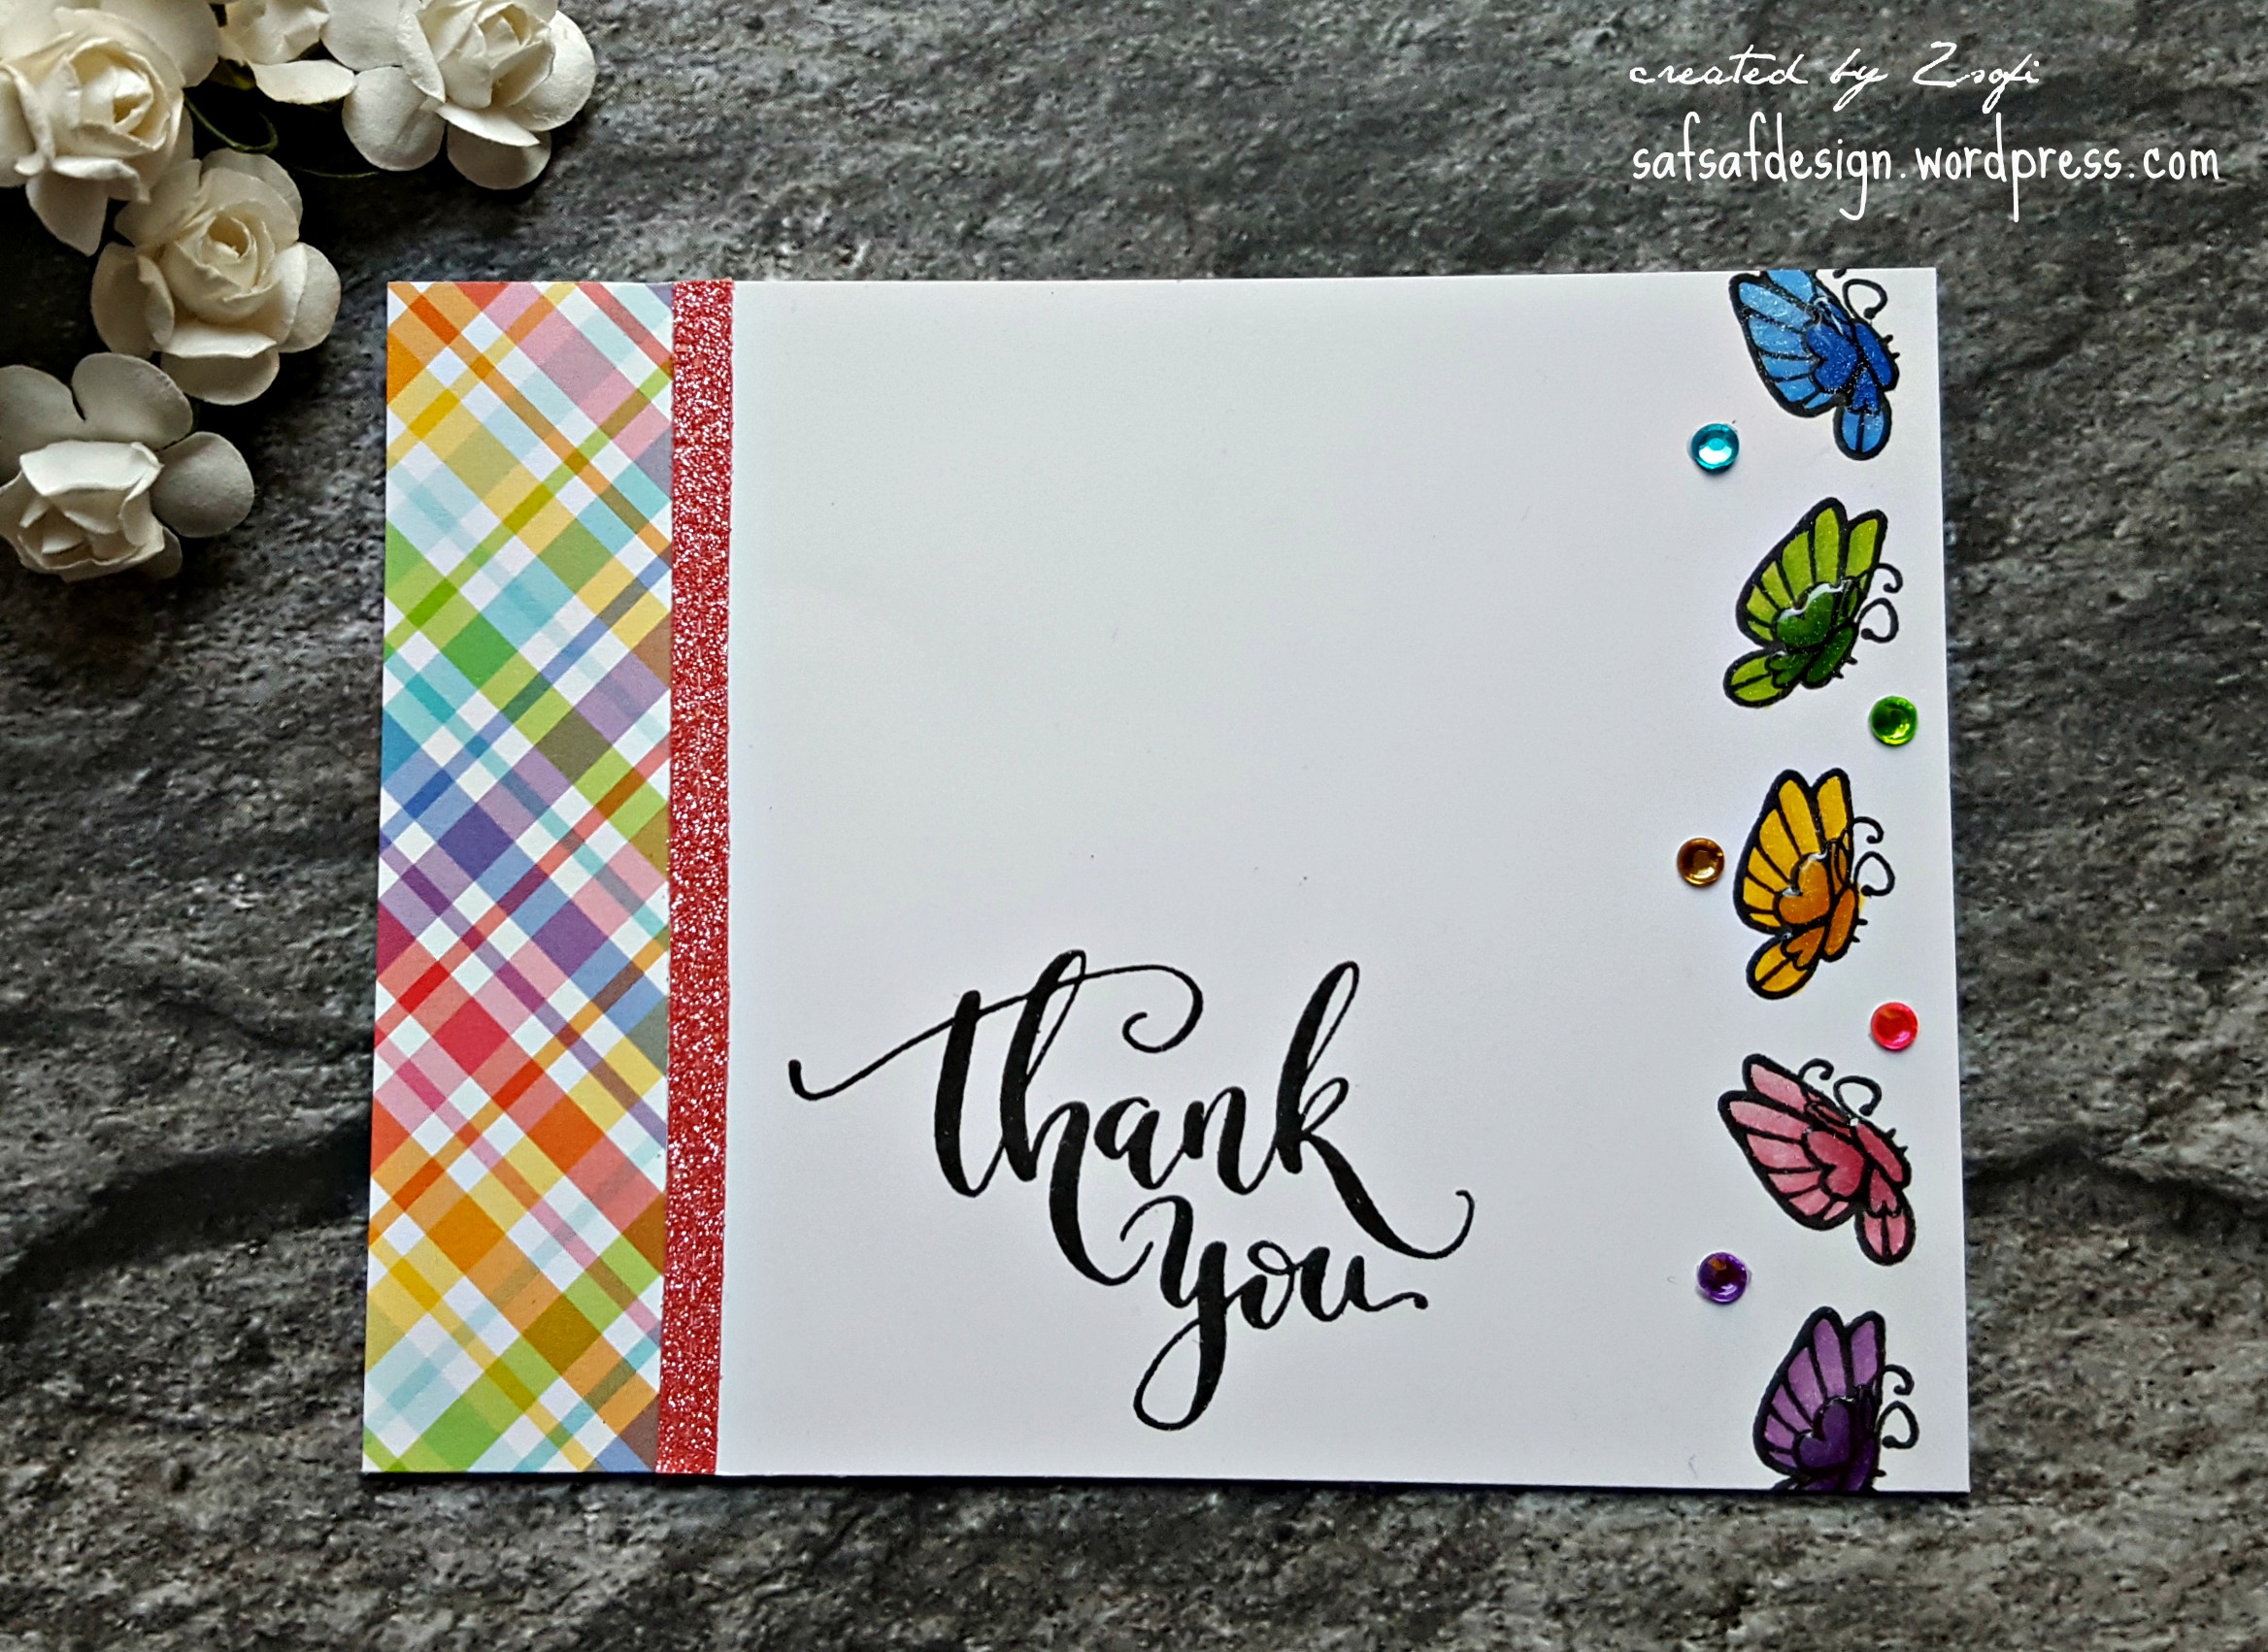
I could not resist popping in again with a simple but very colourful thank you card. I had my new Studio Katia goodies still on my desk and wanted to make another card, this time I used the Mini Thank you set only.

20170719_200648 wm

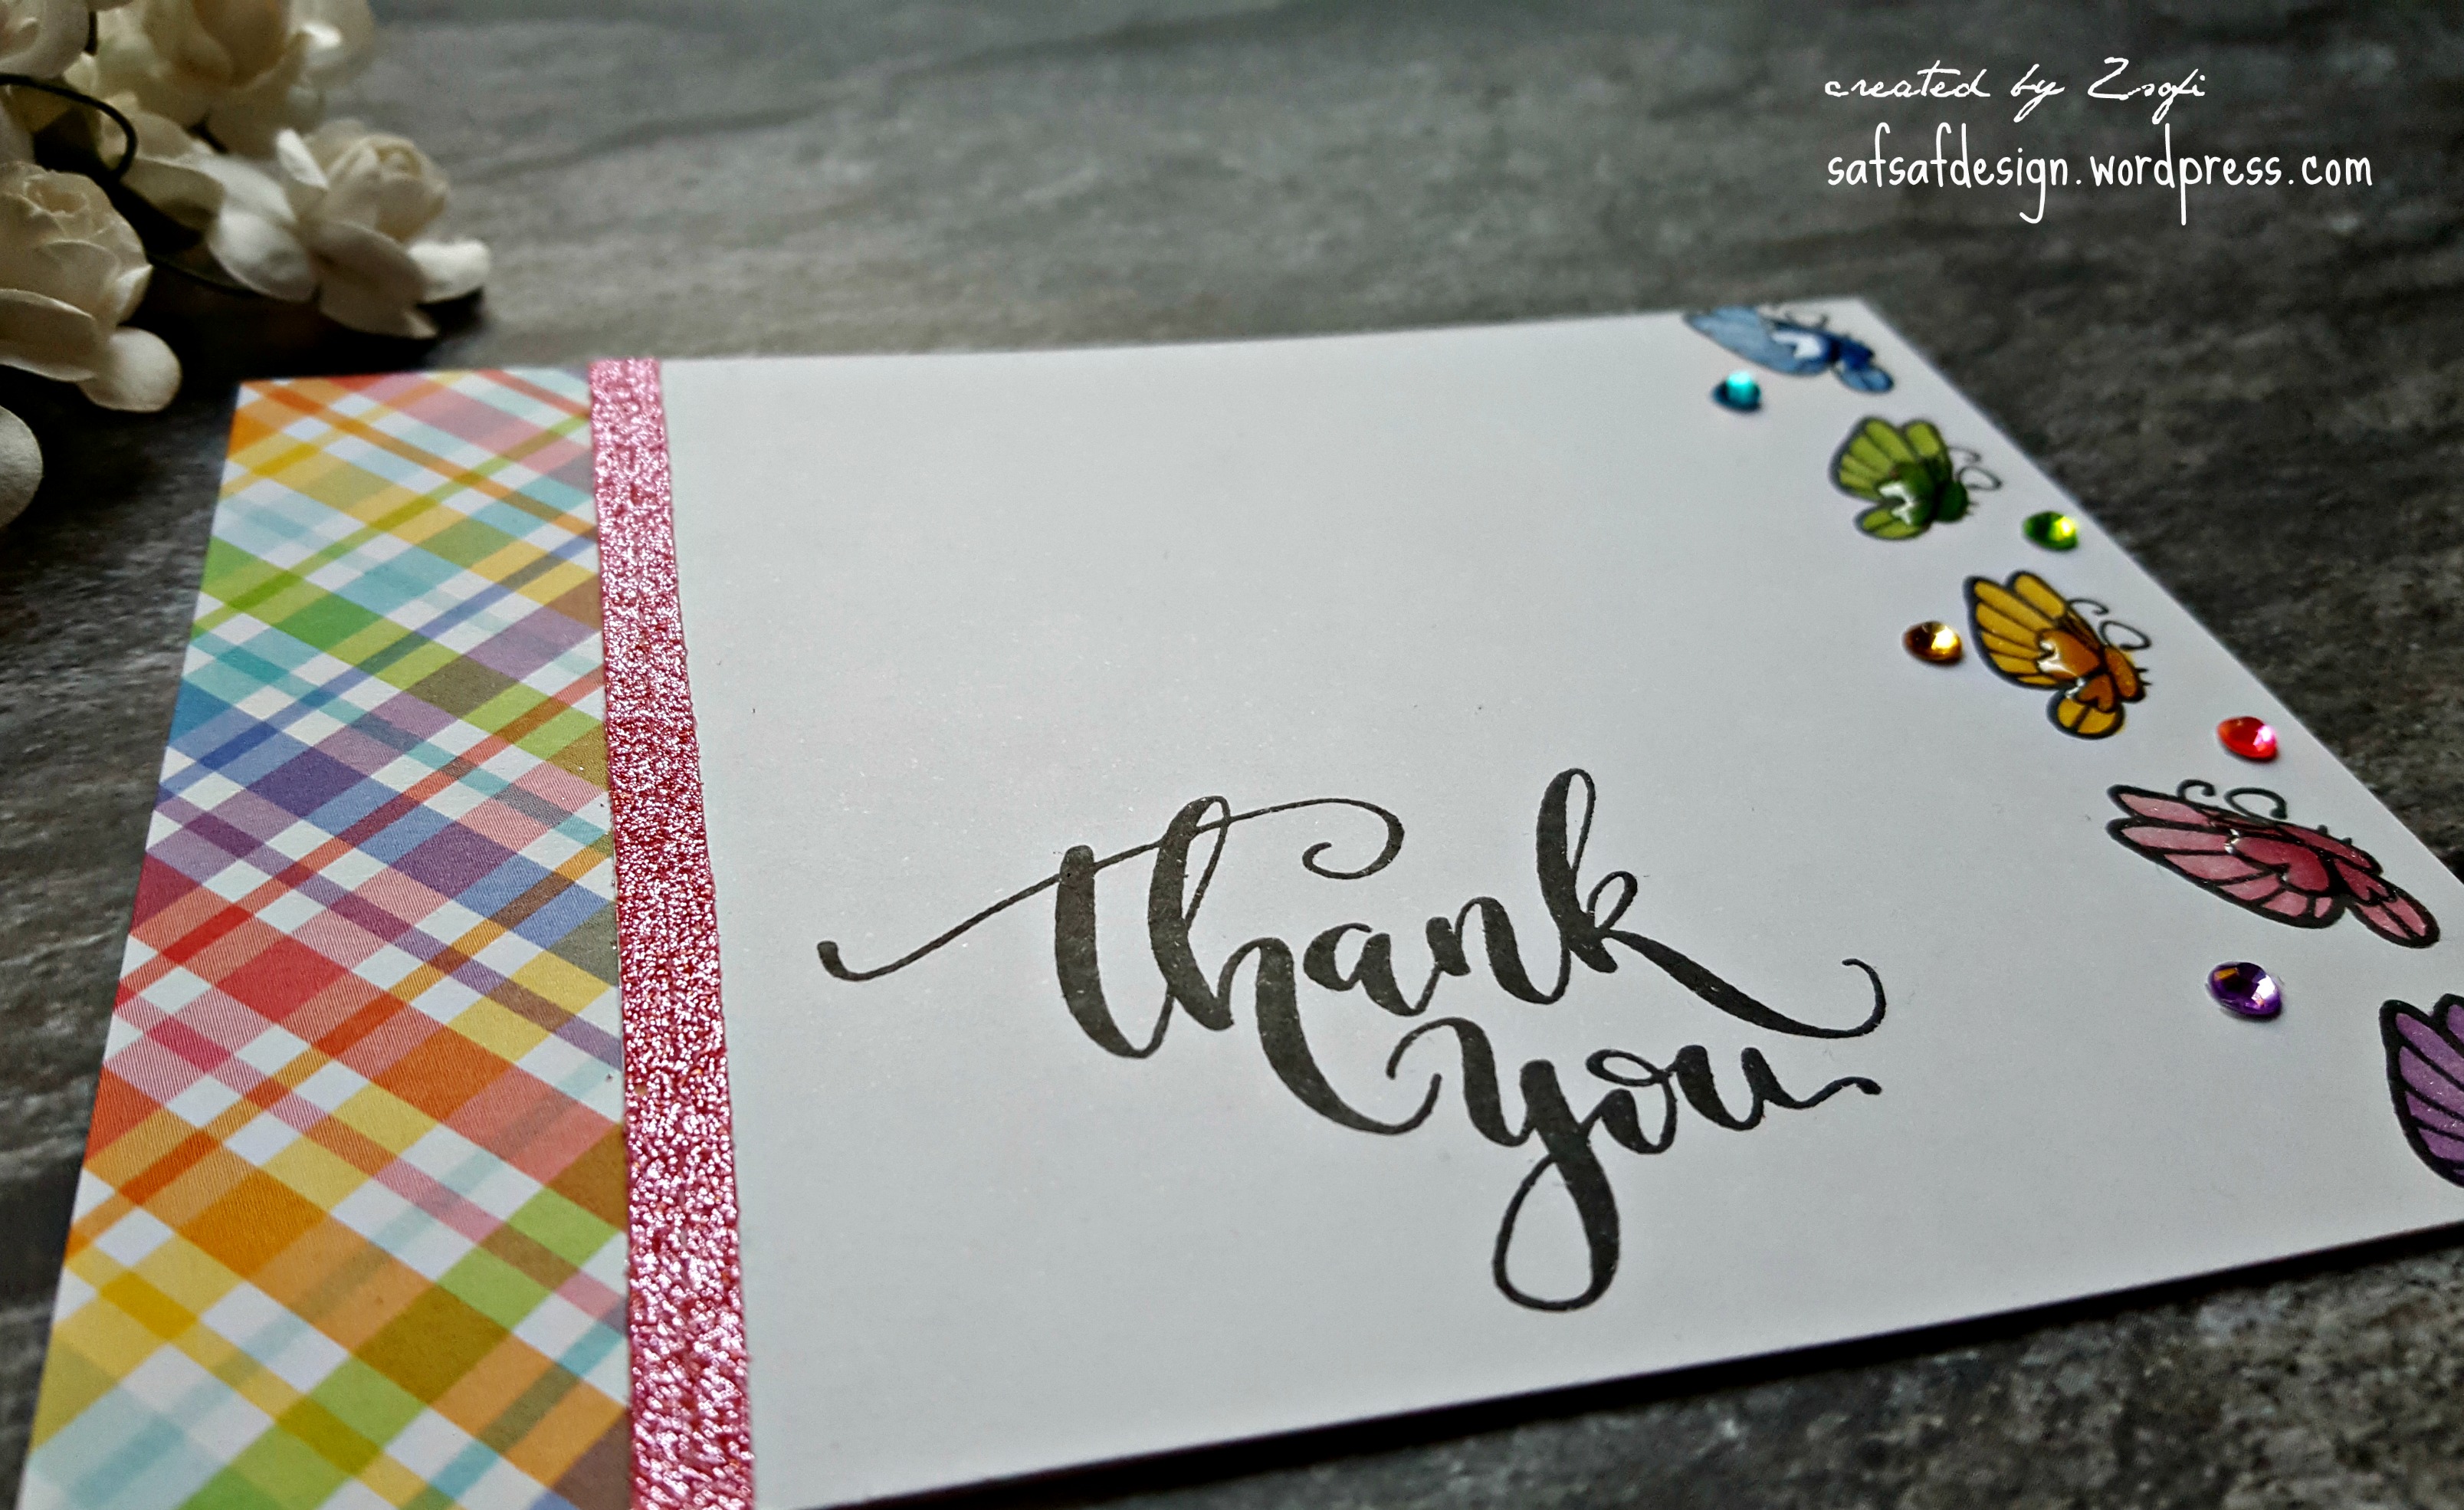
I started with a Copic friendly paper and stamped several times the little butterfly on the right side of it slightly turning it to have a variation in the angle. I stamped the sentiment from the set more or less in the middle of the paper and trimmed the edge down to have a 4 and 1/4 by 4 inch piece. I coloured the butterflies with Copics.

20170719_200712 wm

I had a left over piece of Lawn Fawn plaid paper from my previous card which was perfectly matching the idea I had, so I adhered an inch piece to a white card base (I slightly trimmed it down to be 5 and 1/4 by 4 inch). I adhered the butterfly panel next to it and added a stitched strip of glitter paper where the 2 papers meet.

20170719_200803 wm

I added Spectrum Noir Clear Shimmer to the butterflies and a few rhinestones (I “stole” them from my daughter’s stash) in rainbow colours. A bit of glossy accents finished off the card.

20170719_200736 wm

Simple and easy and I only used a mini stamp set to make it. Super fun!

I hope you like it and will return soon for more inspiration.

Have sweet dreams,

Zsofi

Plaid and flower

Hello Everyone,

Quickly popping in before I am heading to the swimming pool with my kiddos (I love summer vacation). I made a set of Thank you cards using some great products from Studio Katia. I have recently discovered Katia’s products, and I am amazed by the design, uniqueness and quality. Every single piece I have (not many yet) became my favourites in no time.

20170719_071709 wm

I started with Bristol Smooth cardstock, stamped and black heat embossed the fantastic floral image from the Thank you so much stamp set and the sentiment from the Mini Thank you set. I applied 2 colours of Distress Oxides on each panel: Peacock Feathers and Salty ocean, Abandoned Coral and Spiced Marmalade, Seedless Preserves and Worn Lipstick.

20170719_071800 wm

I went over the flower with a Spectrum Noir shimmer pen to get the oxidized look and some shimmer. As the oxides are more creamy due to the pigment characteristics, it left some residue on my embossing, but I could easily wipe it off with a paper towel.

20170719_071811 wm

I die cut the floral pieces with different stitched rectangle dies from Lawn Fawn. I matched the flowers with plaid patterned papers also from Lawn Fawn and covered the white card bases with these. IĀ mounted the focal panels on the plaid backgrounds using 3D foam tape.

As a final touch I used some Studio Katia Sparkling Crystals all over the flowers.

20170719_071826 wm

I will upload this project to the Simon Says Stamp Wednesday Challenge Use plaid.

Hope you like my cards, leave me a comment which one is your favourite. I love to read what you think.

See you soon for more inspirational projects.

Have a great day,

Zsofi