Hello everyone,
It is always sad when we reach the final day of the reveals, but the good news is that all these adorable products in the Newton’s Nook Designs April Release will be available on Friday, 19/04! Today we are showcasing 2 new small stamp& die sets: Newton’s Bubble Tea and Puppy’s Bubble Tea. Aren’t they adorable?


CARD 1
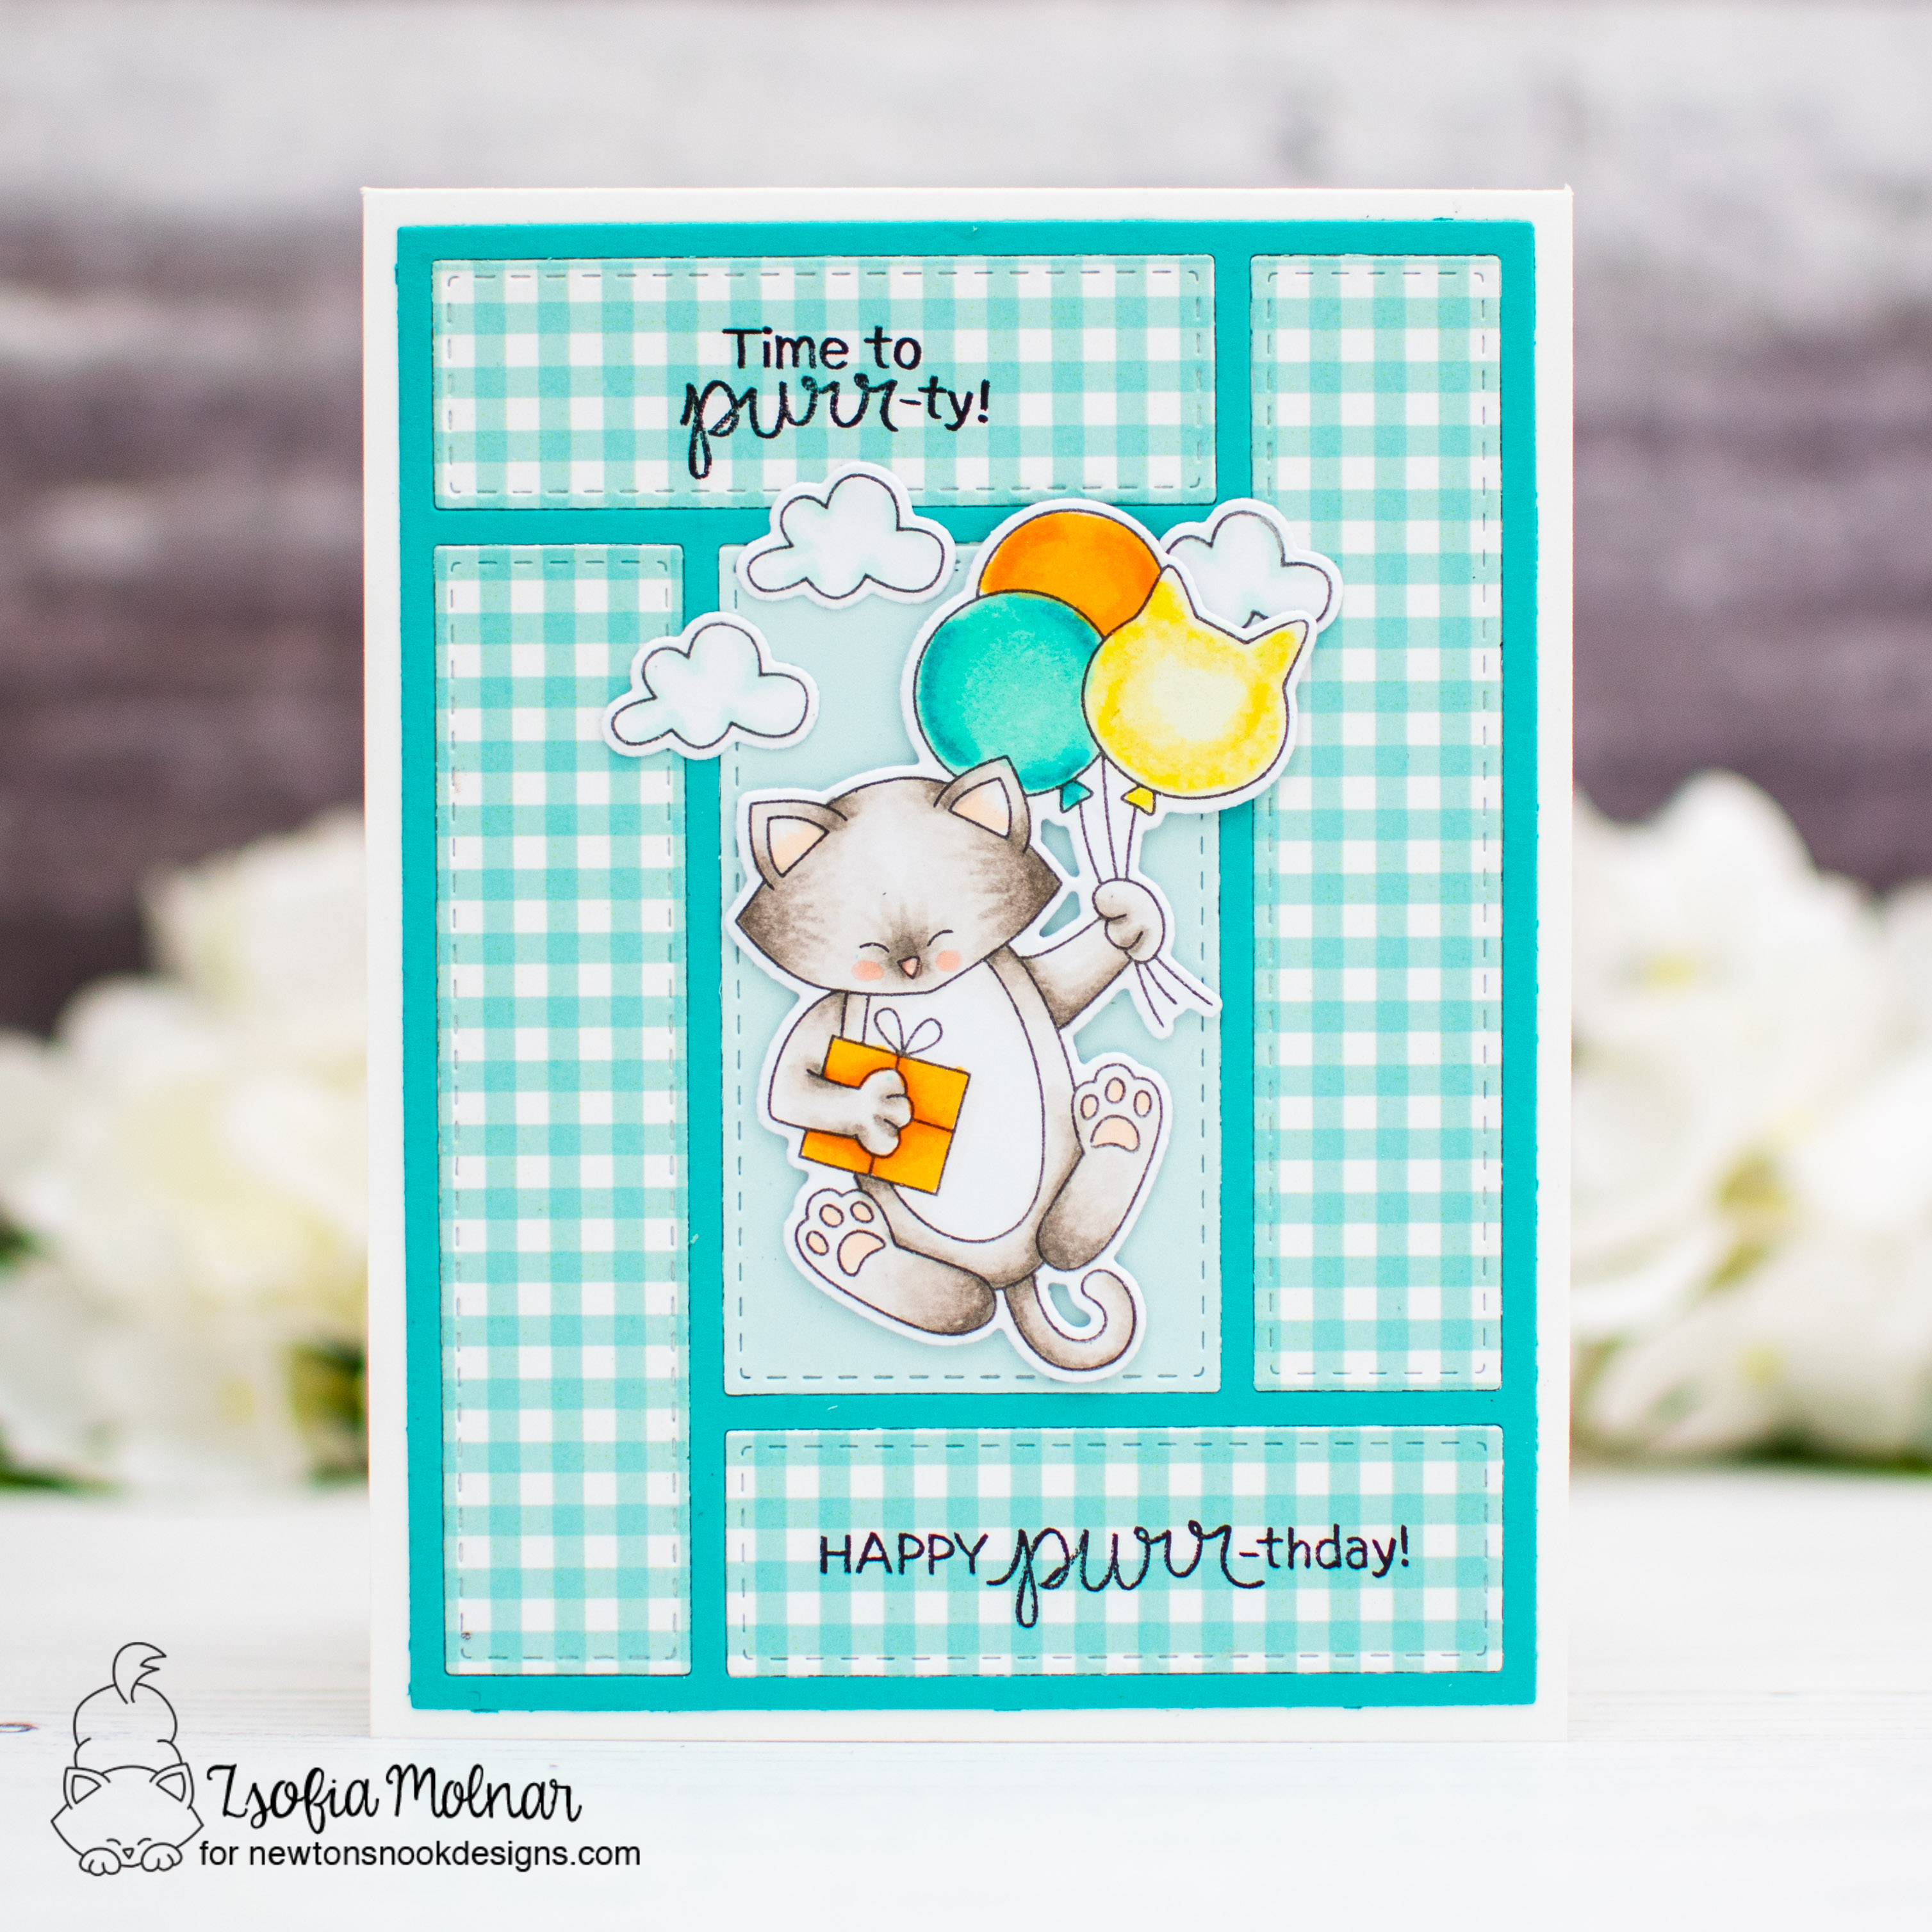
For my first card I stamped and coloured the cute kitty from Newton’s Bubble Tea using Copic markers. I used the coordinating die to cut it out.

While I was die cutting I cut the base for my shaker with the Basic Frames die set: one banner from kraft and one from guava cardstock. On the latter I die cut a window with another die from the same set. I stamped a sentiment just under the die cut window. I backed it with clear acetate and added thick foam tape around it. I filled the shaker with some pastel confetti (Pretty Pink Posh) and adhered the backing carefully.

For the background I used the Bubbles stencil on a cream note card with Worn Lipstick Distress Oxide ink.

To make the scene more playful, I added some red twine to the top of the card and another sentiment, which I have stamped on a white Speech Bubble. As a finishing touch I used glossy accents on the straw and the bubbles.

CARD 2

For the puppy card I stamped, coloured and die cut the image from Puppy’s Bubble Tea. I used Copic markers and made the tea green. I used the Basic Frames die set to cut a cornflower blue background for the dog and a bigger rectangle from woodgrain cardstock which I ink blended and splattered with black and white acrylic paint before adhering the focal panel on it.

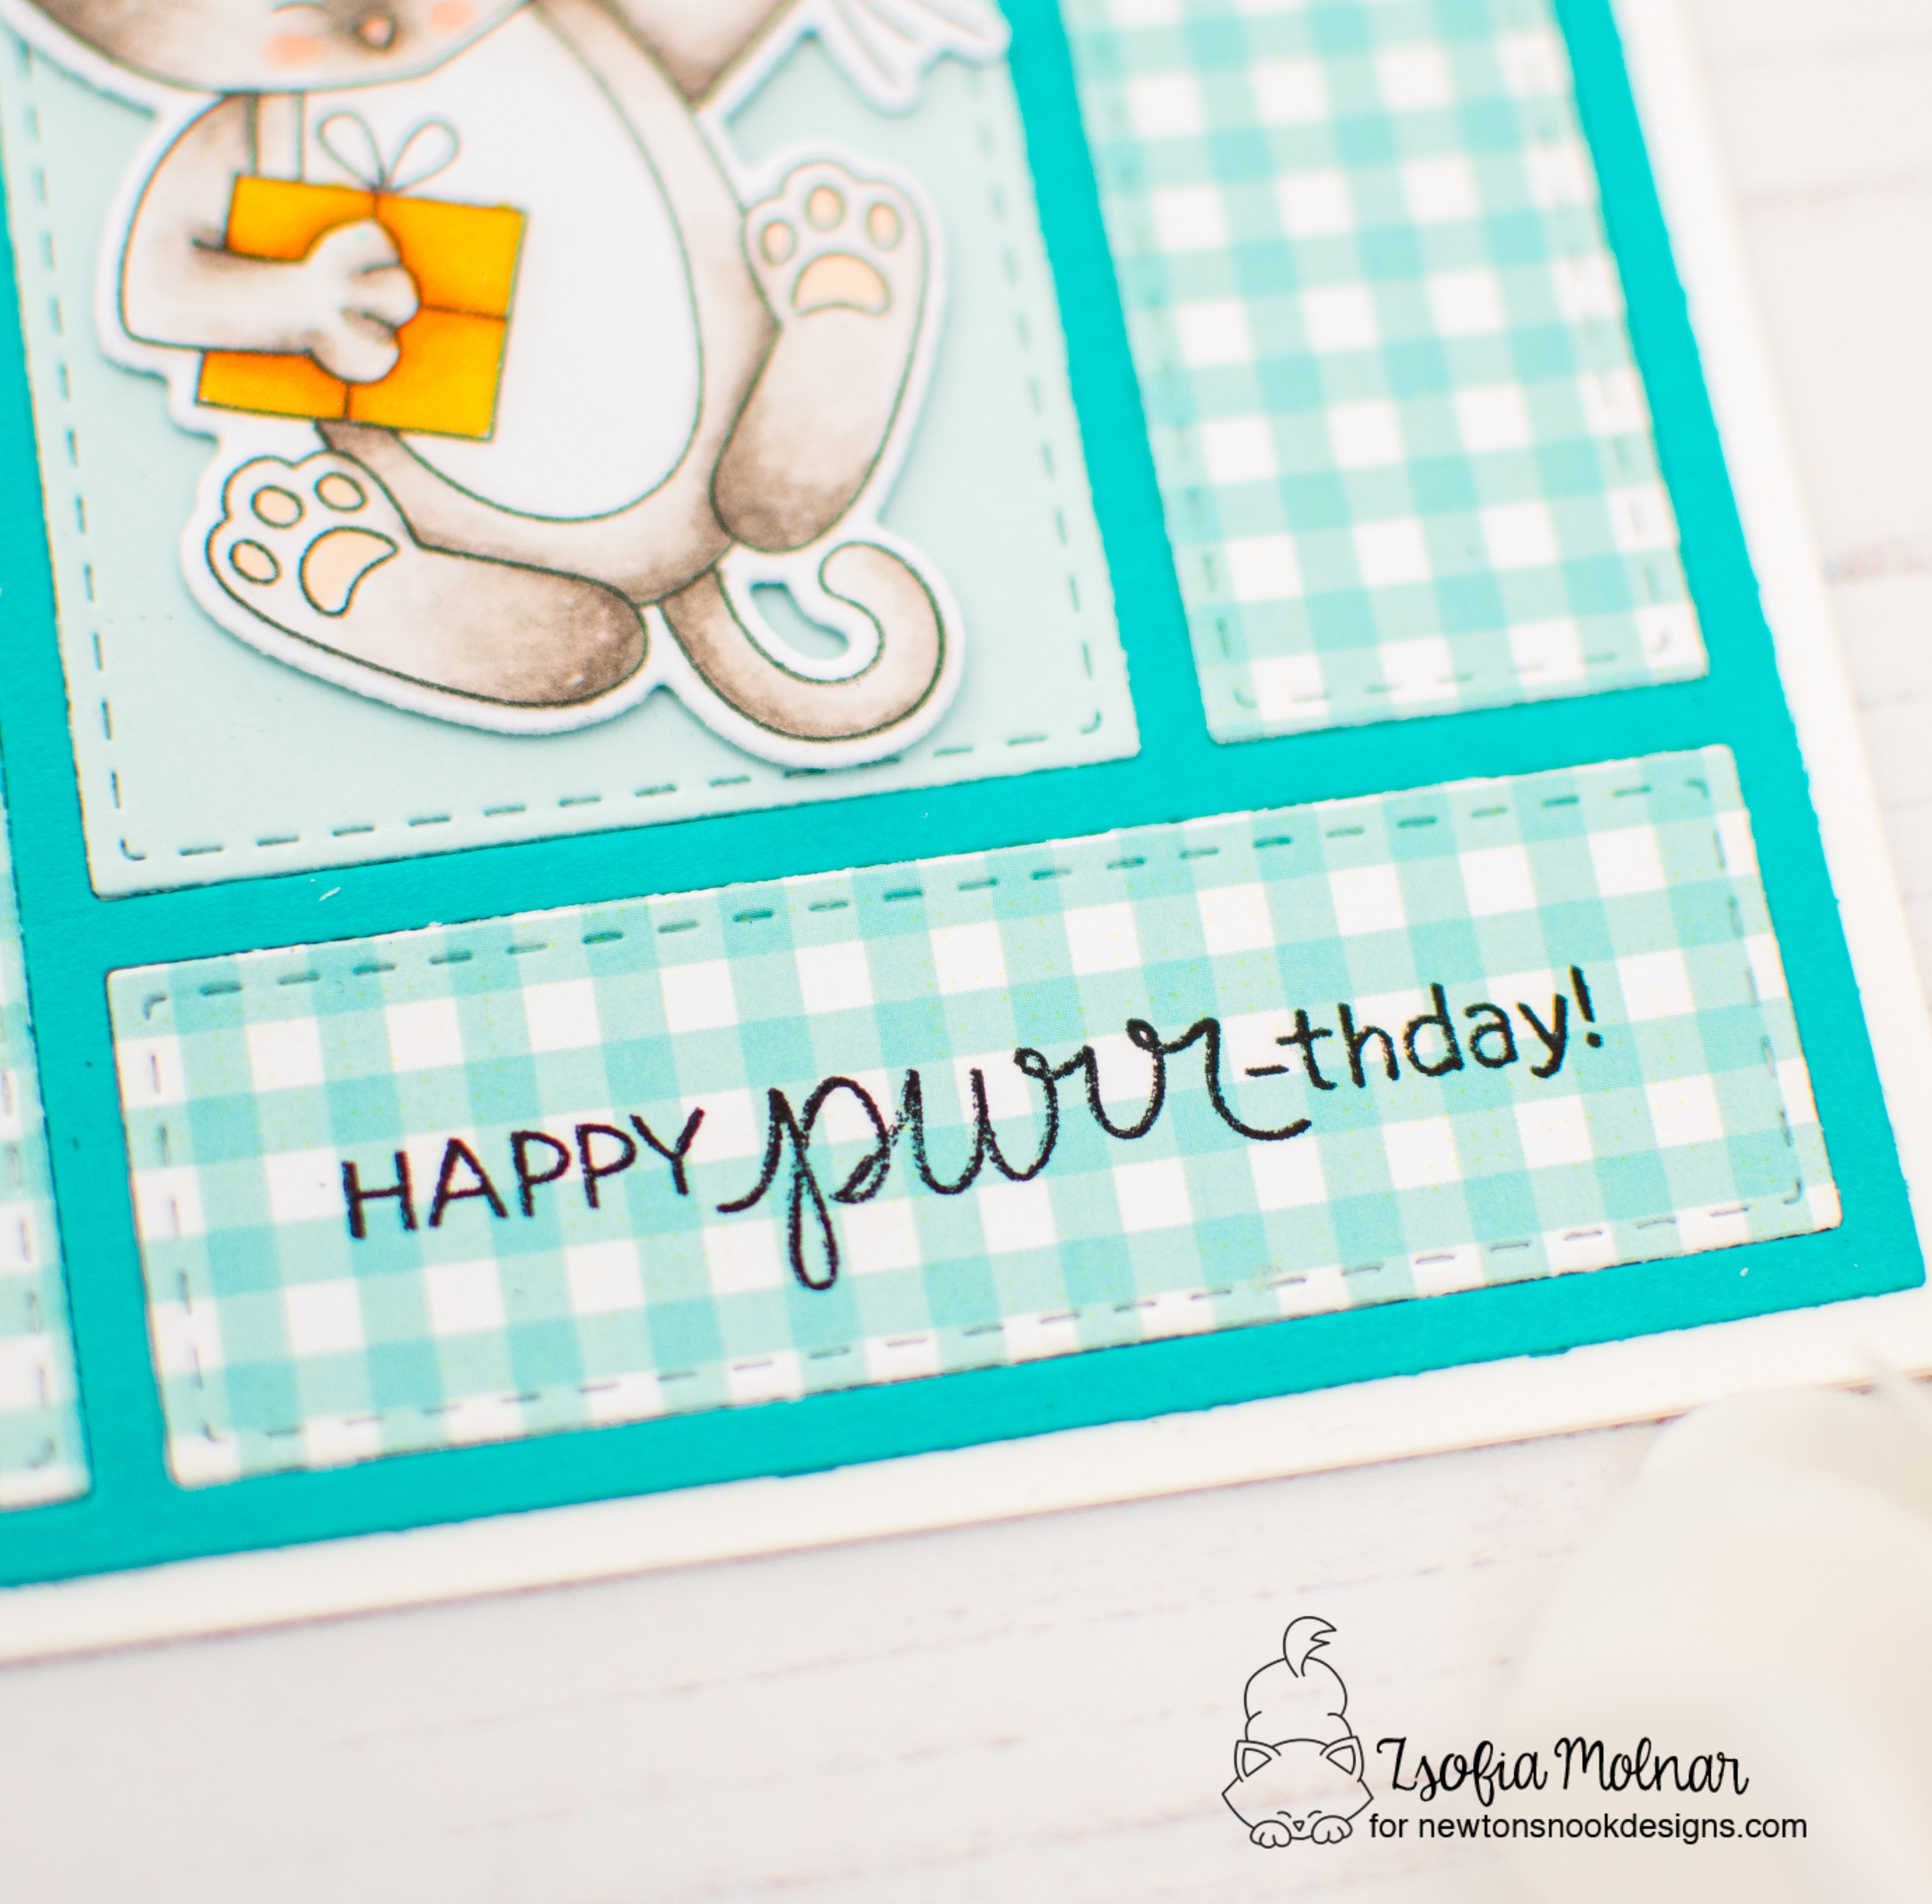
I stamped a sentiment from the same stamp set on the woodgrain cardstock using Stazon ink.

For the background I chose the Woof stencil and used it directly on the card base with Pine Needles, Lucky Clover and Cracked Pistachio Distress Oxide inks.

As a finishing touch I added a few lime green confetti and used glossy accents on the straw and bubbles.

GIVEAWAY
Enter to Win a $25 Prize! We will be choosing two lucky winners to win a $25 store credit for Newton’s Nook Designs online shop! The winners will be chosen at random from the collective blog posts featuring our new products this week. For a chance to win, leave comments on the Design Team Member Blog Posts (see list below) from Monday April 15 through Thursday April 18. You will not know which blog has been chosen so the more you comment on the better your chances are of winning! You have until Thursday, April 18th at 9 pm ET to comment — winners will be announced on the NND blog on Friday, April 19th.
Check out all the awesome Design Team Blogs below to enter:
Zsofia Molnar – you are here
I hope you enjoyed the whole week of the reveals and you got plenty of inspiration on how to use the new release. It is time to get ready to shop! If you like my cards, please make sure to follow me on Instagram, where I share more of my creations and also some tips and tricks.
See you soon,
Zsofi