Wild about you – Heffy Doodle

Hello Everyone,

I am back today with my last edition of my Perfect Combos series for Heffy Doodle. Life threw me a big adventure, which includes moving across the globe, so I decided to step down from the Design Team for a while. I hope you enjoyed my series throughout the years as much as I did!

For my card I chose the cute zebras from Two by Two Zoo Animals stamp set, coloured them with Copic markers and used the coordinating dies to cut them out. To create the perfect yet girlish background I used the Zebra stripes stencil with Saltwater Taffy Distress Oxide ink. Looks so cool in pink!

The focal point of the card is a fancy dark grey panel which I die cut with the Showtime Frame die set and used a white pigment ink with blending brush to add some highlights to the edges. I made sure it was dry before I stamped the sentient on top of it from the Wild at heart sentiment set using clear embossing ink. I heat embossed it with white embossing powder.

Another sentiment I stamped on a thin pink strip with black ink from the More Classic sentiments set.

I assembled the card, popped up the zebras and sentiment with 3D foam squares for a dimensional look. I chose a few sequins from the Tickled Pink Mix to adorn the card and make it really girlish 🙂 Isn’t it cute?

I hope you enjoyed my card today and share with us in our Facebook group if I inspired you. Follow me on Instagram if you like my cards, your support means so much to me! I am not giving up crafting, I just have a tiny little break till the move is over. Thank you for following my journey in the future too.

See you later (alligator),

Zsofi

Patterned paper play! – Heffy Doodle

Hello Everyone,

I am back today with another edition of my Perfect Combos series for Heffy Doodle. My girl and all her friends are turning 12 this year, so I came up with an easy design which can be tailored to the recipient easily by changing up the colours/numbers. I mixed and matched a few sets from the latest release, let me guide you trough how I made it.

CARD 1

As this card is purely made with die cuts, I did that first so it was easy to assemble after. I chose patterned paper from the Greatest Show paper pad. Then I cut a piece of thick vellum with Showtime frame, and some banners from patterned paper.

For the sentiment I used the Happy Birthday Jumbo Die, it looks so good cut from patterned paper! For the numbers I used the Birthday Numbers die set and silver glitter cardstock to make it festive. I cut 2 more layers from each number using white cardstock and adhered them on top of each other to get dimension.

I assembled the front panel on the vellum and hid the adhesive behind the banner and sentiment when adhering it to a piece of patterned paper. It looks so cool!

CARD 2

I made the pair of this card using the same paper pad and dies, but created candles instead of the numbers. I used patterned paper stripes and gave them a slightly bigger white mat. The flames I cut with 2 little dies from the Birthday Numbers set. I used gold glitter cardstock for the outline and metallic gold for the backing. Isn’t it pretty?

For the sentiment I used the Just for you shadow die set, cut it once from silver glitter cardstock and another time from black. I adhered them on top of each other tiny offset so it looks like shadow. I also heat embossed and another sentiment on a thin black strip using the Classic sentiment stamp set.

I chose a starry patterned paper as background and muted it with vellum which I cut with a Showtime Frame die. I didn’t want the vellum to be too loose on the card base so I needed a Skinny Rectangle Frame to hide the adhesive behind it. I cut it from patterned paper and assembled the card. Perfect for all birthdays, all ages, both for girls and boys, right?

I wish you enjoyed my card today and share with us in our Facebook group if I inspired you. Follow me on Instagram if you like my cards, your support means so much to me! Thank you!

See you soon,

Zsofi

Have a girlie birthday! – Heffy Doodle

Hello Everyone,

I am back today with another edition of my Perfect Combos series for Heffy Doodle. May is a birthday heavy moth in my family and I needed a girlie birthday card for a 7 year-old princess. I mixed and matched a few sets and here is the result. Let me guide you trough how I made it.

First I stamped and coloured the images from Two by Two Zoo Animals and from Wrapped with Love stamp sets using Spectrum Noir Illustrator markers. I used girlish colours to match the recipient. I used the coordinating dies to cut them all out.

Then I die cut the Jumbo Happy Birthday sentiment from pink cardstock 3 times and stacked them together for a dimensional look. I cut the shadow from yellow cardstock.

For the background I chose patterned paper from The Great Show paper pad and gave it an orange mat. After assembling the card it was high time for finishing touches: clear shimmer on the sentiments for a subtle sparkle and glossy accents on the ribbons. It totally makes it special. And who doesn’t like a little glimmer and shine?

I wish you enjoyed my card today and share with us in our Facebook group if I inspired you. Follow me on Instagram if you like my cards, your support means so much to me! Thank you!

See you soon,

Zsofi

Get well soon, friend! – Heffy Doodle

Hello Everyone,

I am back today with another edition of my Perfect Combos series for Heffy Doodle. As you may know, Lesley has just had a surgery and she is at home recovering. I wanted to make a cute card specifically for her to cheer her up in these hard days. I mixed and matched a few stamps and dies from the latest release, let me guide you through the process.

First I stamped and coloured the images from the Two by Two Zoo animals stamp set using Copic markers. Then I die cut everything out with their coordinating dies.

While I was at die cutting I also cut a cute label with the Showtime frames from green cardstock and a set of white letters using the Moxie Alphabet dies. I spelled “friend” and adhered it on the top of the label with liquid glue. I stamped another sentiment under it from the Get well greetings stamp set.

For the background I chose a striped pattern paper from the Spring Breeze paper pad and added a slightly smaller vellum layer over it before adhering the green label. I popped up the coloured images with 3D foam squares and finished the card with a few sequins from the Enchanted Moss Sparkle Mix. I also used a black glaze pen on the eyes of the critters.

I wish you enjoyed my card today and share with us in our Facebook group if I inspired you. Follow me on Instagram if you like my cards, your support means so much to me! Thank you!

See you soon,

Zsofi

Let’s Party – Heffy Doodle

Hello Everyone,

I am back today with another edition of my Perfect Combos series for Heffy Doodle. As I can never have enough birthday cards and I know that May will be full of birthdays in my family, I combined some of the stamps and dies and patterned paper from the latest release. Let me show you step by step.

First I stamped and coloured the cute flamingos from the Flock star stamp set using Copic markers. Then I cut everything out with their coordinating dies.

While I was die cutting, I also cut the Jumbo Let’s Party die: the shadow from yellow cardstock, the sentiment from black and from pink glitter cardstock. I adhered the glitter one on top of the black tiny offset, so it casts a shadow. Then I added it to the yellow background. This easy trick helps to make the sentiment stand out even more!

For the background I chose patterned papers from The greatest show paper pad. One I adhered to an A2 sized card and the second one I die cut a scalloped rectangle from with the Mini Scalloped Imperial rectangle. I added the die cut sentiment, tuck a flamingo under the “L” and popped up the other two birds with 3D foam squares.

I decided to add a white heat embossed sentiment on a thin black strip. I love that the Classic sentiments stamp set is full of essential greetings! As a finishing touch I used glossy accents on the beaks of the birds and added a few sequins from the Tickled Pink sparkle mix.

I wish you enjoyed my card today and share with us in our Facebook group if I inspired you. Follow me on Instagram if you like my cards, your support means so much to me! Thank you!

See you soon,

Zsofi

Easter Croc – Heffy Doodle

Hello Everyone,

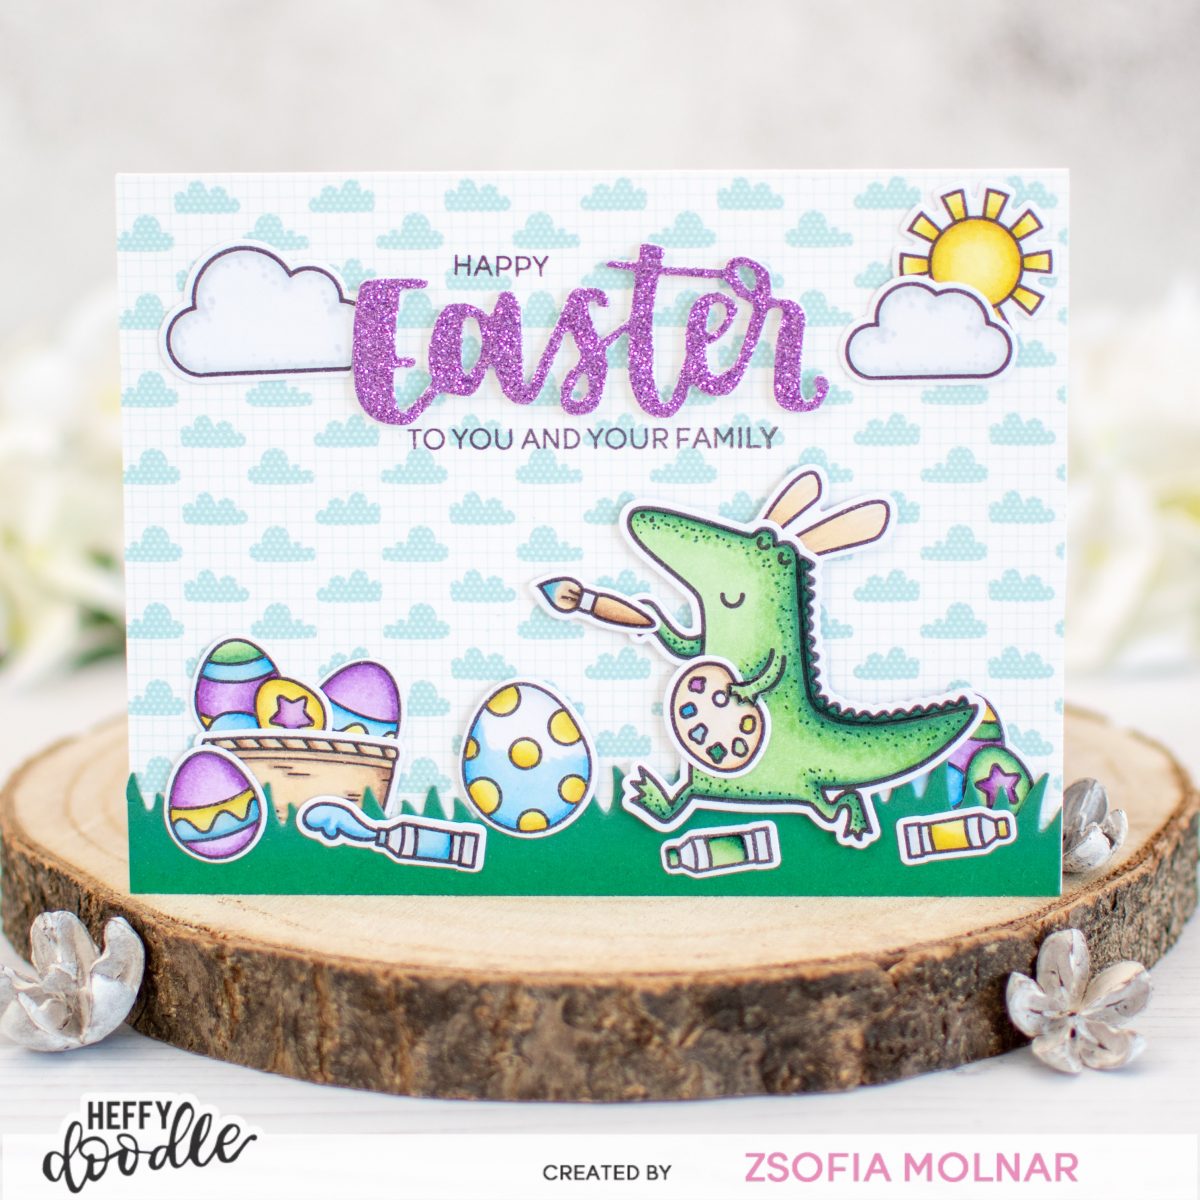
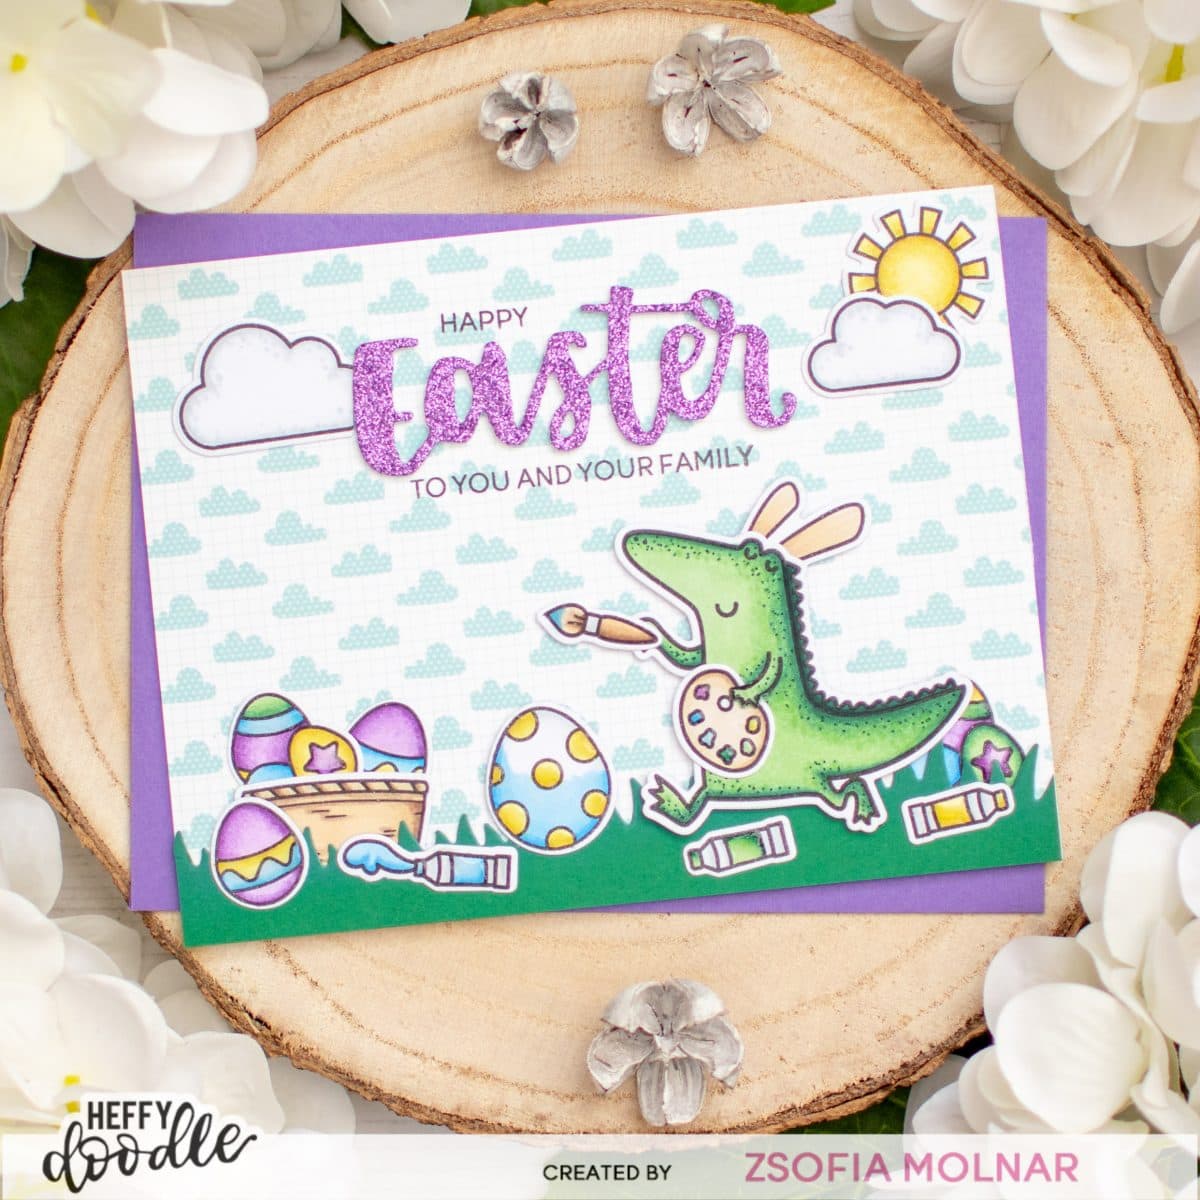
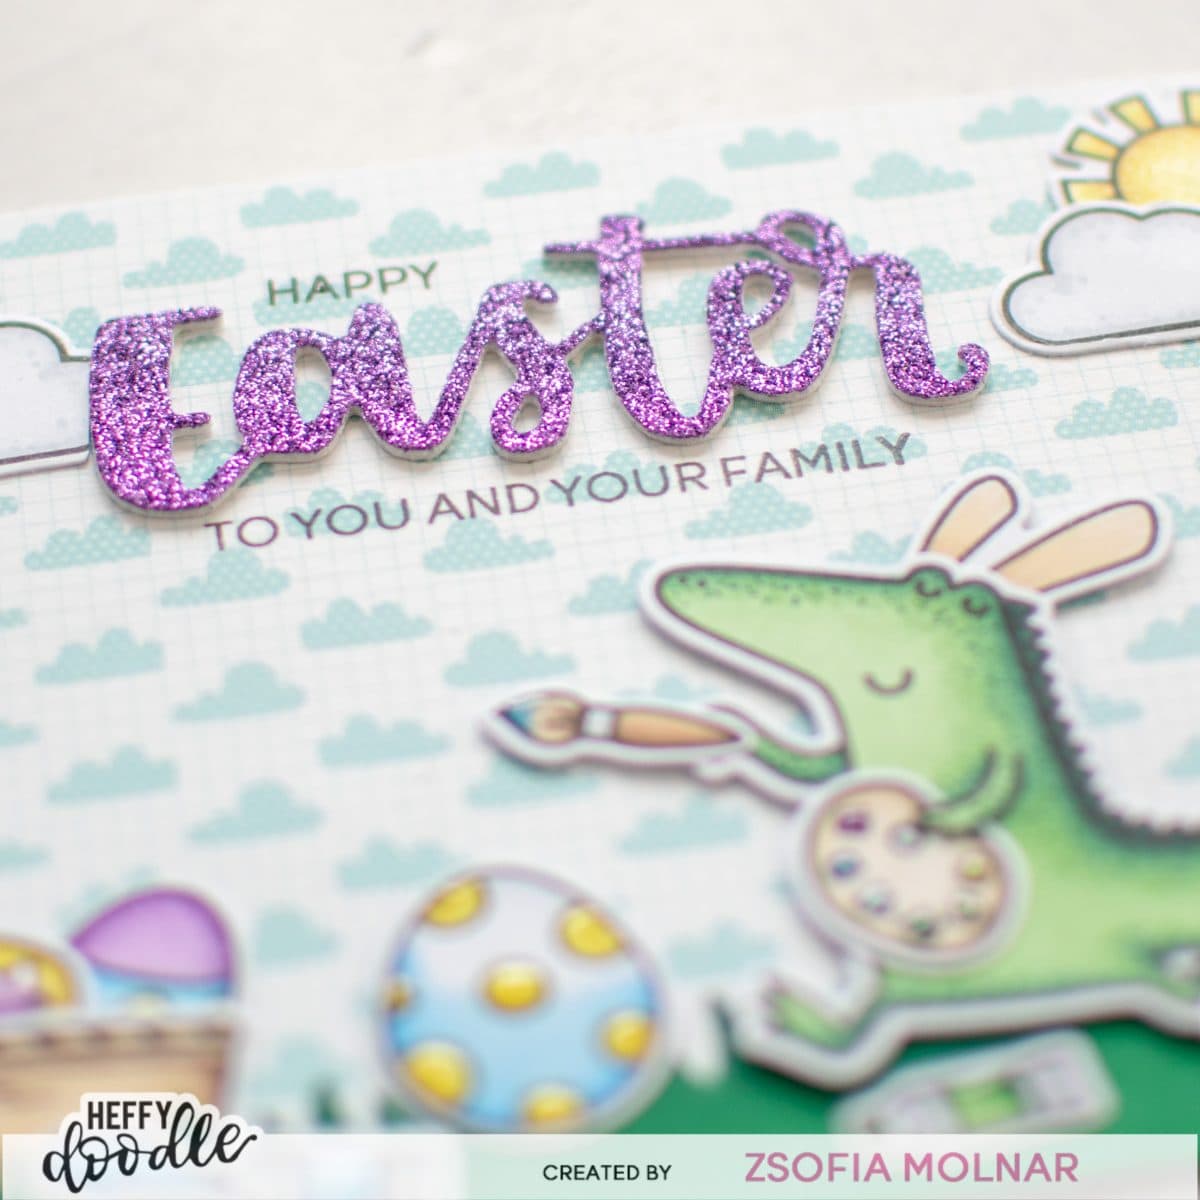
Welcome to another edition of my Perfect Combos series for Heffy Doodle. As Easter is just around the corner, I couldn’t help creating a fun little scene with my favourite croc pretending to be the Easter bunny and painting eggs. Such a cheerful scene with muted colours, it would make anyone smile! Let me guide you through the process.

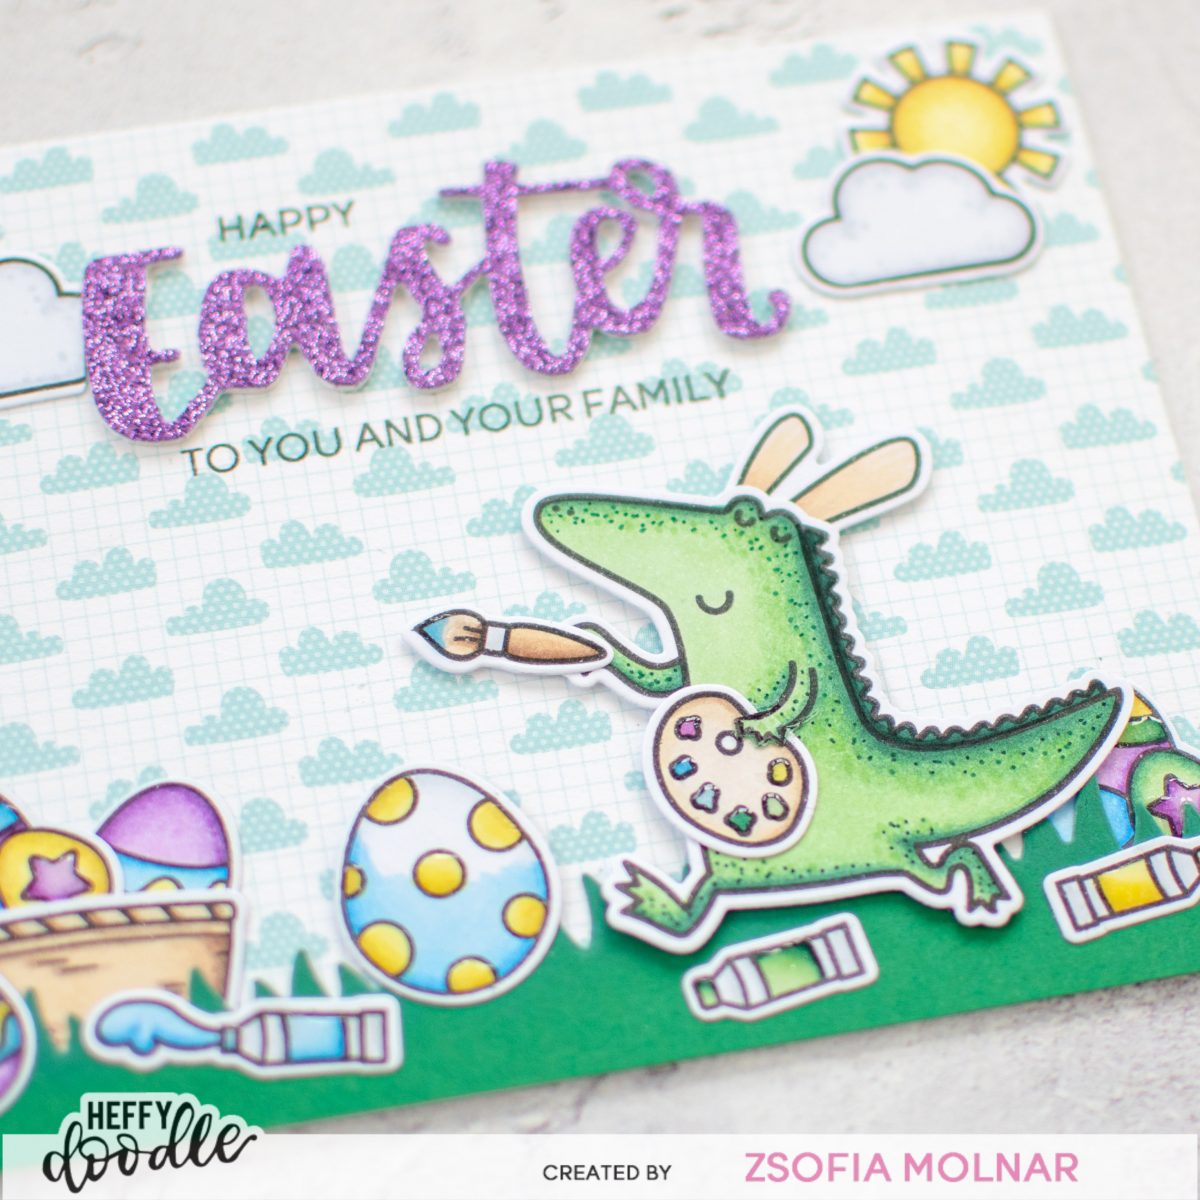
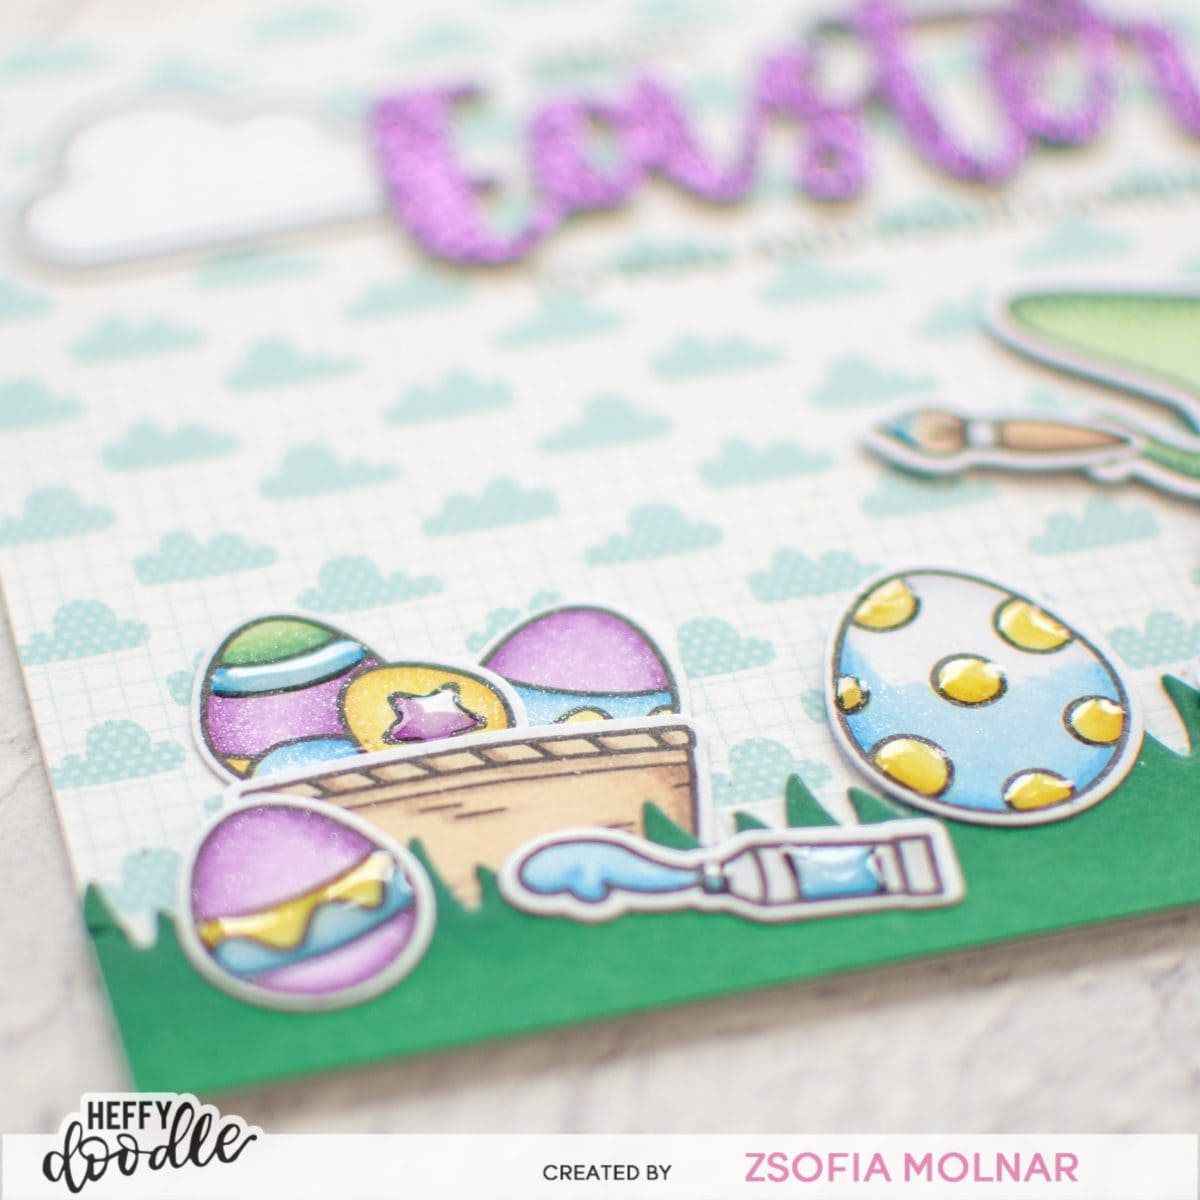
First I stamped and coloured the images from the following stamp sets: Pandtastic Stampers, Honey Bunny Boo, Mewniverse, Happy Snappy Crocs, Flying High. I used Spectrum Noir Illustrator markers: RB4, RB2, RB1, MB05, IG2, IG1, JG7, JG5, LG4, LG2, GB4, CT2, CT1, TB4, TB2, TB1, PV4, PV3, PV1. I added dotted details to the clouds and croc with the darker markers, it adds texture. Then I die cut them all with their coordinating dies.

For the background of the scene I chose a pretty patterned paper from Lawn Fawn. I die cut grass with the Grassy Lass border dies from Wintergreen cardstock and added a bit of shading with Pine Needles Distress Oxide ink to the edges.

I assembled the scene placing the painted eggs in the basket. I also added bunny ears to the sweet croc, it totally makes me giggle.

For the sentiment I die cut the Easter Heffy Cuts die from white cardstock 3 times and once from purple glitter cardstock (Simon Says Stamp) and layered them on top of each other for a dimensional look. The rest of the sentiment I stamped around the die cut in black, and embellished the sky with the coloured images.

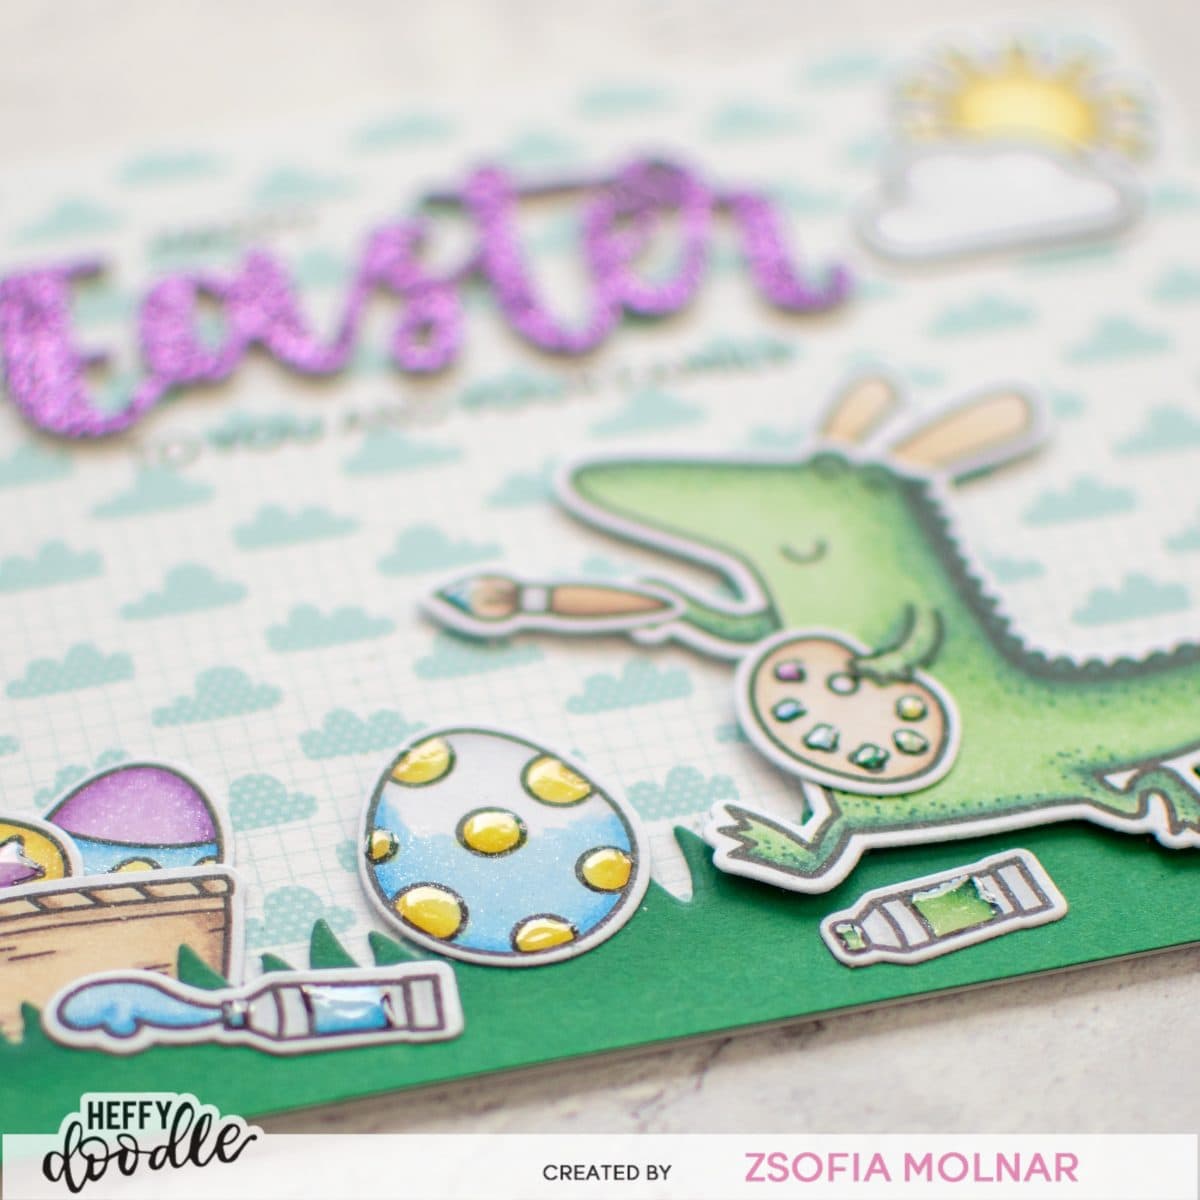
As a finishing touch I used a clear shimmer pen on the sun and the eggs and added glossy accents to the patterns and paint tubes.

I wish you enjoyed my card today and share with us in our Facebook group if I inspired you. Follow me on Instagram if you like my cards, your support means so much to me! Thank you!

See you soon,

Zsofi

Birthday tags – Heffy Doodle

Welcome to another edition of my Perfect Combos series for Heffy Doodle. We are all in excitement of the new release so I brought you some super cute tags using the Wrapped with love stamp/die set and the Tag shaker dies. Let me guide you through the process!

First I stamped and coloured the images from the Wrapped with Love stamp set using Copic markers. The colours I used are the following: W9, W7, W5, W3, W1, W00. E44, E43, E42, E40, RV99, RV09, RV06, RV04, RV02, RV10, YR09, YR07, Y38, Y15, Y08, Y02. I used the coordinating dies to cut everything out.

While I was die cutting I also cut tags with the Tag shaker die set: one from yellow cardstock, one from vellum and one from patterned paper from the Spring Breeze paper pad. I also cut the rectangular reinforcer from the same yellow cardstock and the bow from pink cardstock.

I assembled the tags: adhered the pattered one on top of the yellow slightly offset, then added the reinforcer on the vellum tag. I used the back of the reinforcer to hide the adhesive and applied liquid glue on this small part before attaching the vellum tag directly on top of the patterned one. It mutes the pattern tiny and gives a very delicate, extra touch!

I popped up the images on the bottom, the bow o the top. I white heat embossed a sentiment on a thin strip of black cardstock and cut it up, so each word is on a separate banner. This way I could fit a longer sentiment on the tags. As a finishing touch I used black & white twine and added clear shimmer to the packages.

I wish you enjoyed today’s Perfect Combo and will check back later for more inspiration. If you like my cards, please make sure to follow me on Instagram where I also share my happy creations! Thank you!

See you soon,

Zsofi

Heffy Doodle New Release Inspiration Blog Hop

Hello Everyone,

Welcome to the Heffy Doodle New Release Inspiration Blog Hop!  We are so excited to share amazing cards from our Design Team members using the new release which goes live today in the stores! Scroll down for the details, and grab a coffee/tea before you start hopping!

For my card I stamped and coloured the cute images from Be Hoppy and Special Delivery as I wanted to make a new baby scene.

The Copic markers I used are the following:

  • frogs: G28, G16, G02, G00
  • leaves: YG09, YG06, YG05, YG01
  • reed: E57, E55, E53, YG67, YG17, YG03
  • stork and pebbles: N7, N5. N3, N1
  • log and bag: E59, E57, E55, E53, E51
  • flower: YR09, YR04, Y38

Then I cut them all out with their coordinating dies.

For the background I did some simple inkblending on a white card base with Tumbled Glass Distress Oxide ink for the sky. Then I masked off a part for the river with Heffy Memo Tape and blended Salty Ocean Distress Oxide ink very gently before using the Ripple Waves stencil. I applied the same ink just with a heavier hand an before removing the stencil I sprayed it with a clear shimmer mist. I love the effect it gives!

I also die cut a grassy bank with the Freshly Cut Grass die set and blended it with Mowed Lawn Distress Oxide ink.

After assembling the scene, I stamped the sentiment on the very top of the card from the Special Delivery stamp set and white heat embossed another one on black cardstock. I used its coordinating die to cut it out and adhered it under the stamped line.

GIVEAWAY

For today’s special Blog Hop, you can win a ÂŁ50 voucher to the Heffy Doodle store! To be entered to win the giveaway, all you need to do is comment at each stop along the Blog Hop before March 14th, 2023 at 11:59 PM EST.  The winner will be announced on the Heffy Doodle Blog on March 16th at 10:00 AM EST!

Heffy Doodle Blog
Tallie Clewley
Kari VanNoy
Zsofia Molnaryou are here
Joy Baldwin
Ali Farmer
Lidya Wirani
Lauren Taylor
Peggy Emmerink
Claudia Mauri
Jarle Franceus
Amanda Fitterer
Natasha Davies
Amanda Stevens
Francesca Vignoli

I hope you got inspired and enjoy the hop. If you don’t mind a bit of curiosity, I would love to know which products are your favourites from this release!

See you soon.

Zsofi

Heffy Doodle New Release reveals – Day 4

Hello Everyone,

Welcome to the last day of the new release reveals at Heffy Doodle! Our team made gorgeous samples for you to show the rest of the new goodies, so make sure to visit the Heffy Doodle Blog for more details.

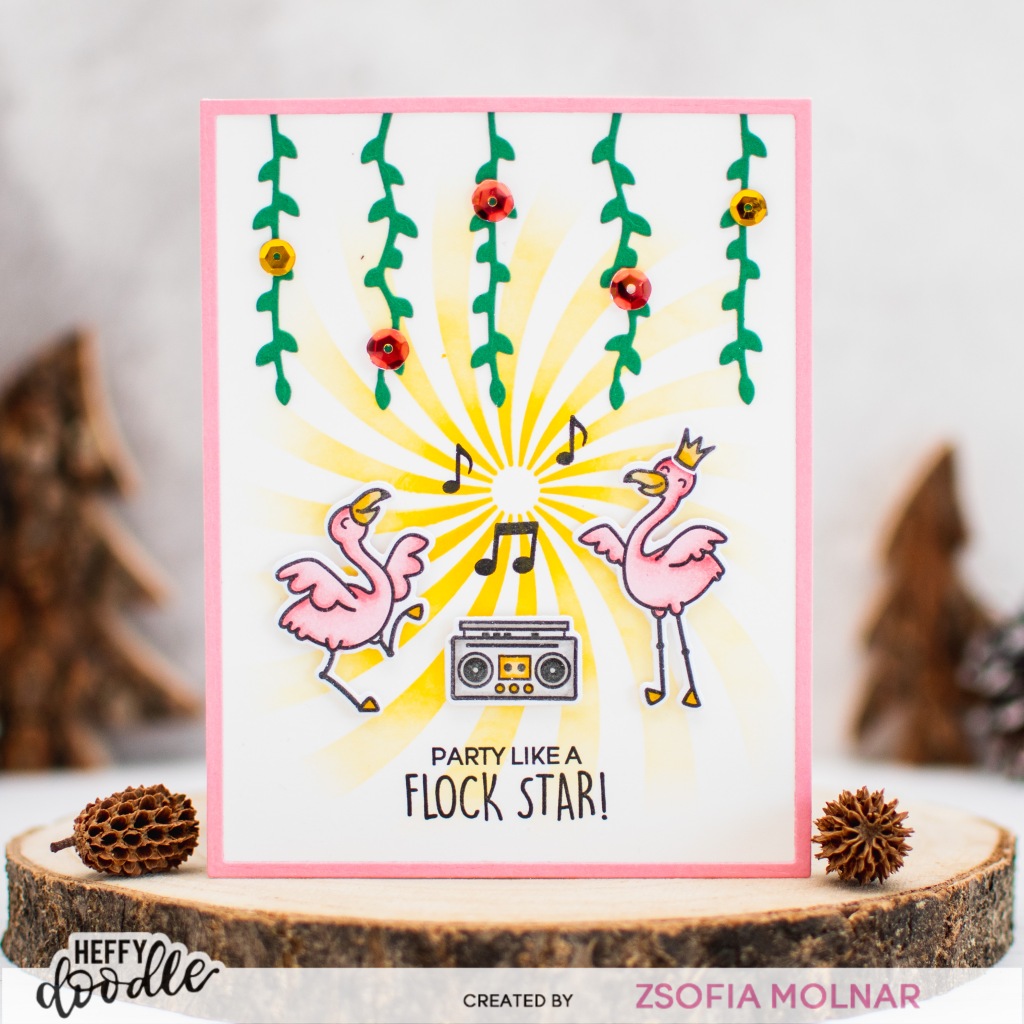
I have a fun party card for you featuring the Flockstar stamp/die set, the Freshly Cut Grass dies, the Candy Swirl stencil and the Pride Sparkle Mix.

First I stamped and coloured the cute flamingos from the Flockstar stamp set using Spectrum Noir markers. The colours I used are: PP4, PP3, PP2, PP1, LG4, BG4, BG1, GY2. I used the coordinating dies to cut everything out.

Then I used the Candy Swirl stencil on a top folding white note card with Fossilized Amber and Mustard Seed Distress Oxide inks. I made the patter fade out towards the edges of the card by simply applying the lighter ink with a very light hand.

To embellish the scene I die cut a few leaves with the Freshly Cut Grass dies from green cardstock ad adhered them to the top of the card. I also cut a pink Skinny Imperial Rectangle Frame to frame the scene. I popped up the images with 3D foam squares and stamped a sentiment and a few music notes in black.

As a finishing touch I added a few sequins from the Pride Sparkle Mix and used glossy accents on the beaks and legs, and also on the tape recorder too. So retro and so cool!

I wish you enjoyed today’s reveals and you are ready to shop! Pre-orders are open and every purchase gets a freebie!

See you soon,

Zsofi

Heffy Doodle New Release reveals – Day 3

Hello Everyone,

Welcome back to the 3rd day of the Heffy Doodle new release reveals! Our Design Team showcases a galore of fun new products today, for all the info please visit the Heffy Doodle blog.

For my card today, I used the Sky High Cloud Backdrop die, the Special Delivery stamp/die set, the New Arrival sentiment set, the Moxy Alphabet die set and the Starry Night Sparkle Mix.

First I worked on the background: I die cut the Sky High Cloud Backdrop die from white cardstock and did a little ink blending with Tumbled Glass and Salty Ocean Distress Oxide inks. I also added a little shading to all the little die cut clouds, I love the depth it gives. I mounted it on an A2 sized notecard and popped up all the clouds with 3D foam squares for dimension.

Then I stamped and coloured the cute stork with the bag from the Special Delivery stamp set using Copic markers. The coloulrs I used are: T7, T5, T2, T1, T0, E44, E42, E41, YR09, YR07, YR04. I used the coordinating dies to cut them out.

While I was die cutting I also cut my custom sentiment which I made with the Moxie Alphabet die set. I cut each letter twice: once from white and also from silver glitter cardstock. I adhered them together and adhered them to the clouds. Some letters needed extra support, so I used teeny tiny 3D foam squares for that.

I also stamped the rest of the sentiment under the letters from the New Arrival stamp set.

I popped up the stork and embellished the card with a few sequins from the Starry Night Sparkle Mix. I wish I have made a pink version of this card immediately, but I was not wise enough. Next time 🙂

I wish you enjoyed today’s reveals and will come back tomorrow for more fun! And don’t forget that every preorder after 28/02 gets a freebie!

See you,

Zsofi