Easter Peeps – Newton’s Nook Designs

Hello Everyone,

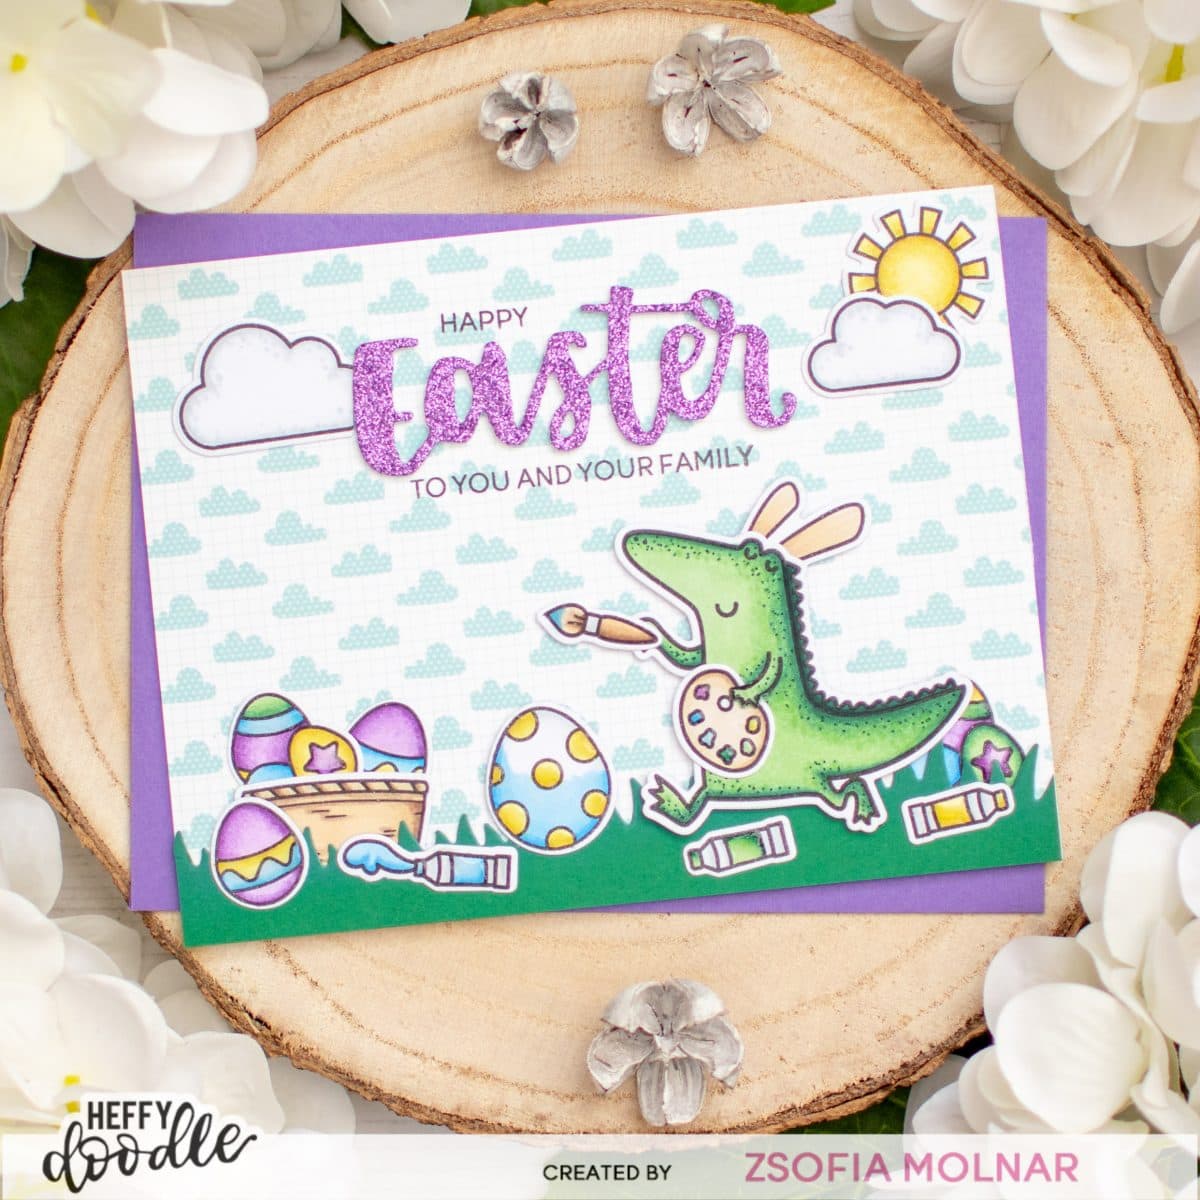
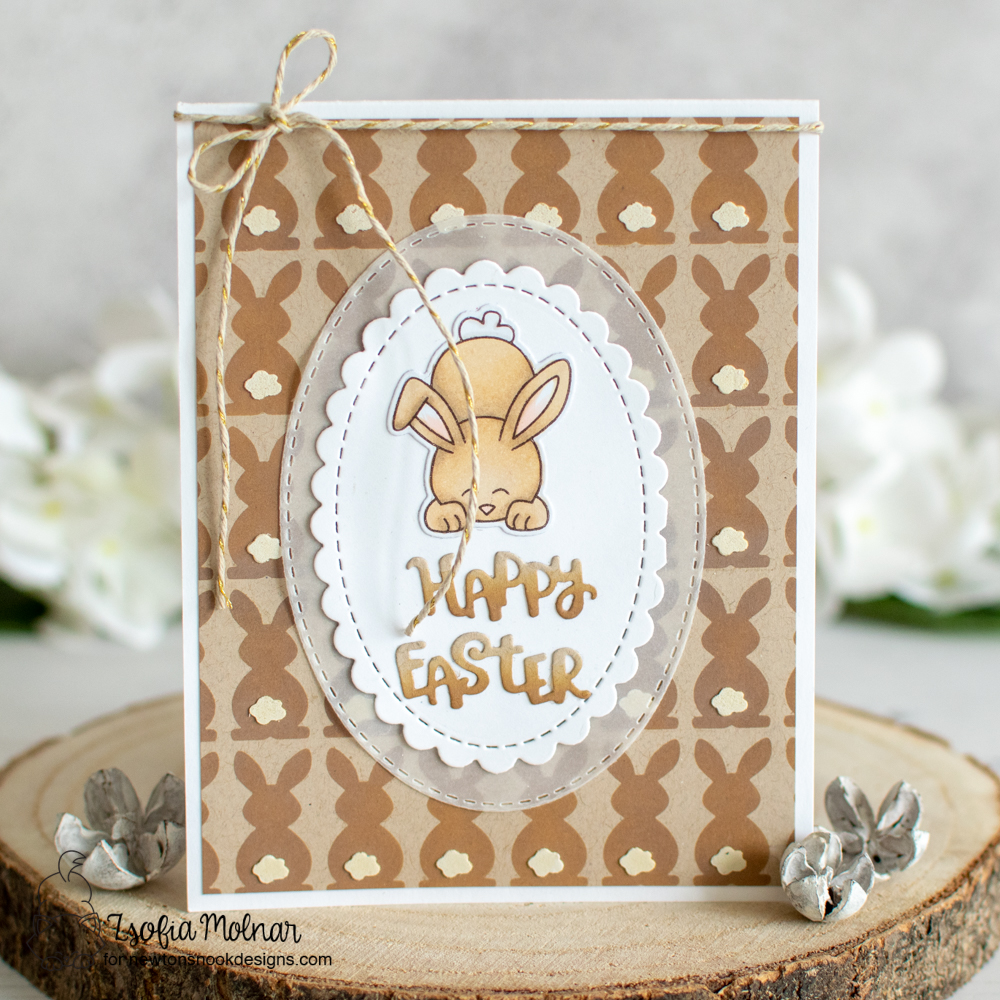
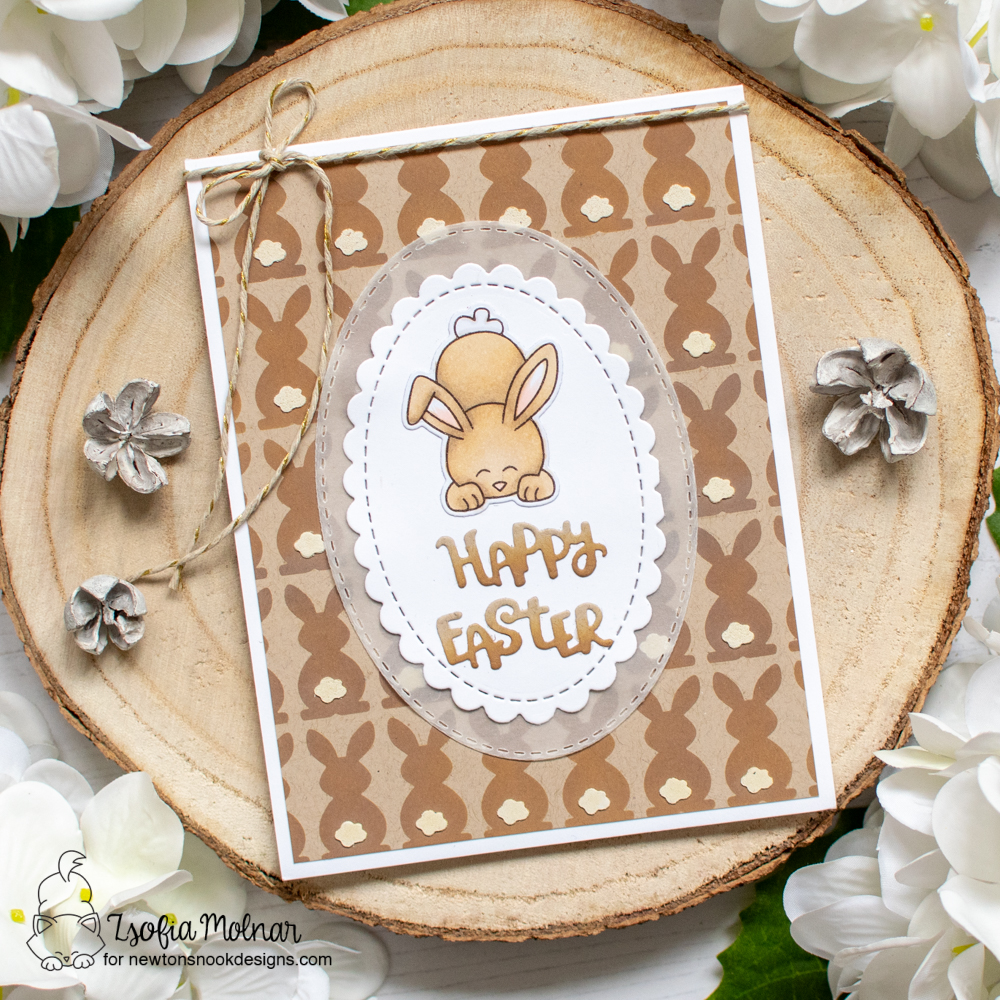
I am back today with an adorable critter card for Easter using an older favourite stamp from Newton’s Nook Designs. I paired them with a couple of other dies to create this little Easter scene, let me guide you through the process.

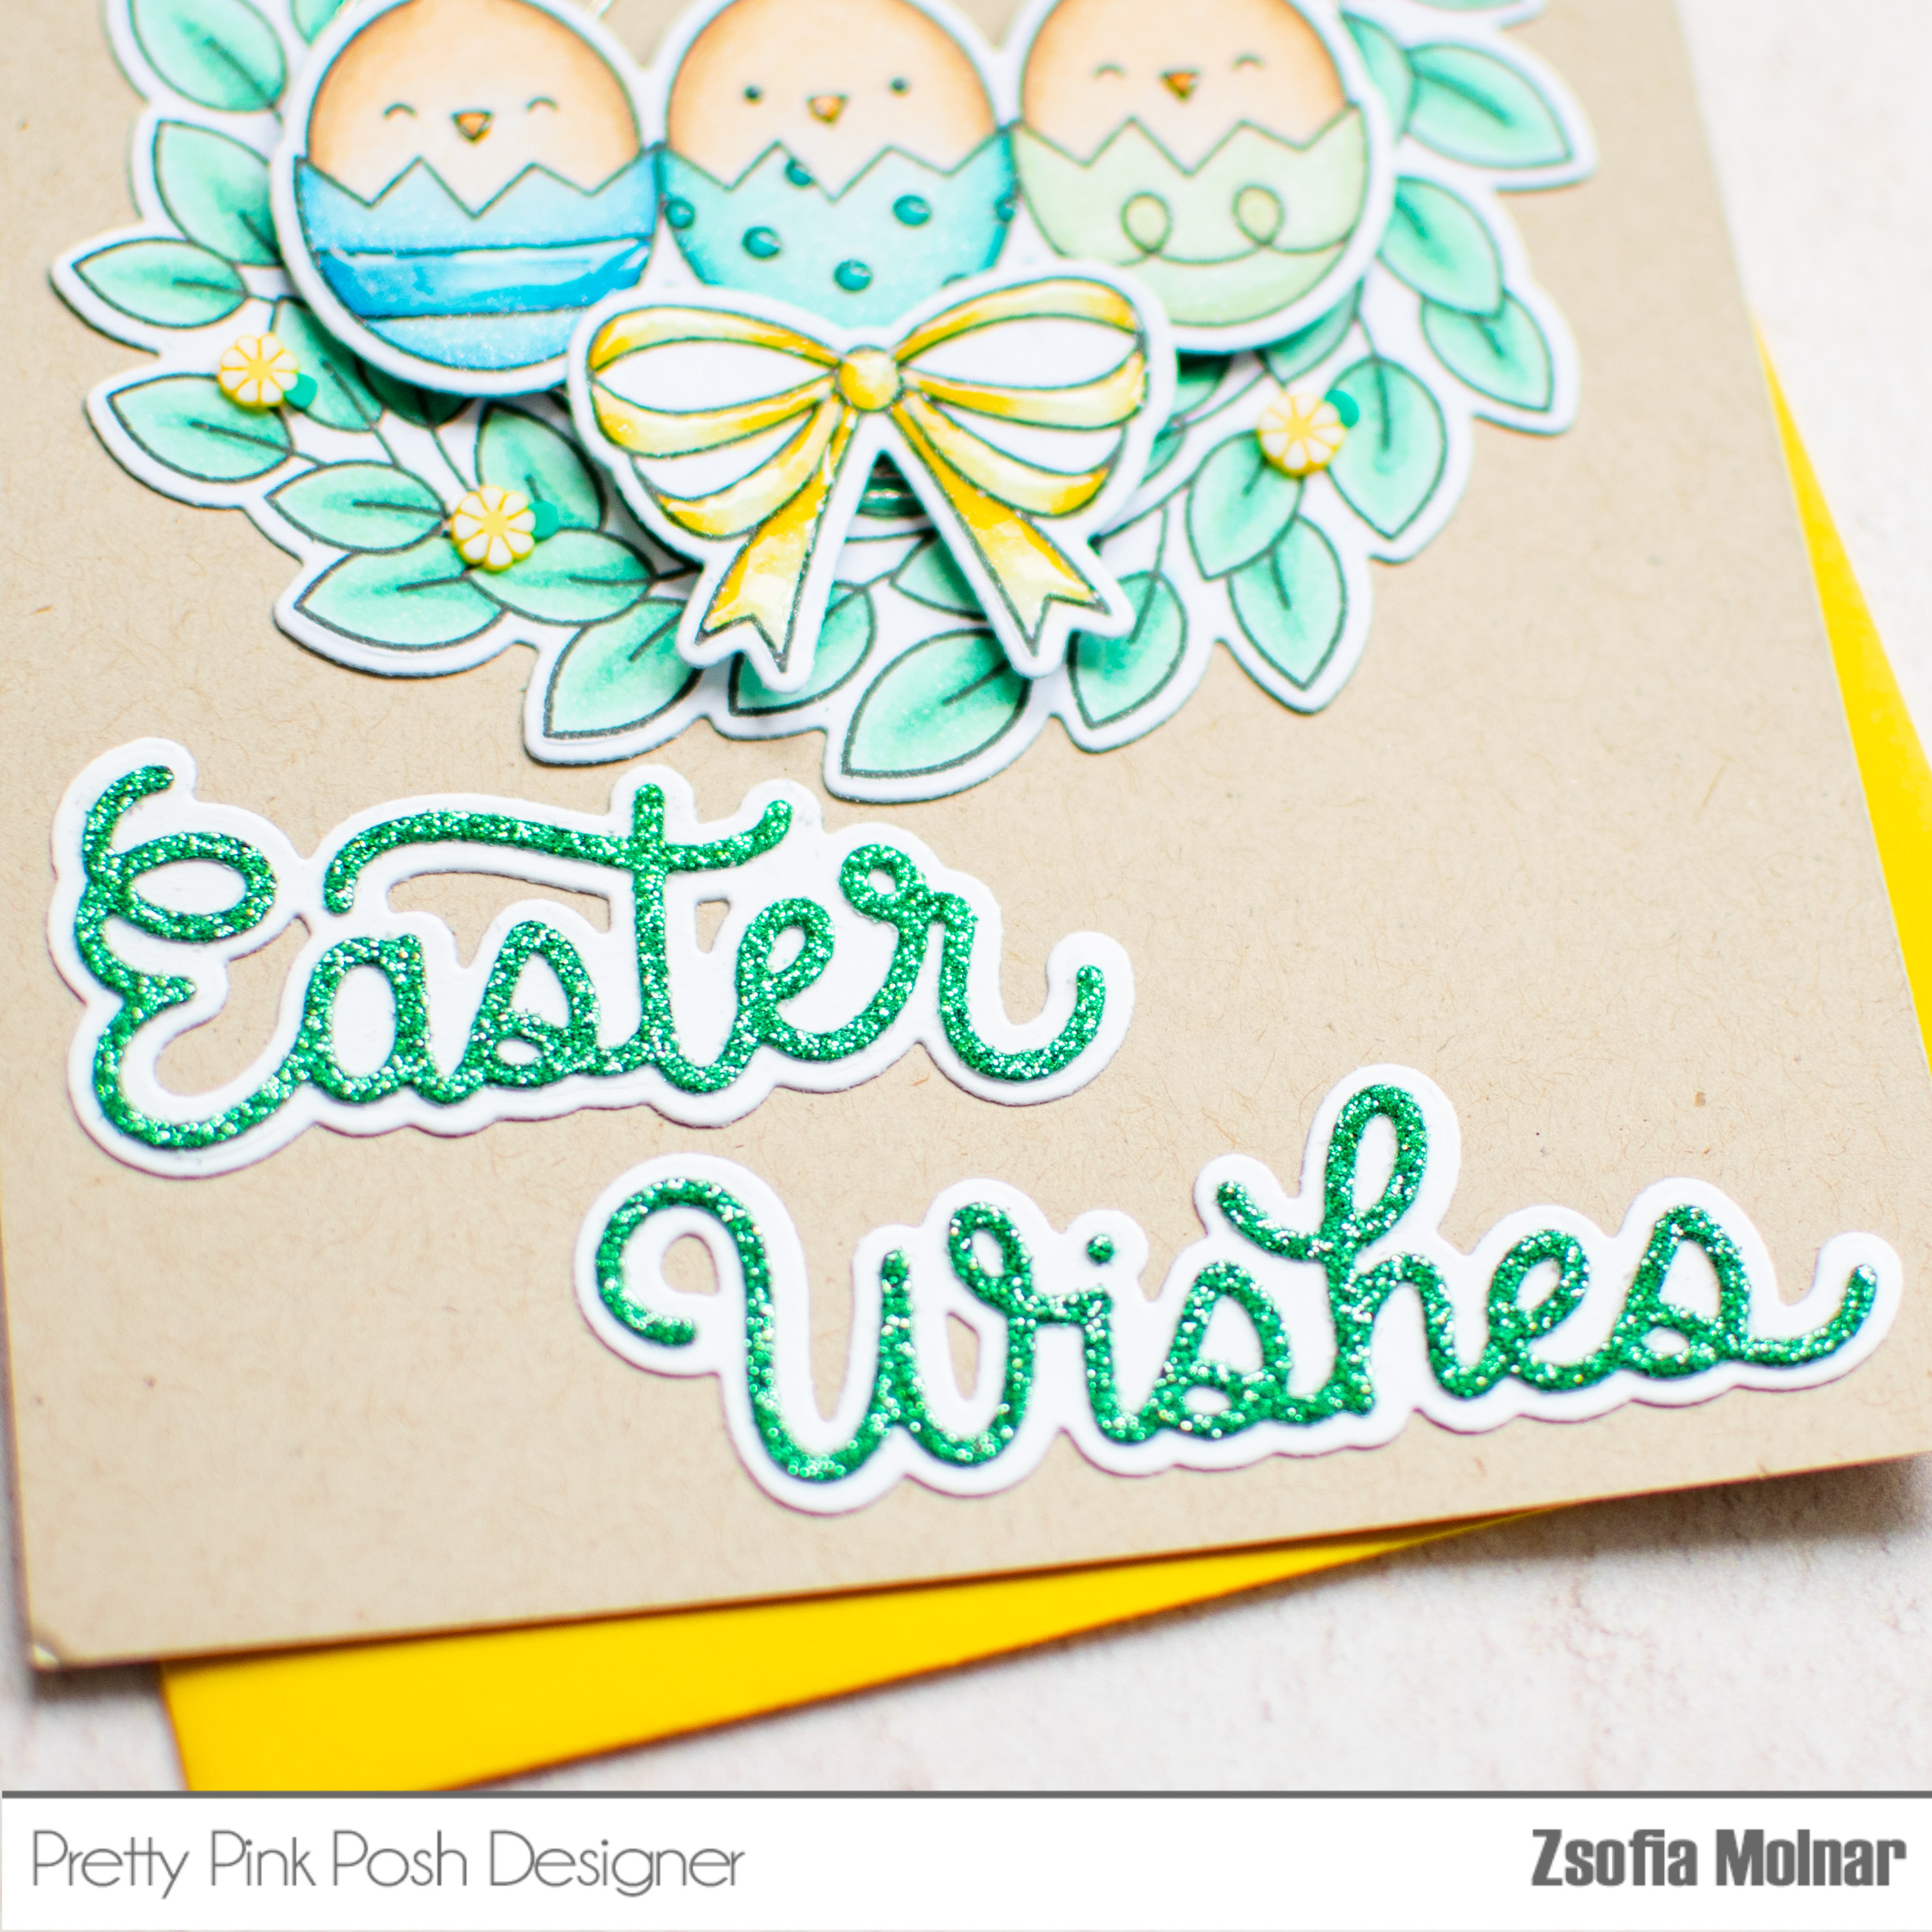
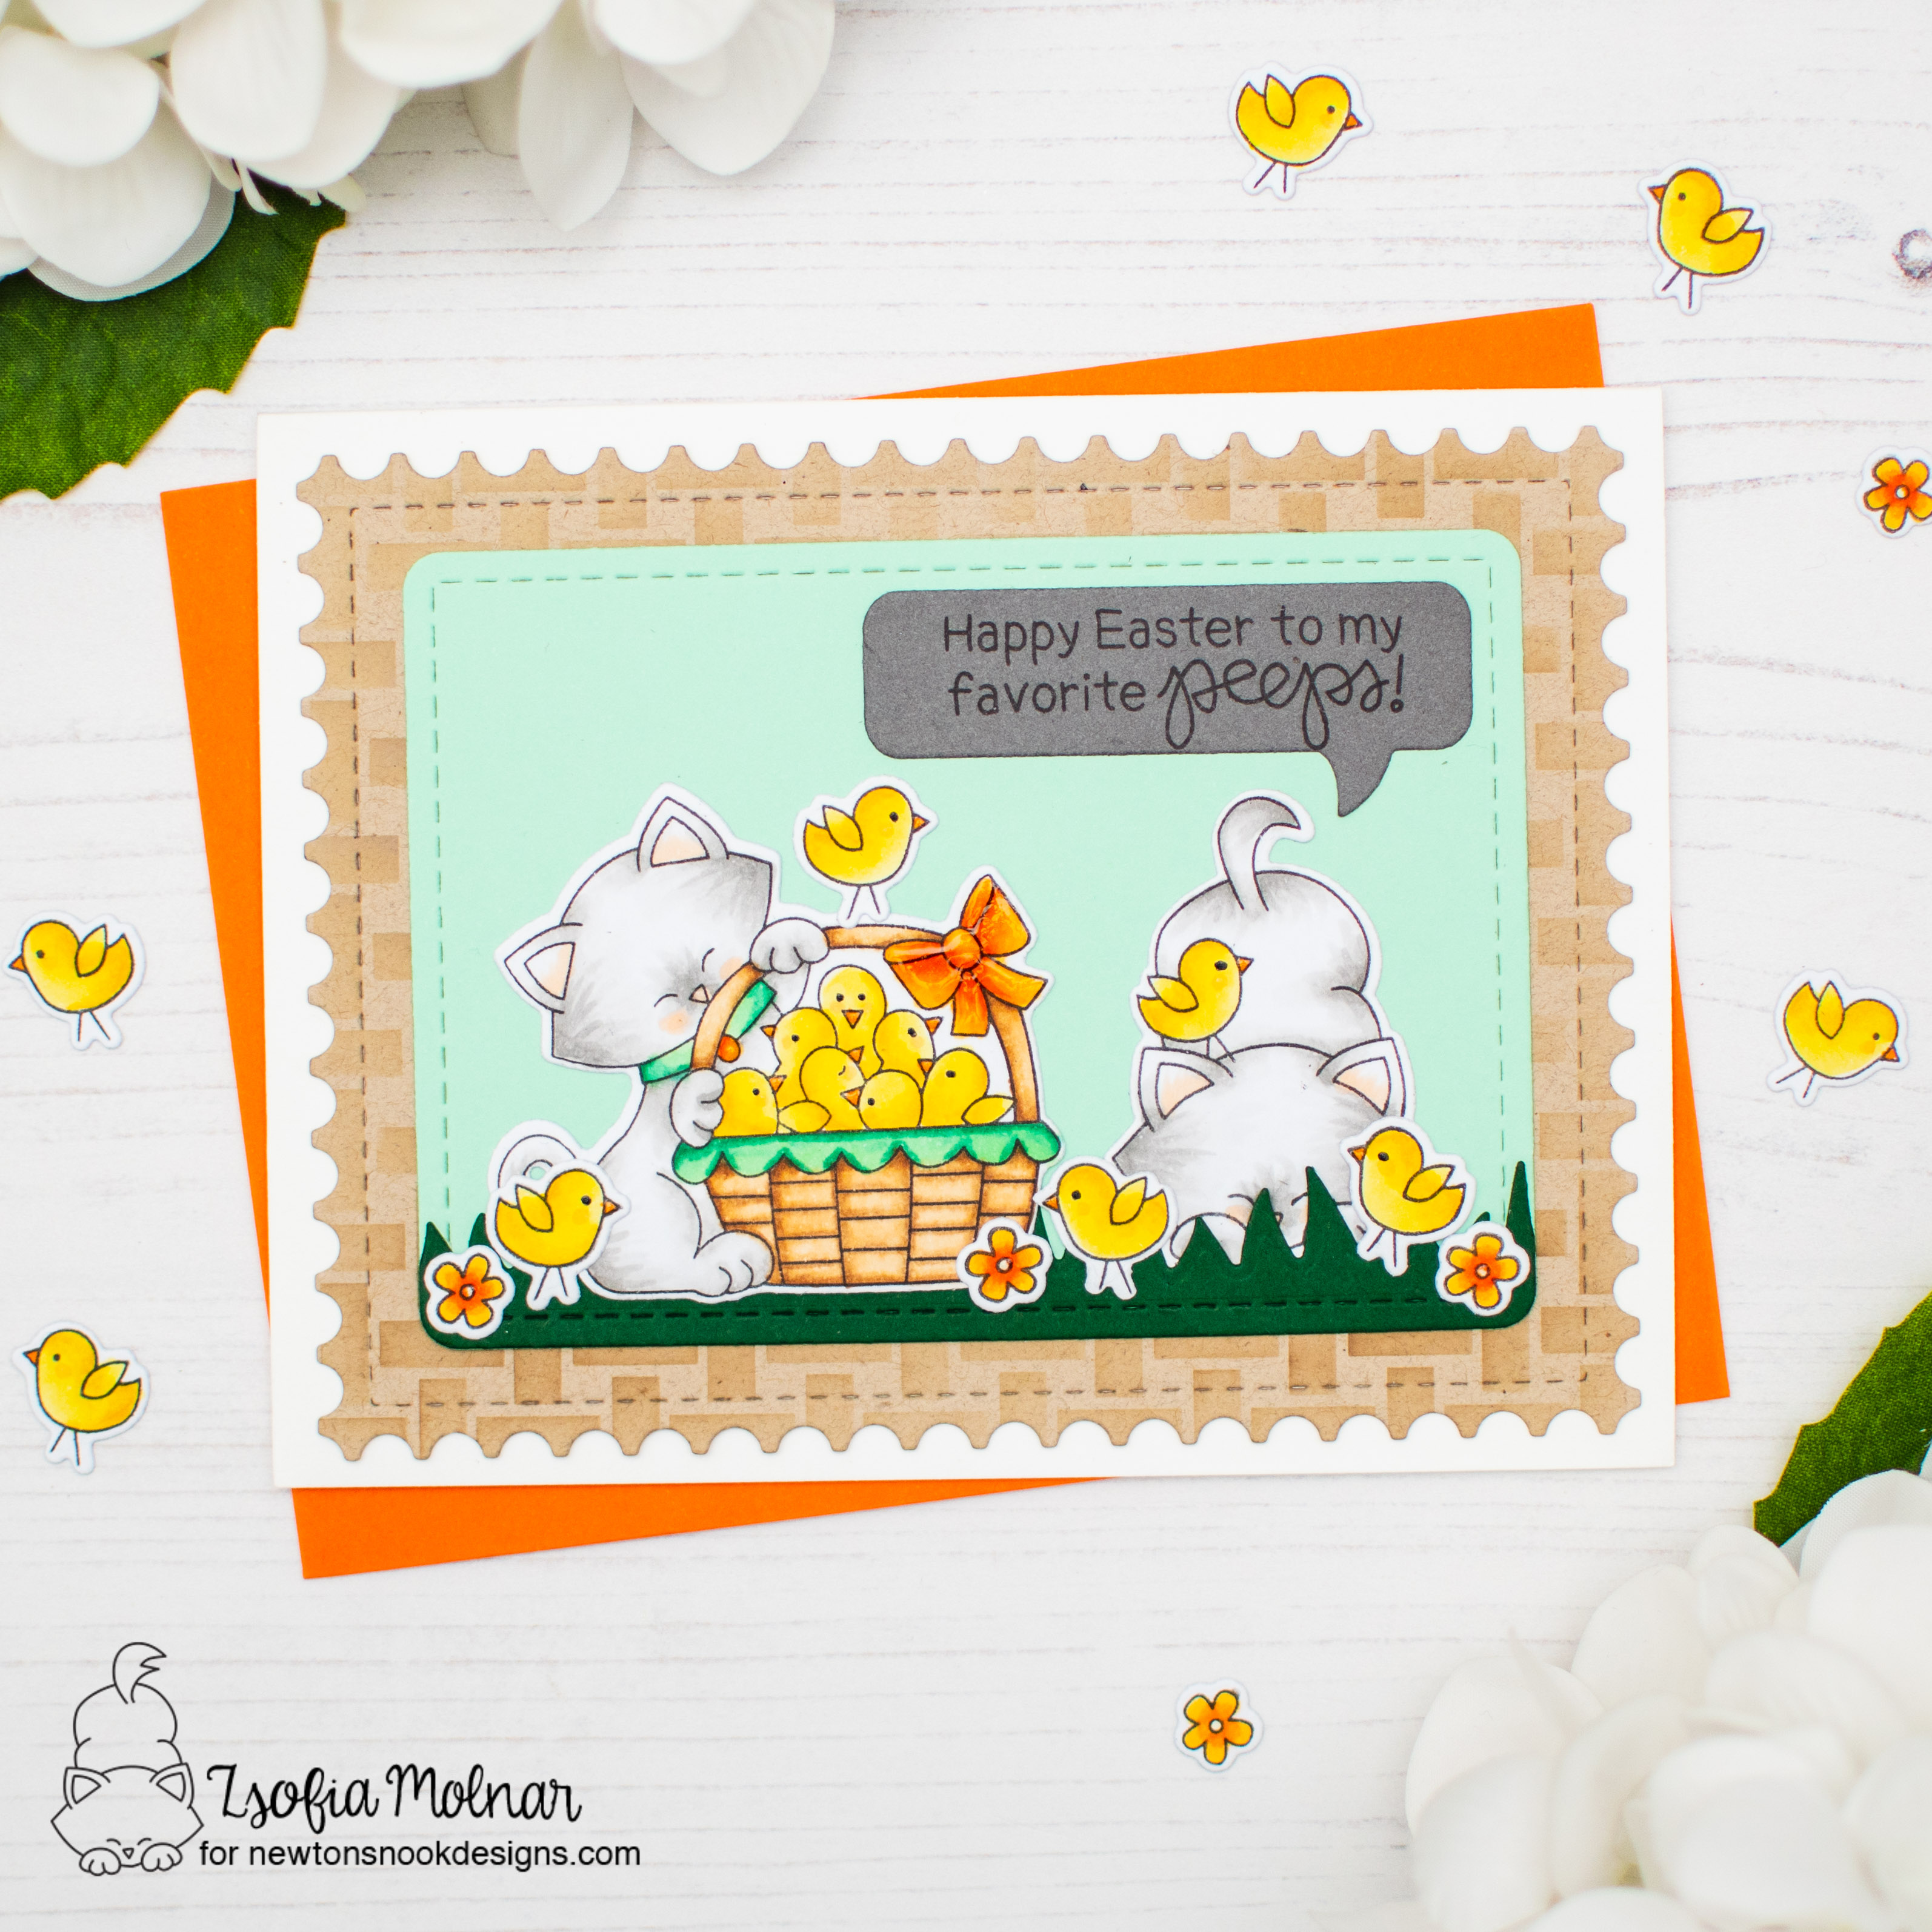
First I stamped and coloured the images from Newton’s Peeps using Copic markers. I kept the kitties light grey, to make the bunch of yellow chickens stand out. I used the coordinating dies to cut them all out.

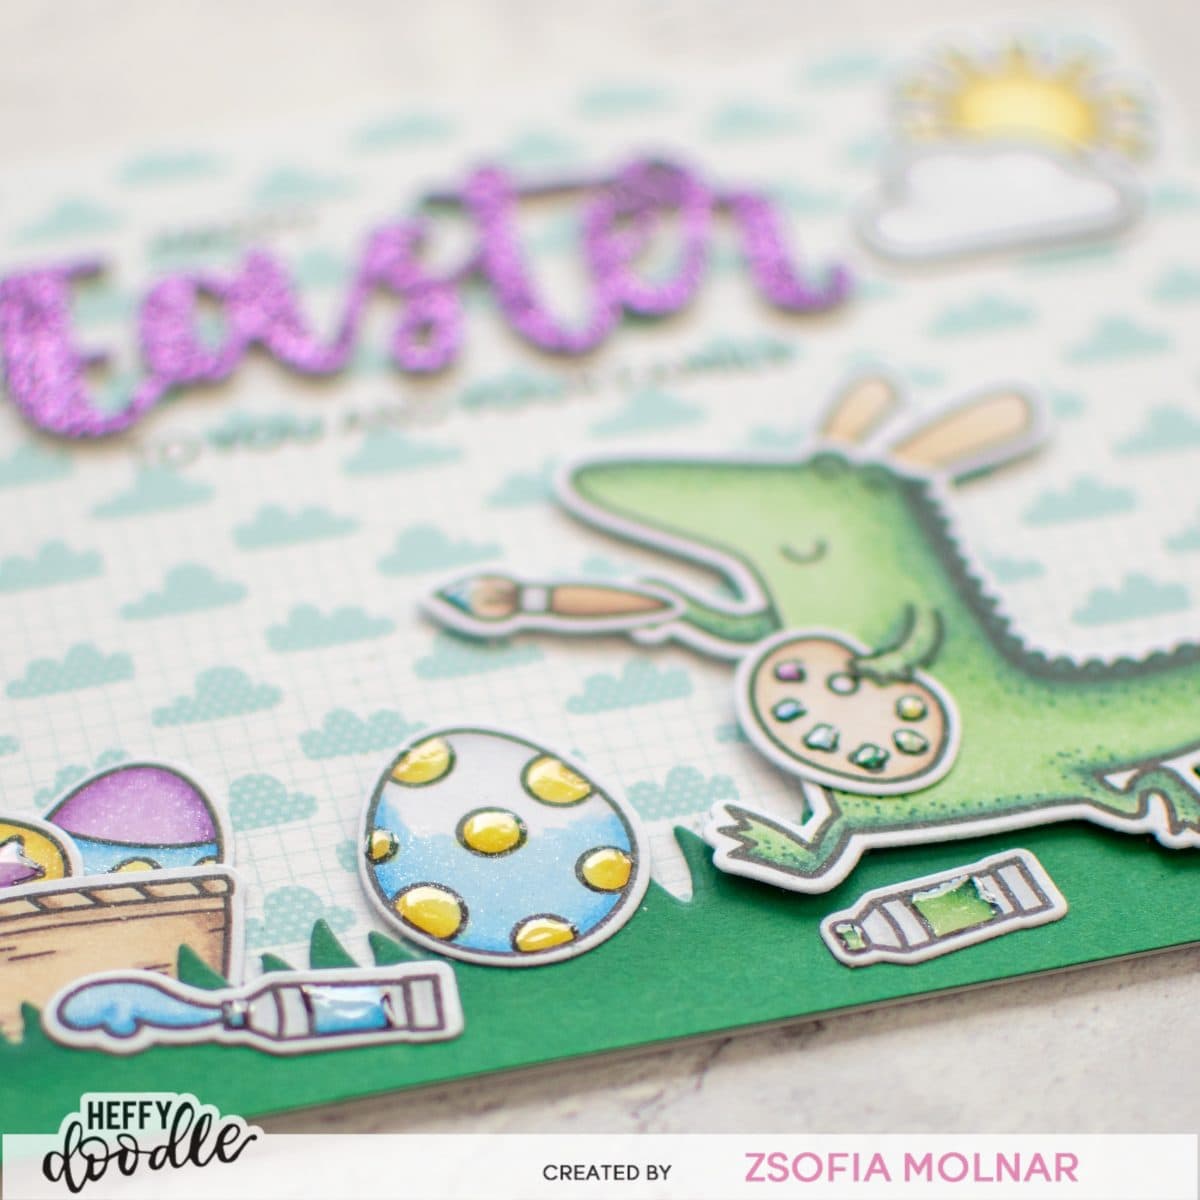
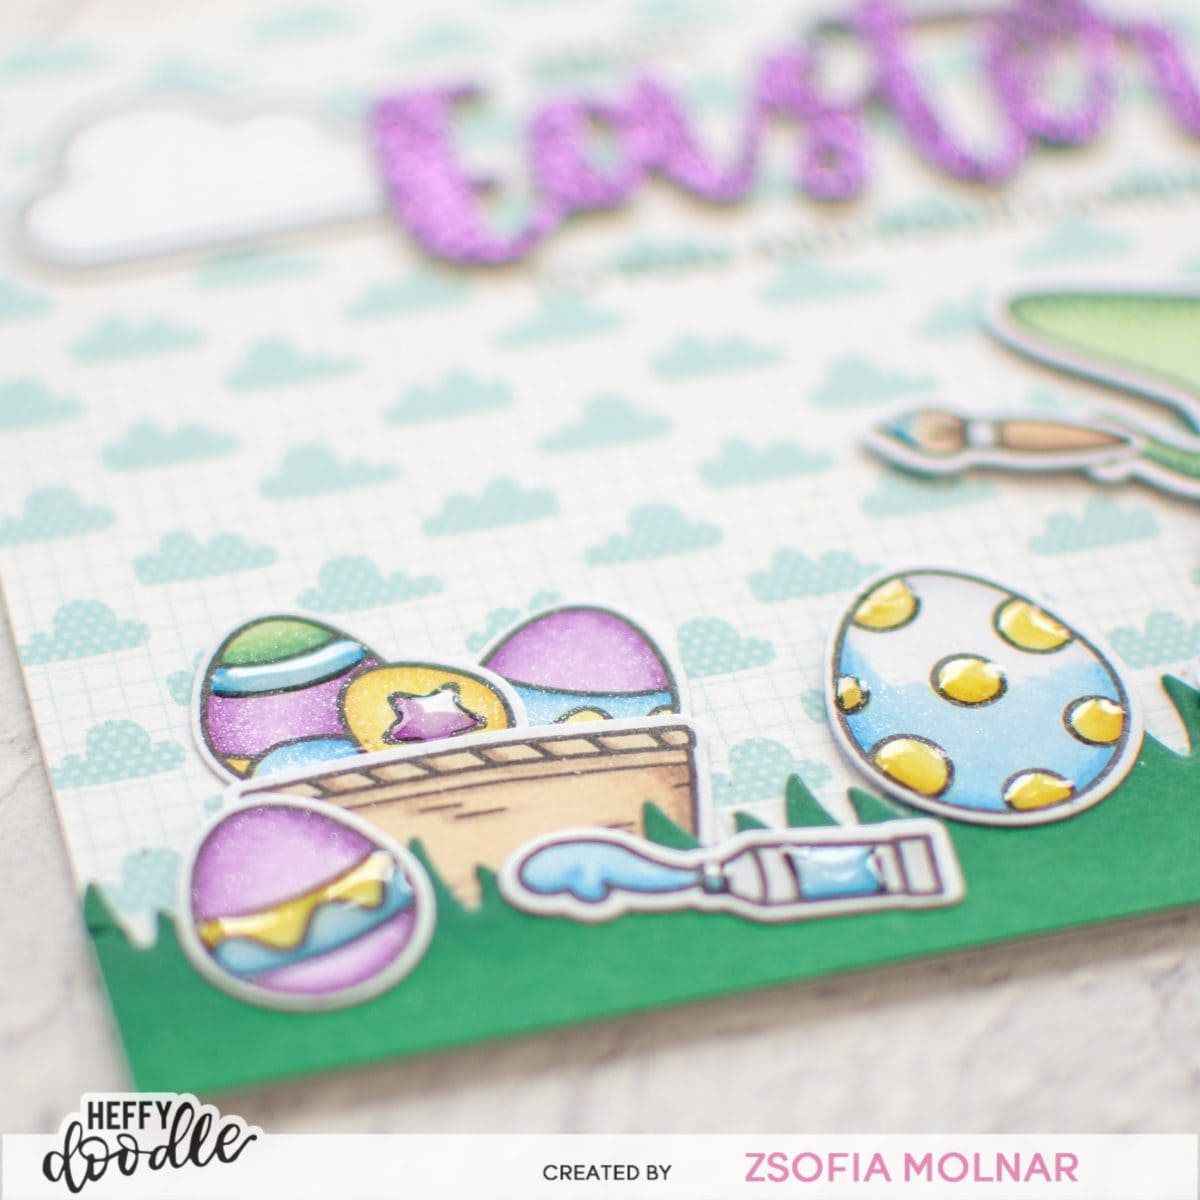
To set the scene I die cut a rounded rectangle from light green cardstock with a die from Frames and Flags. Added grass which I cut with a Land Border die from dark green cardstock and arranged the die cut images. That kitty hiding behind the grass is my favourite, so cheeky!

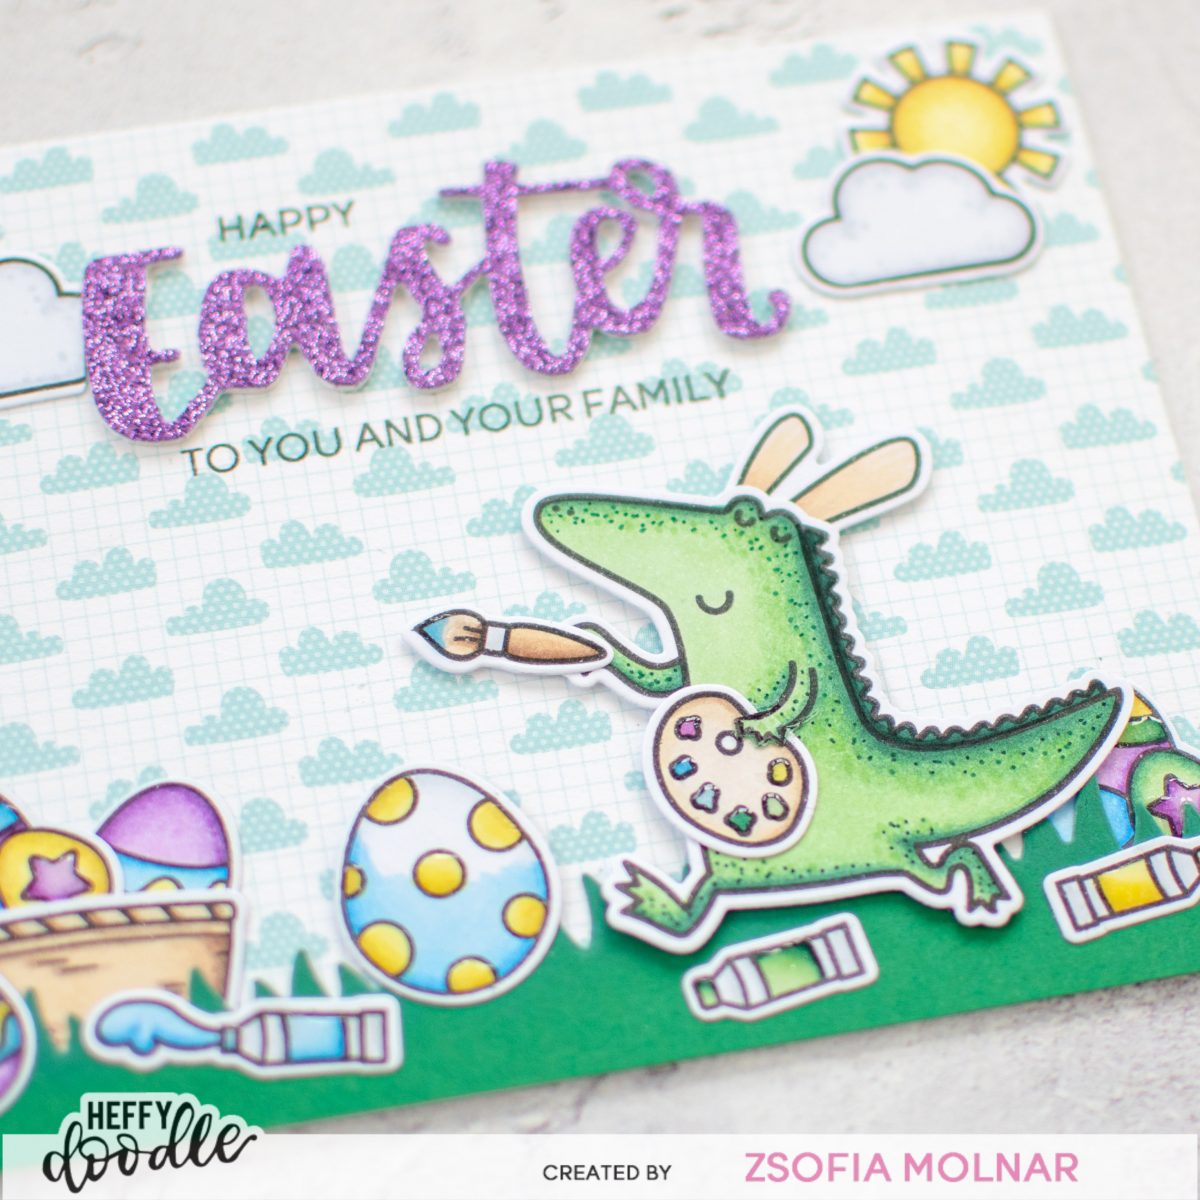
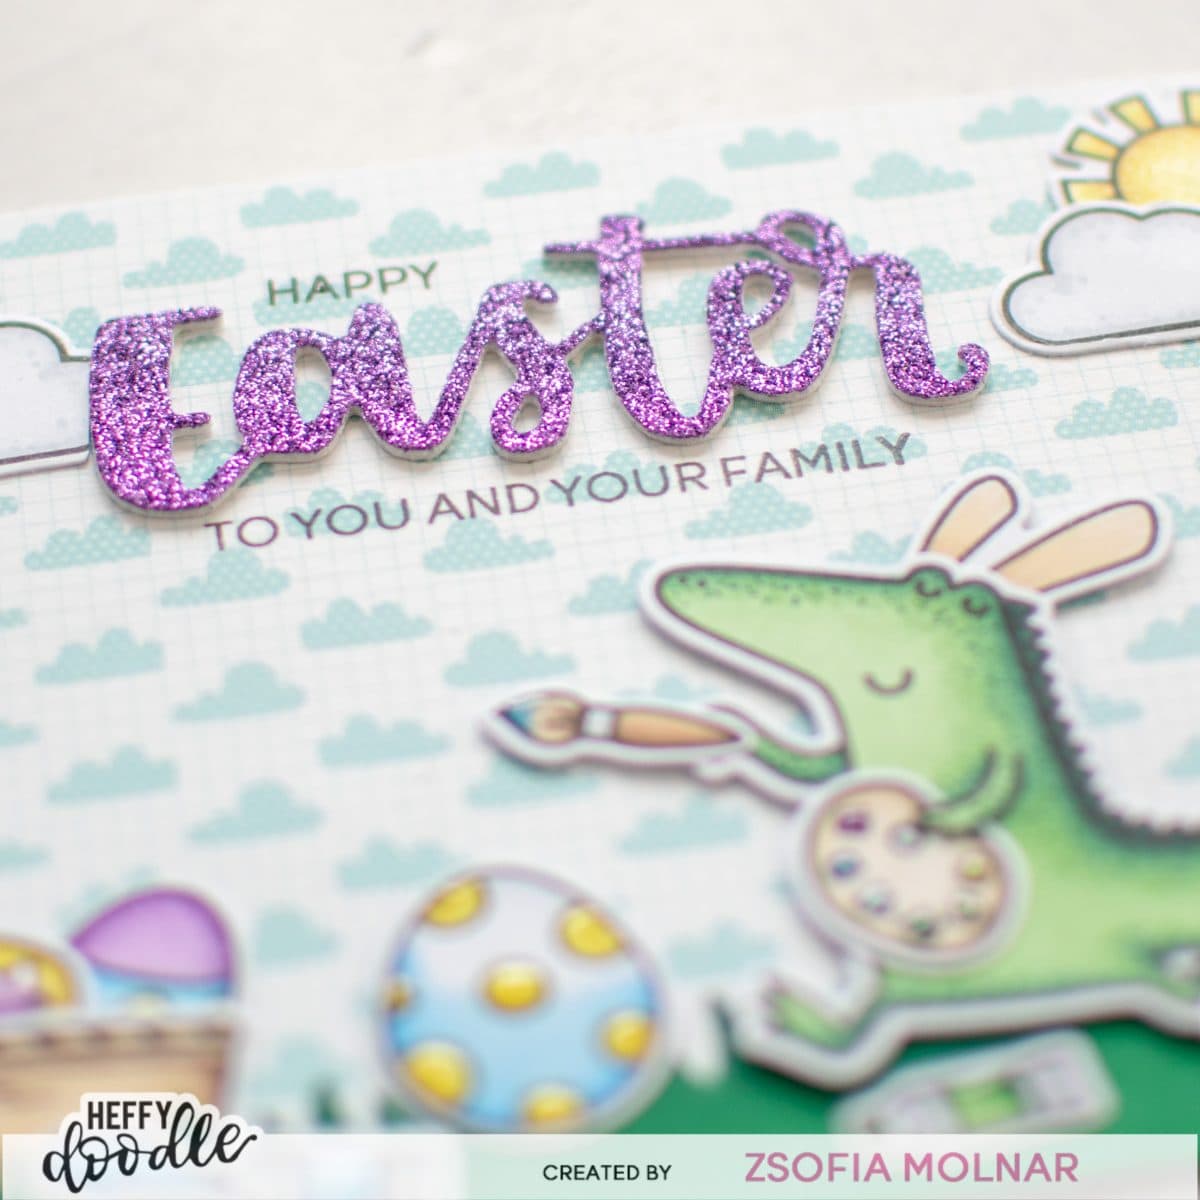
The sentiment I stamped on a grey Speech Bubble and adhered it to the scene. I love to add a sentiment as part of the design!

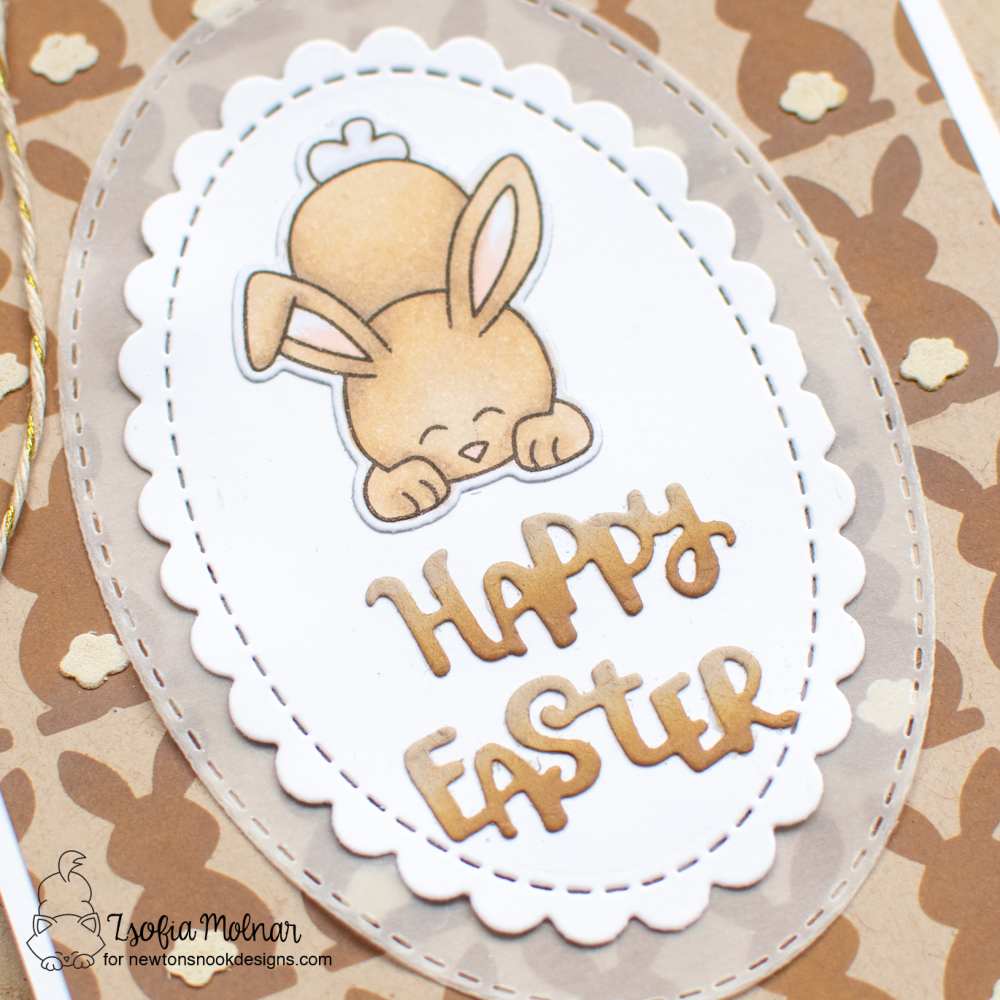
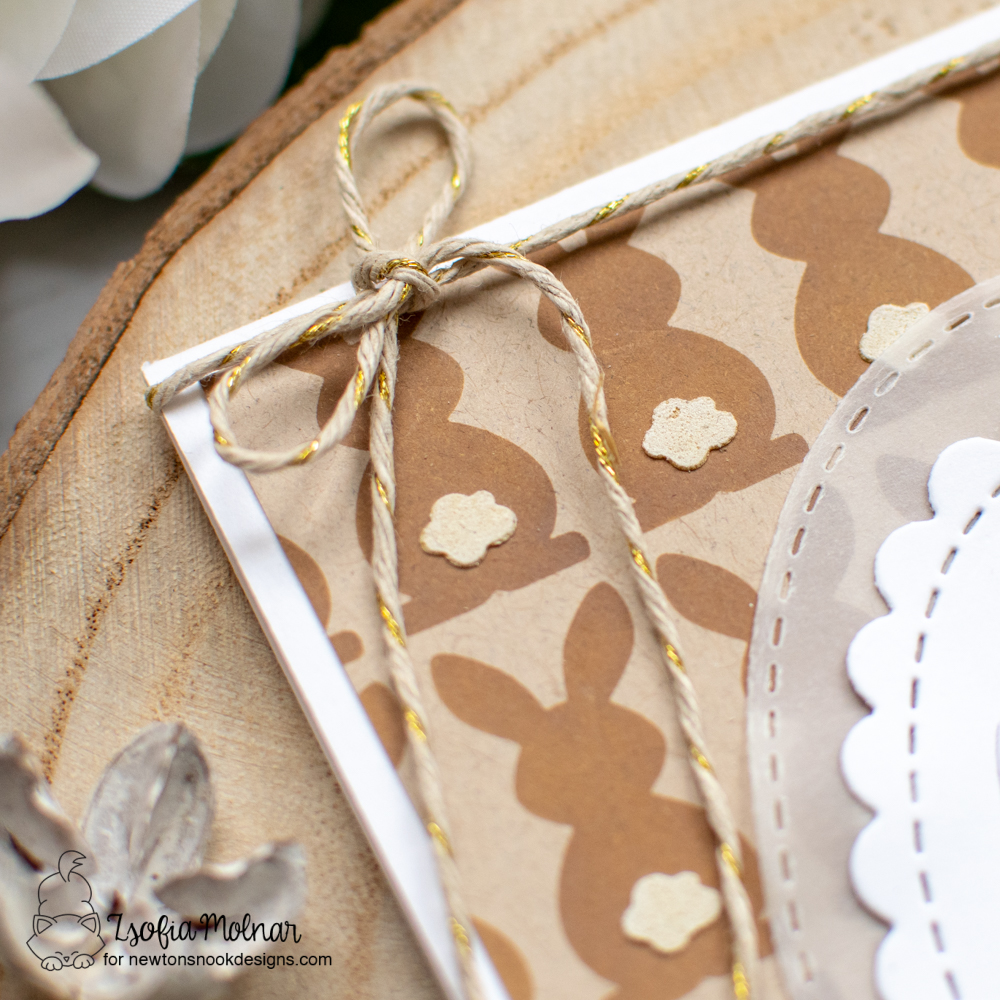
For the background I used the Basketweave stencil with brown ink on kraft cardstock and die cut the panel with a die from Framework. It adds a nice touch to the focal panel. As always, I had to use glossy accents on the ribbon and the beaks of the chicks, and I also made there eyes shiny with a black glaze pen.

I hope you liked my card and got inspired to create some cute scenes for Easter.

See you soon,

Zsofi

Pretty Pink Posh March Blog Hop

Hello Everyone,

I am so excited and honored to be part of the Pretty Pink Posh March Blog Hop. It is the last day of the hop so if you have missed the previous days, make sure to check all the fabulous inspiration our team and special guests created! This release is full of Easter and Spring themed stamps, dies, stencils and embellishments!

My project today is a home decor for Easter. I made a framed picture, a small treat in a pot and a matching card. I love to create complex project like his one, it can be a perfect gift too! Lets see them one by one.

PICTURE FRAMED

I cut a piece of teal cardstock which matched the frame I had at home and used the new Easter Words stencil with some pearly texture paste. I did add some colour to the paste with Peacock Feathers and Blueprint Sketch Distress Oxide, to get a tone-on-tone look. As my cardstock was larger than the stencil I needed to continue the pattern by simply shifting the stencil. With this design, it was super easy to line it up again for a seamless result.

While the paste was drying I die cut and assembled a few bunny heads using the Bunny Face Shaker die set. I used liquid glue with a precision tip to add all the tiny details.

I also die cut the Happy Easter sentiment with 2 older die sets: Happy Spring Shadow die set and Easter Wishes die set. I used vellum for the shadow and simple black cardstock for the sentiment itself.

SWEET BUNNY TREAT

For the small treat I painted a tiny pot with pastel aqua acrylic paint, filled it with orange jelly beans and added the bunny face and sentiments on toothpicks to it. So easy to make, yet so pretty! Perfect for the kids!

BUNNY CARD

I really wanted to make a matching card and I was giddy to figure out how well the Layered Bunny Faces stencil matches the Bunny Face Shaker die set! So I applied white pigment ink on teal cardstock with Layer A of the stencil set and dried it with my heat tool before adding the eyes and mouth with black and nose and ears with pink inks. It is so subtle and cute!

When it was dry, I cut it down with a Stitched Torn Rectangle die, adhered it to a white card base and adorned it with the same sentiment.

GIVEAWAY

Leave a comment on each stop of the blog hop and you may be one of the lucky winners! They are giving away 3 $30 gift certificates to random comments (1 winner each day) left before March 13, 2024 at 11:59 PM PST. The winners will be announced on the PPP blog, so be sure to return and see if you are one of them! The last day blog hop list:

Pretty Pink Posh blog 
Amanda Wilcox
Dana Kirby
Annette Allen
Zsofia Molnar – you are here
Jeanne Jachna
Heather Hoffman
Gemma Campbell

I hope you enjoyed my inspiration and will pop in again soon.

See you,

Zsofi

Easter Croc – Heffy Doodle

Hello Everyone,

Welcome to another edition of my Perfect Combos series for Heffy Doodle. As Easter is just around the corner, I couldn’t help creating a fun little scene with my favourite croc pretending to be the Easter bunny and painting eggs. Such a cheerful scene with muted colours, it would make anyone smile! Let me guide you through the process.

First I stamped and coloured the images from the following stamp sets: Pandtastic Stampers, Honey Bunny Boo, Mewniverse, Happy Snappy Crocs, Flying High. I used Spectrum Noir Illustrator markers: RB4, RB2, RB1, MB05, IG2, IG1, JG7, JG5, LG4, LG2, GB4, CT2, CT1, TB4, TB2, TB1, PV4, PV3, PV1. I added dotted details to the clouds and croc with the darker markers, it adds texture. Then I die cut them all with their coordinating dies.

For the background of the scene I chose a pretty patterned paper from Lawn Fawn. I die cut grass with the Grassy Lass border dies from Wintergreen cardstock and added a bit of shading with Pine Needles Distress Oxide ink to the edges.

I assembled the scene placing the painted eggs in the basket. I also added bunny ears to the sweet croc, it totally makes me giggle.

For the sentiment I die cut the Easter Heffy Cuts die from white cardstock 3 times and once from purple glitter cardstock (Simon Says Stamp) and layered them on top of each other for a dimensional look. The rest of the sentiment I stamped around the die cut in black, and embellished the sky with the coloured images.

As a finishing touch I used a clear shimmer pen on the sun and the eggs and added glossy accents to the patterns and paint tubes.

I wish you enjoyed my card today and share with us in our Facebook group if I inspired you. Follow me on Instagram if you like my cards, your support means so much to me! Thank you!

See you soon,

Zsofi

Easter Wishes – Pretty Pink Posh

Hello Everyone,

I am back today with a super cute Easter card, which I have created with the new release of Pretty Pink Posh. This card is part of a fun, 3 day long Instagram Hop – for all the details and prizes, visit my Instagram account.

First I stamped and coloured the images from the Leafy Spring Wreath and Spring Chick stamp sets. I used Copic markers, but stepped out of my comfort zone and picked colours which are not my go-to colours:

  • wreath: G16, G02, G00
  • chicks: E55, E53, E51, E50, Y38
  • eggs: B06, B04, B02, B00, BG13. BG23, BG11, YG63, YG61, YG11
  • ribbon: Y18, Y13, Y00

I cut everything out with their coordinating dies and while I was die cutting I also created the sentiment: I used the new Easter Wishes Shadow die. I cut the shadow from white cardstock and the sentiment itself from a pretty glitter green.

For the card base I chose kraft to match the chicks and to make the wreath stand out. Before popping up the chicks and ribbon with 3D foam squares I added a bundle of thin silver thread behind them as an extra touch.

I embellished the wreath with Flower Garden Clay Confetti Mix, it has the most adorable little clay flowers I have ever seen! I also added clear shimmer to the eggshells and used glossy accents on the ribbon, beaks and egg decoration.

I hope you got inspired o try new colour combos of your favourite colouring medium too and you hop on to Instagram to play along with us for precious prizes!

See you soon,

Zsofi

Happy Easter – Newton’s Nook Designs

Hello Everyone,

After a little break I am back with a cute monochrome Easter card for Newton’s Nook Designs.

This time I started with the background: on kraft cardstock I used the Bunny Tails layering stencil. For the first layer I chose Gathered Twigs Distress Oxide ink and for the tails I applied White Textured Paste. I set it aside to dry.

Meanwhile I stamped and coloured a cute bunny from the Bitty Bunnies stamp set. I used Spectrum Noir Illustrator markers: MB4, MB3, MB2, MB1, MB05, FS7, BG1. Then I cut it out with the coordinating die.

While I was die cutting I also cut the sentiment from the Spring Pile Up die set from kraft cardstock and shaded it with a bit of Gathered Twigs Distress Oxide ink. I also cut a white scalloped oval and a bit bigger stitched oval from vellum using the Oval Frames die set.

After assembling the card, I embellished it with a bit of natural twine. It is such an easy design that I could easily imagine it in other colours too. Perfectly simple enough for mass production too.

I wish you like my card inspiration today and you will come back for more soon.

See you,

Zsofi

Newton’s Nook Designs February Release – Day 2

Hello Everyone,

It is day 2 of Newton’s Nook Designs February Release reveals and today our team is showcasing the Hoppy Greetins stamp set and a tiny but oh-so-funny Hare mail stamp set. Both have matching dies, so you do not need to fussy cut!

All products will be available on Friday, 19/02.

CARD 1

I started with stamping and colouring the images from the Hoppy Greetings stamp set using my Copic markers and cut everything out with the coordinating dies. I made sure to have extra eggs and flowers to build a scene. I also heat embossed one of the sentiments on the sign the bunny is holding, I love the look so much!

To create the focal panel I die cut the stitched rounded rectangle from blue, green and white cardstocks using the die from Frames and Flags. Then I cut the grass from the green one with a Land Border die and the clouds from the white one with the Sky border dies. I assembled the scene and backed the panel with a slightly bigger yellow rectangle before adhering it to a pretty patterned paper (Doodlebig Designs)

I wanted an extra sentiment which I foud in the Spring Pile Up coordinating dies set: I cut the Happy Easter 3 times from pink cardstock and adhered them on top of each other. It gives a lovely dimensionl look, just like it was chipboard.

I finished the card with a bit of glossy accents on the eggs and the flower centers.

CARD 2

For my secon card I stamped and coloured the cute bunny in the envelope from Hare Mail 6 times and coloured them in rainbow colours. I used the coordinating dies to cut them out.

I had a slimline card idea in mind so I die cut the scalloped rectangle from Slimline Frames and Portholes from natural cardstock and the frame from Slimline Frames and Windows from white cardstock. On the inner squares I stamped the Hare mail stamp with a light brown ink 3 times and distressed the panels with blending in some Antique Linen Distress Oxide ink on each.

After assembling the card on a slimline 3,5*8,5 inches card base I added a die cut sentiment on the top: I used the Essential Alphabet dies to cut Sending from glitter cardstock and stamped Hare mail under it in black.

Strange but I did not use any embellishments on this card apart from a teeny tiny drop of glossy accents on the noses to make them shiny.

GIVEAWAY

Would you like to win the “Hoppy Greetings” Stamp Set?This stamp set will be given away to ONE lucky winner! Here’s how to win: comment on the NND blog and Design Team blogs (see list below)! The winner will be chosen at random from the collective reveal posts. Make sure to check out each of their blogs and comment for your chance to win. You will not know which blog has been chosen so the more you comment on the better your chances are of winning! You have until Thursday February 18th at 9pm EST to comment  — winners will be announced on the blog post on Friday, February 19th. 

Check out all the awesome Design Team Blogs below to enter:

Newton’s Nook Designs

Ellen Haxelmans

Tina Herbeck

Larissa Heskett

Samantha Mann

Zsofia Molnar – you are here

Maria Russell

Farhana Sarker

Tatiana Trafimovich

Samantha VanArnhem

Amanda Wilcox

I hope you enjoyed today’s reveals and you will check back tomorrow for more fun.

See you,

Zsofi

Newton’s Nook Designs February Release – Day 1

Hello Everyone,

I am thrilled to announce that today is the first day of Newton’s Nook Designs February Release reveals! We have a lot of cute Spring themed stamps, dies and stencils for you, so stick with me for the whole week. Today our team is showcasing the Spring Roundabout stamp set which coordinated perfectly with the previously launched Circle Frames and Banner Trio dies. We also have a layering stencil set called Bunny Tails and a versatile classic Basketweave stencil too.

All products will be available on Friday, 19/02.

CARD 1

I love the circle cardfront stamps and I am so happy for the Spring Roundabout edition! I simply stamped it on alcohol frienly white cardstock and coloured the small images with Copic markers. It is totally relaxing! I used the scalloped circle from Circle Frames to cut it out and popped it up with 3D foam squares on a pretty patterned paper which I cut down to be slightly smaller than an A2 sized card front.

The sentiment I stamped in black on a rounded pink banner which I cut with a die from the Banner Trio die set. I backed it with a green banner slightly off, so it looks like a green shadow. It adds a bit of interest to this simple but cheerful card.

As a finishing touch I added glossy accents to some of the details and covered the clouds and Easter eggs with a clear shimmer pen. I added some pink twine to the top and my card is all finished!

CARD 2

When I first saw the Bunny Tails layering stencils I immediately imagined these bunnies in pastel rainbow colours. It is very easy with a bit of purple tape masking: I laid the Bunny stencil on Bristol Smooth cardstock and masked around the first bunny using the tape, then applied Distress Oxide ink with a blending brush. Then I moved on to the next bunny, masked around it and added the second colour. I use a different brush for each colour family so the colours do not blend and I dont have to clean them all the time. The colours used are: Squeezed Lemonade, Spun Sugar, Shaded Lilac, Tumbled Glass and Peeled Paint.

When it was all done I dried the ink with my heat tool so I can heat emboos the next layer. I used the Tail stencils with a small Versamark ink cube directly over it. After removing the stencil I poured Lawn Fawn Textured White embossing powder over it and heated it with my heat tool. I love the raised fluffy look I got!

I cut the panel down with the postage stamp die from Frameworks and white heat embossed 2 sentiments from the Spring Roundabout stamp set on blue stitched banners. I used the Banner Trio dies to cut the banners. I popped them up with 3D foam squares and mounted the whole panel on a kraft card base.

GIVEAWAY

Would you like to win the “Spring Roundabout” Stamp Set?This stamp set will be given away to ONE lucky winner! Here’s how to win: comment on the NND blog and Design Team blogs (see list below)! The winner will be chosen at random from the collective reveal posts. Make sure to check out each of their blogs and comment for your chance to win. You will not know which blog has been chosen so the more you comment on the better your chances are of winning! You have until Thursday February 18th at 9pm EST to comment  — winners will be announced on the blog post on Friday, February 19th. 

Check out all the awesome Design Team Blogs below to enter:

Newton’s Nook Designs

Ellen Haxelmans

Tina Herbeck

Larissa Heskett

Samantha Mann

Zsofia Molnar – you are here

Maria Russell

Farhana Sarker

Tatiana Trafimovich

Samantha VanArnhem

Amanda Wilcox

I hope you enjoyed the first day of the reveals and you will check back tomorrow again.

See you,

Zsofi

Wishing you a hoppy Easter!

Hello Everyone,

Did I tell you how much I love card sketches when designing a card? I love card challenges where there is a given sketch, it makes me think out of my comfort zone. The Lawnfawnatics Challenge #74 is an exciting one, and being Easter weekend I could not let it go without a funny bunny card.

I started with colouring the images from the Happy Easter set with my Copic markers (you might have sen this a few days ago on my Instagram) and cut them out with their coordinating dies.

For the sketch I used the Inside out scalloped circle stackables and cut 4 of them from white cardstock. I used the grassy hillside borders to cut some grass and used the same scaloped circle dies to make them the right shape.

While I was die cutting I cut the beautiful Fancy lace background die from kraft cardstock and adhered it with spray adhesive to a white top folding note card. I popped up the 4 circles and arranged the little scenes on them. I love those bunnies!

The sentiment I white heat embossed on black cardstock and fussy cut it. Then I adhered it to a wavy banner cut from vellum. So special, isn’t it?

I used a bit of clear shimmer on the eggs and tulips and added drops of glossy accents on the beaks and egg decoration.

I will upload this card to the Lawnfawnatics #74 Skech challenge and also to the Simon Says Stamp Wednesday Challenge Spring moodboard.

I wish you liked my card today! Let me wish you all who celebrate, a very happy, relaxing and healthy Easter!

Hugs,

Zsofi

Honey Bunnies – Heffy Doodle

Hello Everyone,

Welcome to another edition of my Perfect Combos series for Heffy Doodle. I created a bright and cheerful Easter card for you today using some older and newer stamps and dies. So easy to create your own sentiments this way!  Let’s dive in the details!

First I stamped the bunnies and Easter eggs from the Honey Bunny boo stamp set. I stamped the eggs several times to fill up my scene. Then I used my Copics to bring these cuties alive. I chose muted but still cheerful colours. I used the coordinating dies to cut them all out. 

For the background I die cut a Skinny circle frame from white cardstock and then from vivid pink. The frames I stacked on top of each other for more dimension. On the inner white circle I arranged the “Hope you have a” sentiment from the Roundabout sentiments set using my MISTI stamping tool and stamped it with black ink. Then I took another sentiment from the same set which had the word “wonderful” in it, and arranged it in a way to complete the curve of the already stamped one. I masked off the unnecessary part before inking it up, removed the mask and stamped it in place. I love how it turned out, like it was one curved sentiment! Under it I stamped the Easter from the Honey Bunny Boo set with aqua ink. Looks so cool!

The bottom of the circle I sponged with Twisted citron Distress ink and above it I added a bit of Tumbled Glass Distress ink. Just to have some colour in the background for my bunnies. Then I arranged the die cut images: some I adhered flat, some I popped up with 3D foam squares.

I used a scalloped rectangle die to cut an Easter themed patterned paper (Doodlebug Designs) to hold my little circle scene and assembled the card on a top folding A2 sized white card base. I finished it with adding a little clear shimmer to the Easter eggs and a drop of glossy accents to the noses and stars.

I hope you enjoyed today’s Perfect Combo and will check back later for more inspiration. If you like my cards, please make sure to follow me on Instagram where I share my happy creations! Thank you!

See you soon,

Zsofi

Stenciled Easter eggs – Pink and Main

Hello Everyone,

Iam here with you today to show you an easy stenciled Easter card, perfect for the last minute crafters. I used the Easter Egg stamps and Easter eggs stencil from the latest release of Pink and Main.

I started with stamping the bunny and the chic on white cardstock and coloured them with my Copic markers. I chose to fussy cut them this time, to give them another look.

Then I applied Distress inks on Bristol Smooth cardstock through the Easter eggs stencil at a diagonal: Picked Raspberry, Spiced Marmelade and Mustard Seed. Before removing the stencil I sprayed it with Tsukineko Shimmer Spritz. I love the subtle sparkle it gives to all the colourful eggs.

I did not want to cover the pretty background – which I die cut with a Stitched Rectangle 2 die – so i wrapped a strip of vellum around it and added 2 very thin guava cardstock strips to the edged. It helped to hide the adhesive also.

I added the critters and stamped a sentiment with Staz-on Black ink. Then I mounted the panel on a white top folding A2 sized notecard.

I will upload this project to the Simon Says Stamp Instagram challenge and to the Simon Says Stamp Wednesday Challenge Spring moodboard.

I hope you enjoyed my card today and will pop in again soon. Have rest and stay at home for the holidays too!

Hugs,

Zsofi