Birthday woofs with Newton’s Nook Designs

Hello Everyone,

I am back today with a clean and simple design for dog lovers’ birthdays. I created this for my son’s friend who is crazy about dachshunds. I love that Newton’s Nook Designs has the Dog Silhouette die set and it has the cutest dog shapes!

First I die cut al element for my card: the dog from brown textured cardstock with the Dog Silhouette dies set, some balloons with a Lawn Fawn die set from some glitter scraps and a white tag with the Fancy edges tag die set.

I chose patterned papers from the Birthday Party and A dog’s life paper pads to adorn it before assembling the focal panel. I used thin silver thread to attach the balloons to the dog’s neck.

I die cut patterned paper with the Frames and Flags die set as the background for the tag. The tone-on-tone pattern helps the tag stand out.

The sentiment I black heat embossed from the Birthday Oval stamp set on a teal banner and popped it in place with 3D foam squares.

For the matching bookmark I used patterned paper and blue cardstock and cut it twice with the Bookmark die. I added a die cut pawprint and the boy’s name to the front, which I cut with the Essential Alpha dies. I also adhered a dachshund to the bottom. I love to personalize gifts. I adorned it with twine and it was all ready!

I hope you enjoyed my birthday woof idea and will pop in again soon!

See you,

Zsofi

Sweet encouragement – Heffy Doodle

Hello Everyone,

Welcome to another edition of my Perfect Combos series for Heffy Doodle. My kids are super busy with exams at school as they are closing the first term in elementary schools these days. They need all types of encouragement and I thought that the Pencil Heart die is a perfect choice for some little lunch box notes. Let me show you how I made these cuties.

First I die cut the pencils and the shadow die from white cardstock. I used a bunch of alcohol markers to add colours to the pencils. I used my Spectrum Noir Illustrator markers this time: PL4, PL2, HB1, PV1, BP2 for the purple one and TB6, TB3, BT6, BT2, JG3 for the blue version.

I used Heffy Memo Tape to hold the little pieces in place while I was colouring and adhered them to the shadow using a waxy jewel picker and liquid glue.

I found the best sentiment in the Fluffy Puffy Unicorns stamp set, I heat embossed it on black cardstock with white embossing powder and cut it down with a paper trimmer.

To fit in my kids lunchbox, I kept it small and adhered the pencil hearts on a white stitched circle. I wanted a colourful background for my own message so I die cut the same die from coloured cardstock and backed the little notes with them. It is sturdier and looks prettier this way.

I finished them off by adding a few seuins from the Royal Mist and Covesea Sparkle Mixes.

I hope you enjoyed today’s Perfect Combo and will check back later for more inspiration. If you like my cards, please make sure to follow me on Instagram where I also share my happy creations! Thank you!

See you soon,

Zsofi

National Scrapbooking Day with NND!

Happy National Scrapbook Day! Today Newton’s Nook Designs is celebrating with NEW dog and cat themed papers and dies! These new products are available NOW in their shop! Plus, there is a FLASH SALE TODAY! Save 20% off today only with code SCRAP22 at newtonsnookdesigns.com

CARDS

For my cards I played with the patterned paper sets and chose patterned which go well together. I cut 3*5.25 inches pieces from the colourful text backgrounds and a 1*5,25 inches piece from the pawprints pattern from both the Cat’s life and Dog’s life paper pads. I used coloured cardstock as a mat in coordinating colours.

I white heat embossed two sentiments from the Heartfelt Meows and Heartfelt Woofs sets on a thin strip of coloured cardstock for each card and adhered them in place.

Then I die cut a bunch of cats and dogs from black cardstock using the new Silhouette die sets and simply added them above the sentiment. So quick and easy, but surely would make anyone smile!

BOOKMARKS

I love the new paper pads so much that I wanted to make a bunch of simple bookmarks for the kids in our extended family. I die cut the Bookmark die from some pretty paper and used the Essential Alphabet dies to spell their names. I also added a black cat or dog to each bookmark and finished them off with a bit of ribbon and twine. It is lovely to make these from double sided paper as you have to cut them only once for one bookmark!

Check out the blogs of these Design Team Members for more inspiration:

Newton’s Nook Designs

Donna Idlet

Ellen Haxelmans

Larissa Heskett

Samantha Mann

Zsofia Molnar -> you are here

Farhana Sarker

Tatiana Trafimovich

Amanda Wilcox

I wish you enjoyed my projects and you will fine some time to be crafty today. Have fun and see you soon!

Zsofi

Heffy Doodle New Release Reveals – Day 3

Hello Everyone,

I am back today with another inspirattion with the new goodies from Heffy Doodle. This new release is fantastic and so rich! If you are curious to see all the stamps, dies and stencils revealed today, please visit the Heffy Doodle blog.

The new items will be available for pre-orders from 1st Sept, the release goeas live on the 8th Sept. And don’t forget that there is a free stamp set with every preorder!

As school is starting tomorrow here in Hungary, I wanted to create some little bookmarks which I can hide in my kids’ lunchbox. The new Tiny Tag Trio dies have the perfect size for that! I cut a bunch of them as I wanted to layer 3 together to make it sturdy – we all know how kids handle their school stuff!

On the front of the bookmarks I stamped the little pencil from Just a note repeatedly. I used my MISTI for that and this way it was super easy. When I was done, I coloured them with Spectrum Noir Illustrator markers. The rainbow of colours I used are: DR5, DR3, DR1, BO4, BO3, BO1, CT4, CT3, CT1, AG3, AG2, AG1, GT3, GT1, BT7, BT5, BT3, TB5, TB3, TB1, HB3, HB2, HB1, MG4, MG3, MG1.

On the other side I stamped a sentiment from the Very Vertical Greetings set, on one of them I also added an extra one from Homeschool Heros. I cannot wait to find more sentiments in my Heffy Doodle stash which fit this tag!

After clouring the letters I adhered the layers together with Glubert and I was all done! I hope my kids will enjoy this little kindness on their first day of school!

Thanks for spending time with me and hope you will come back tomorrow for the last day of the reveals.

See you,

Zsofi

Guest designer Jana

Good evening all,

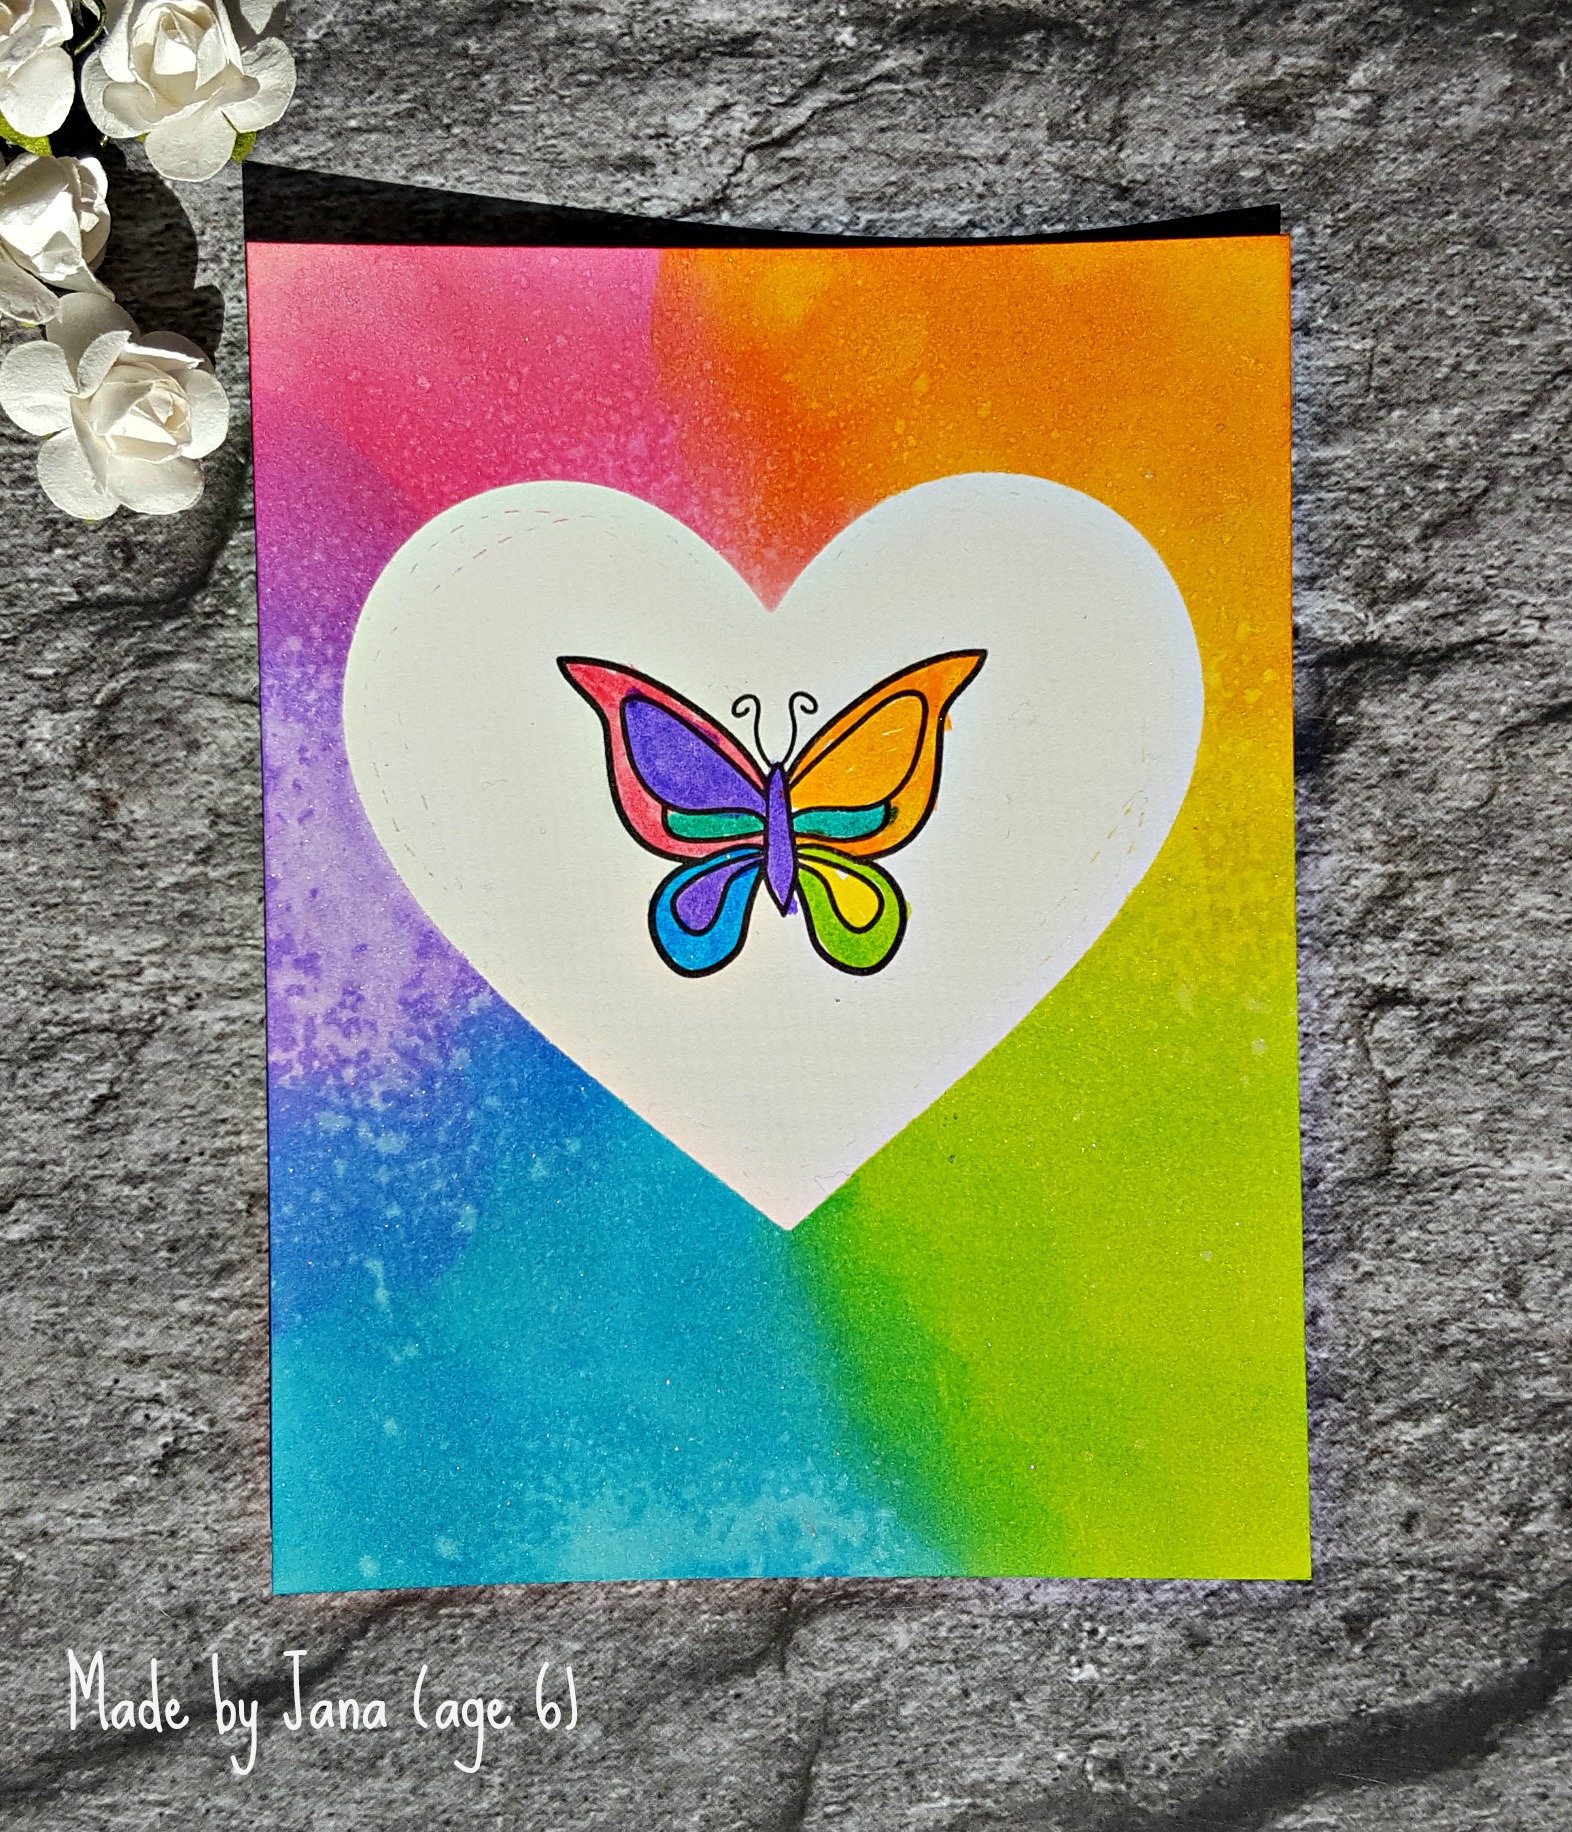
I am popping in quickly with a guest designer post: my 6 year old daughter Jana was crafting with me the other day (when I did the rainbow heart stencilling) and borrowed the mask and my distress inks.

20170813_060637 wm

She loves bright colours and rainbows, so she copied the background I made. She sponged distress ink all around the heart mask on Bristol Smooth paper. When she was done, she wanted to spritz it with Ranger Perfect Pearls mist. She needed little help with pushing the button as it is hard for a kid.

20170812_165233 wm

The day after she stamped a butterfly she chose from a Lawn Fawn set (Flutter by) and coloured with her ICO markers.

20170813_163724 wm

She used the MISTI while stamping which allowed her to stamp it 5 times for a perfect impression.

20170813_152205 wm

I am just simply so proud of her. This cheerful creation shows how kids see our world: pretty, colourful and full of sparkle.

20170813_163751 wm

I hope this guest designer post cheered you up and will help you to have sweet dreams.

I will upload Jana’s project to the Simon Says Stamp Kids Summer Challenge

.Kid'sChallenge-01

See you tomorrow with another fun post.

Sleep well,

Zsofi