I am back after a couple of months break from crafting due to our big international move. Pheow, it was long time without my hobby, but I am so happy to be able to craft again! As most of my crafty supplies are still in boxes, I created a very simple yet interactive card using the Ghostly Good Times stamp/die set from Newton’s Nook Designs.
First I stamped the cute cat and dog ghosts and a few extra images from the stamp set and coloured them with Copic markers. I used the coordinating dies to cut them out.
Then I used a white cardbase and gently inkblended Blueprint Sketch and Mermaid Lagoon Distress inks in the middle with a brush. I made sure to fade out the colours towards the edges. I added water and some metallic white watercolour splatters and stamped the sentiments in the bottom of the card fronts.
I added a small action wobbler on the back of the cat and dog ghosts and adhered them in place. I added some extra sentiments around them and stamped some black stars on the sky as embellishments.
Also adhered the small ghosts and moon too.
As a finishing touch I used a black glaze pen on the eyes and mouth of the ghosts and added a face to the tiny ghosts too. They look so cute! My kids keep playing with these funny interactive cards.
I hope you enjoyed my cards today and got inspired.
Long time no post, but I am thrilled to be part of the new release blog hop for Pretty Pink Posh. The August release is all about Halloween, cute and adorable designs, fabulous die sets, great stencils and fun new embellishments. Join us for an incredible amount of Halloween inspiration!
My card features the new Halloween Signs stamp and die set. I stamped and coloured the images with Spectrum Noir Illustrator markers and cut everything out with their coordinating dies.
As I could not decide which image to us as focal point, I came up with a simple design idea which uses all of them on one card. For the background I simply took a piece of black cardstock and added a bit of shading to the edges with white pigment ink and a sponge dauber. It gives it a mysterious feeling, I love it. Then I used copper ad white metallic paints to add splatters to the whole panel. I also added white acrylic paint splatters and dried it with my heat tool. Then I spritzed the whole panel with shimmer mist for a subtle sparkle. So easy yet special background!
I used thick 3D foam tape to mount the images. Then I used a white gel pen to add highlights and a black glaze pen to make the eyes of the critters shiny.
I also emphasized some details with glossy accents.
Look at that spider, isn’t it adorable?
GIVEAWAY
Be sure to leave comments on each stop of the hop. Pretty Pink Posh is giving away 3 $30 gift certificates to three random comments (1 winner each day) left before August 15, 2023 at 11:59 PM PST. Winners will be announced next week on the PPP Blog, so be sure to return and see if you are one of the winners.
I hope you enjoyed all 3 days of the blog hop and ready to start Halloween crafting full of new ideas. If you like my card, please follow me on Instagram where I share more of my happy cards.
Welcome to the Heffy Doodle and WOW! Embossing Powders Collaboration Blog Hop! Design Team members from both companies are sharing inspiration using products from both companies!
CARD 1
For my first card I stamped an coloured the cute bats from HD Let’s Hang Out stamp set using Spectrum Noir Illustrator markers: BGR5, BGR3, BGR2, BGR1, FS7, FS6. I used the coordinating dies to cut them out.
Then I die cut a few HD Big Stitched Clouds from grey cardstock and dipped them in the Versamark ink pad to have them fully covered with the sticky ink. I heat embossed these with WOW Black Puff embossing powder. It has fantastic texture!
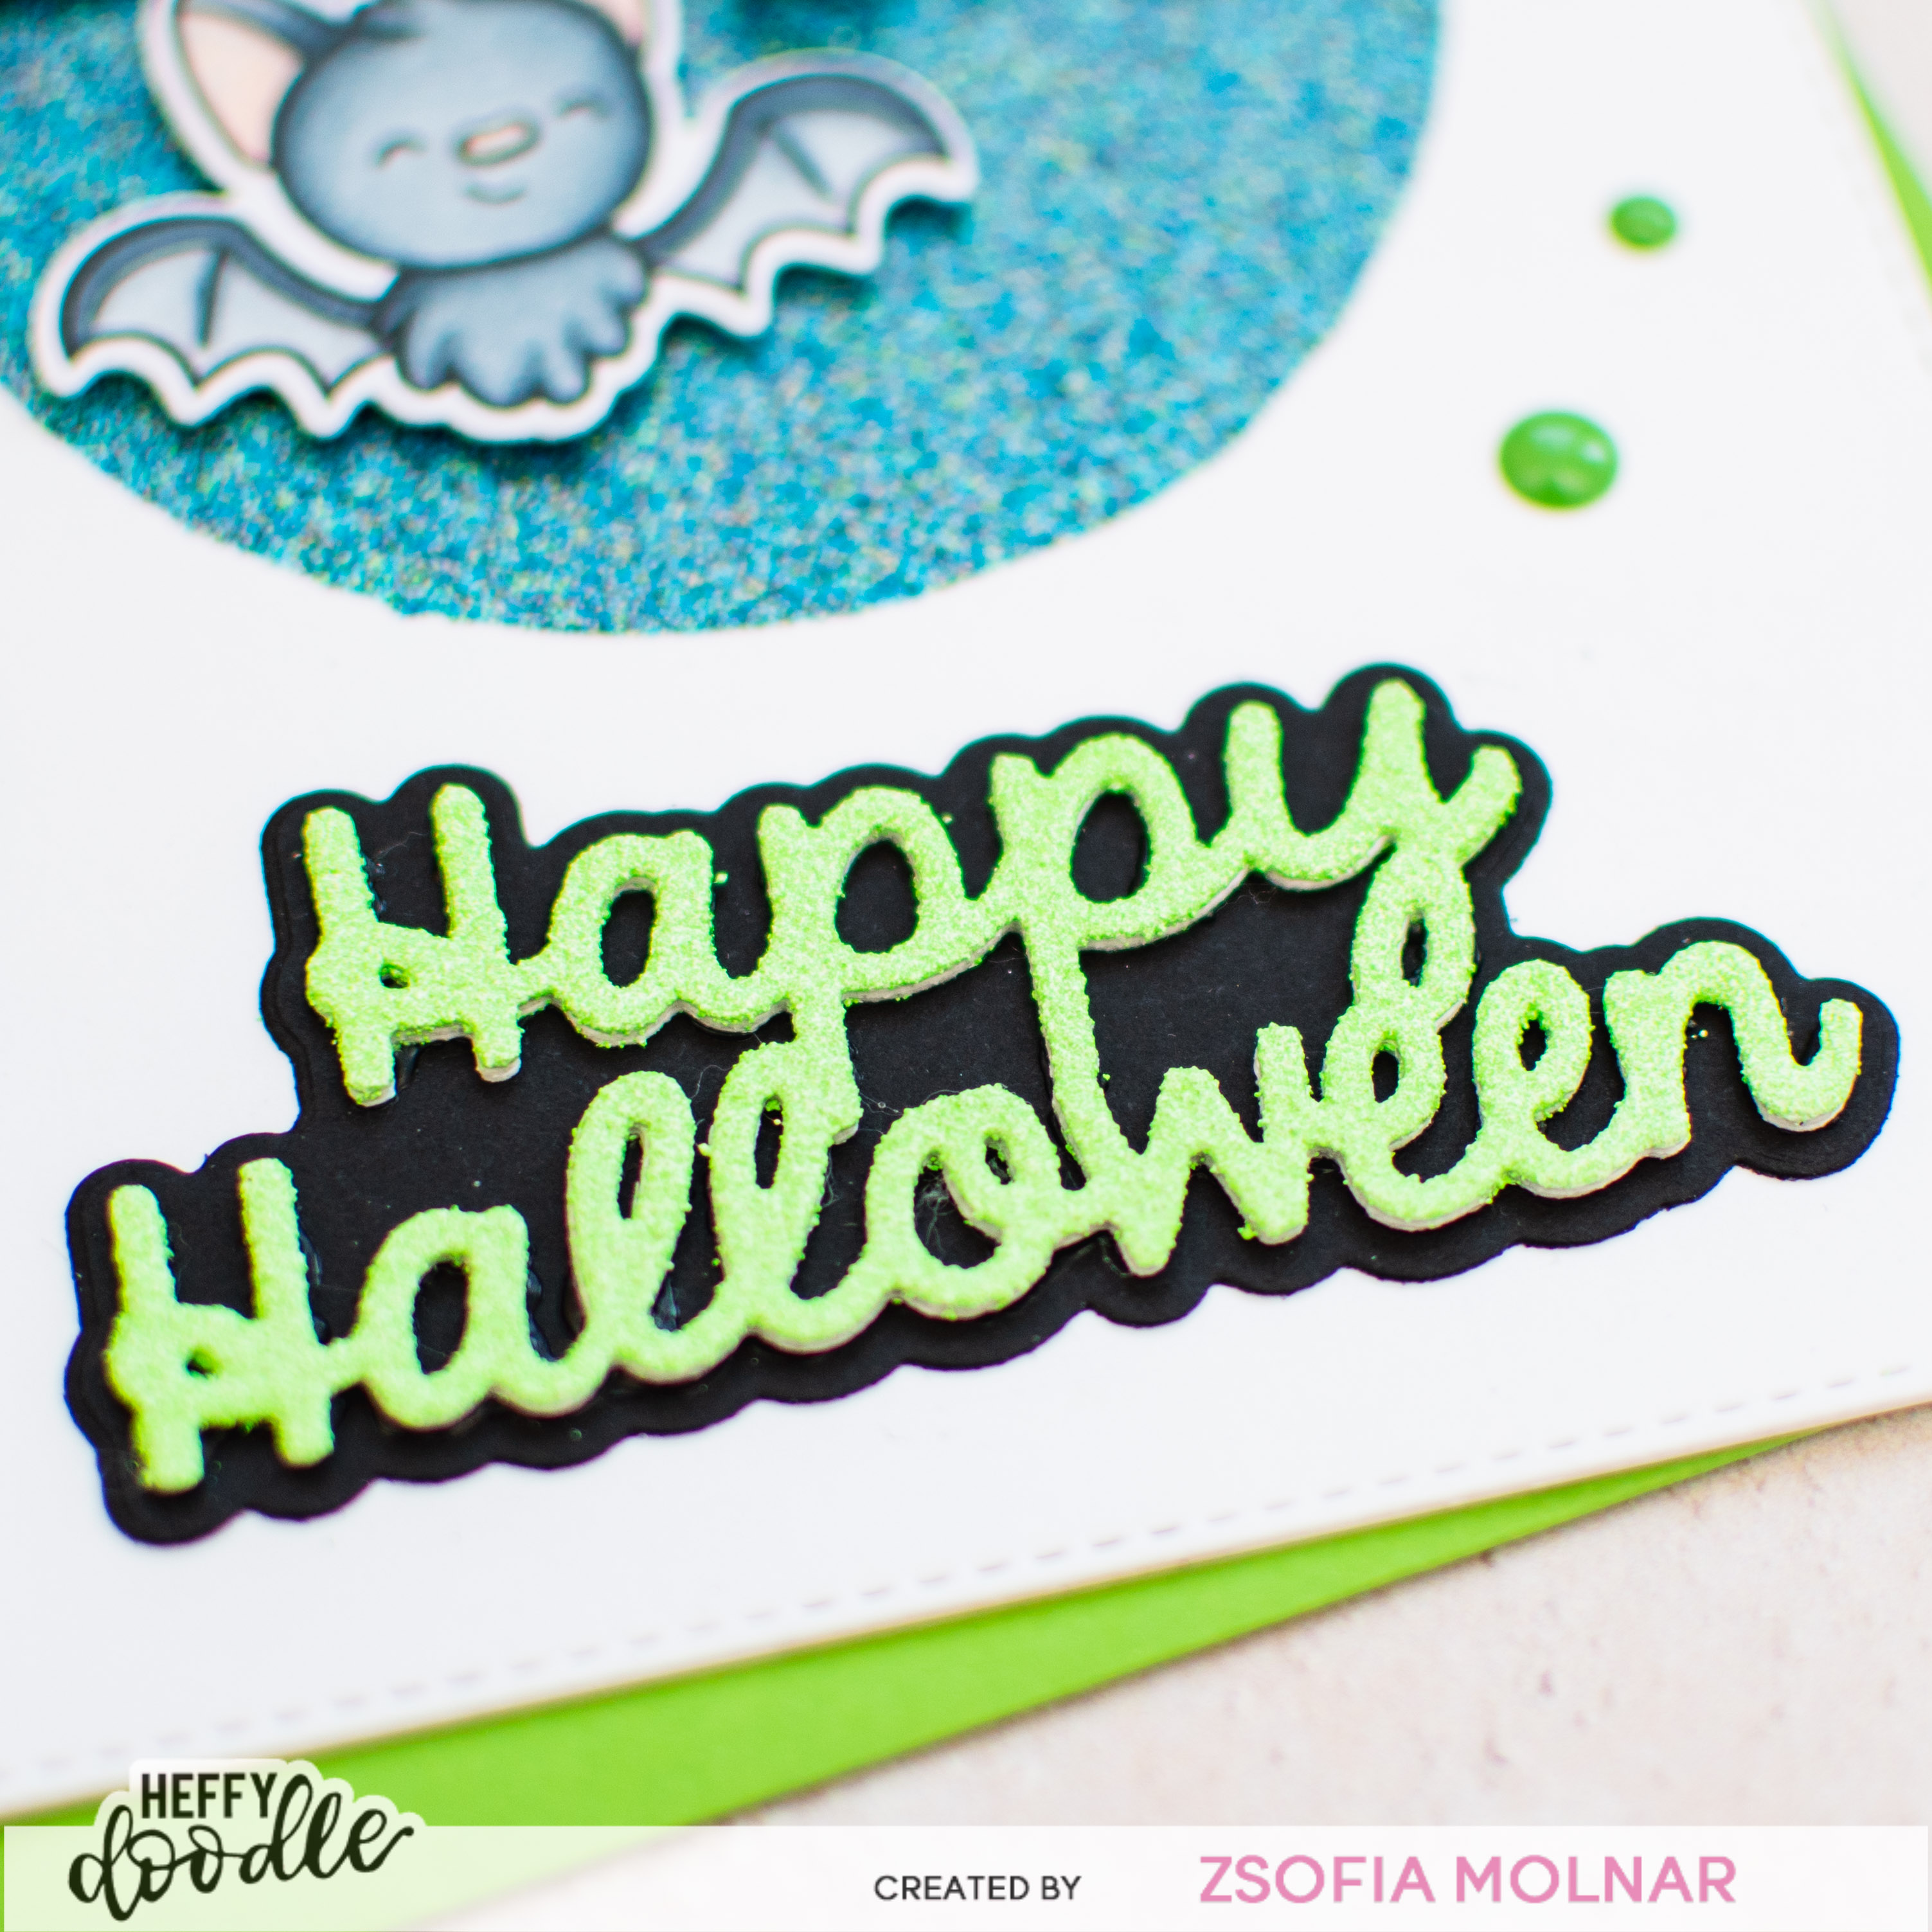
For the sentiment I used the HD Happy Halloween Shadow cut, I cut it from white cardstock 3 times and adhered them on top of each other. Then I dipped it in Versamark ink and heat embossed it with WOW Fluorescent Green embossing powder. I added a black shadow to it and assembled the card. I popped up the bats and 2 of the clouds with 3D foam squares for a dimensional look.
As a finishing touch I used a black glaze pen on the bats’ eyes, glossy accents on their noses and embellished the card with a few enamel dots from the HD Fright Night collection.
CARD 2
I started with ink blending a piece of Bristol Smooth cardstock with Wilted Violet and Black Sooth Distress Oxide inks. I added a lot of splatters to the background: water and Finetec Pearlescent watercolour in white and purple.
Then I die cut the HD Trick or treat Jumbo seniment die 3 times from white cardstock and layered them on top of each other. I dipped it in Versamark ink and heat embossed it with WOW Obsidian embossing powder. It has different particles which look like marble when it is heated. The surface is so smooth and shiny like real marble, it is lovely to touch! I used another black die cut to cast shadow to the sentiment and make it pop off the card.
GIVEAWAY
To be entered to win the giveaway, all you need to do is comment at each stop along the Blog Hop! WOW! Embossing Powders will be giving away $25/£25 and Heffy Doodle will be giving away £25 to their respective stores! Be sure to comment before 11:59 PM EST on Oct 25th to be entered to win!
Welcome to another edition of my Perfect Combos series for Heffy Doodle. I will not reveal a big secret if I tell you, that the Ghoulfriends stamp set is my favourite from the latest release. I wanted to use them a little differently this time so I created a cute card for book lovers. Let me show you how I made it.
I started with stamping and colouring the cute ghots and books usig Copic markers. The colours I used:
I cut them all out with the coordinating dies. Then I was working on the library background: on a piece of heavy weight white cardstock I applied white texture paste (which I have mixed with a bit of Black Soot Distress oxide ink) over the Brick by Brick stencil. When it was all dry, I did a little ink blending on the edges with Black Soot Distress Oxide ink.
I heat embossed a sentiment on a thin strip of black cardstock with white embossing powder and another one I stamped on a grey oval which I cut with the Pebble Sentiments die.
After assembling the scene, I embellished it with a few sequins from the Hocus Pocus Sparkle Mix and added glossy accents to the glasses of the cute ghost.
I wish you got inspired to look at your stamps differently. Don’t forget to show us what you create in our Facebook group, we love to see your cards!
I started with colouring the kitty and candies using Spectrum Noir Illustrator markers: EB5, RB2, RB1, MB2, MB1, BG9, BG7, BG5, BG2, BG05, Black, FS7, OR3, OR2, OR1, OR05, CT4, AG1, PL3, PL2, PL05. Then I cut them all out with their coordinating dies.
For the background I used Bristol Smooth cardstock and Distress Oxide inks with the Jack o’ lantern stencils: Carved pumpkin and Spiced Marmalade for the first layer and gathered Twigs for the stems.
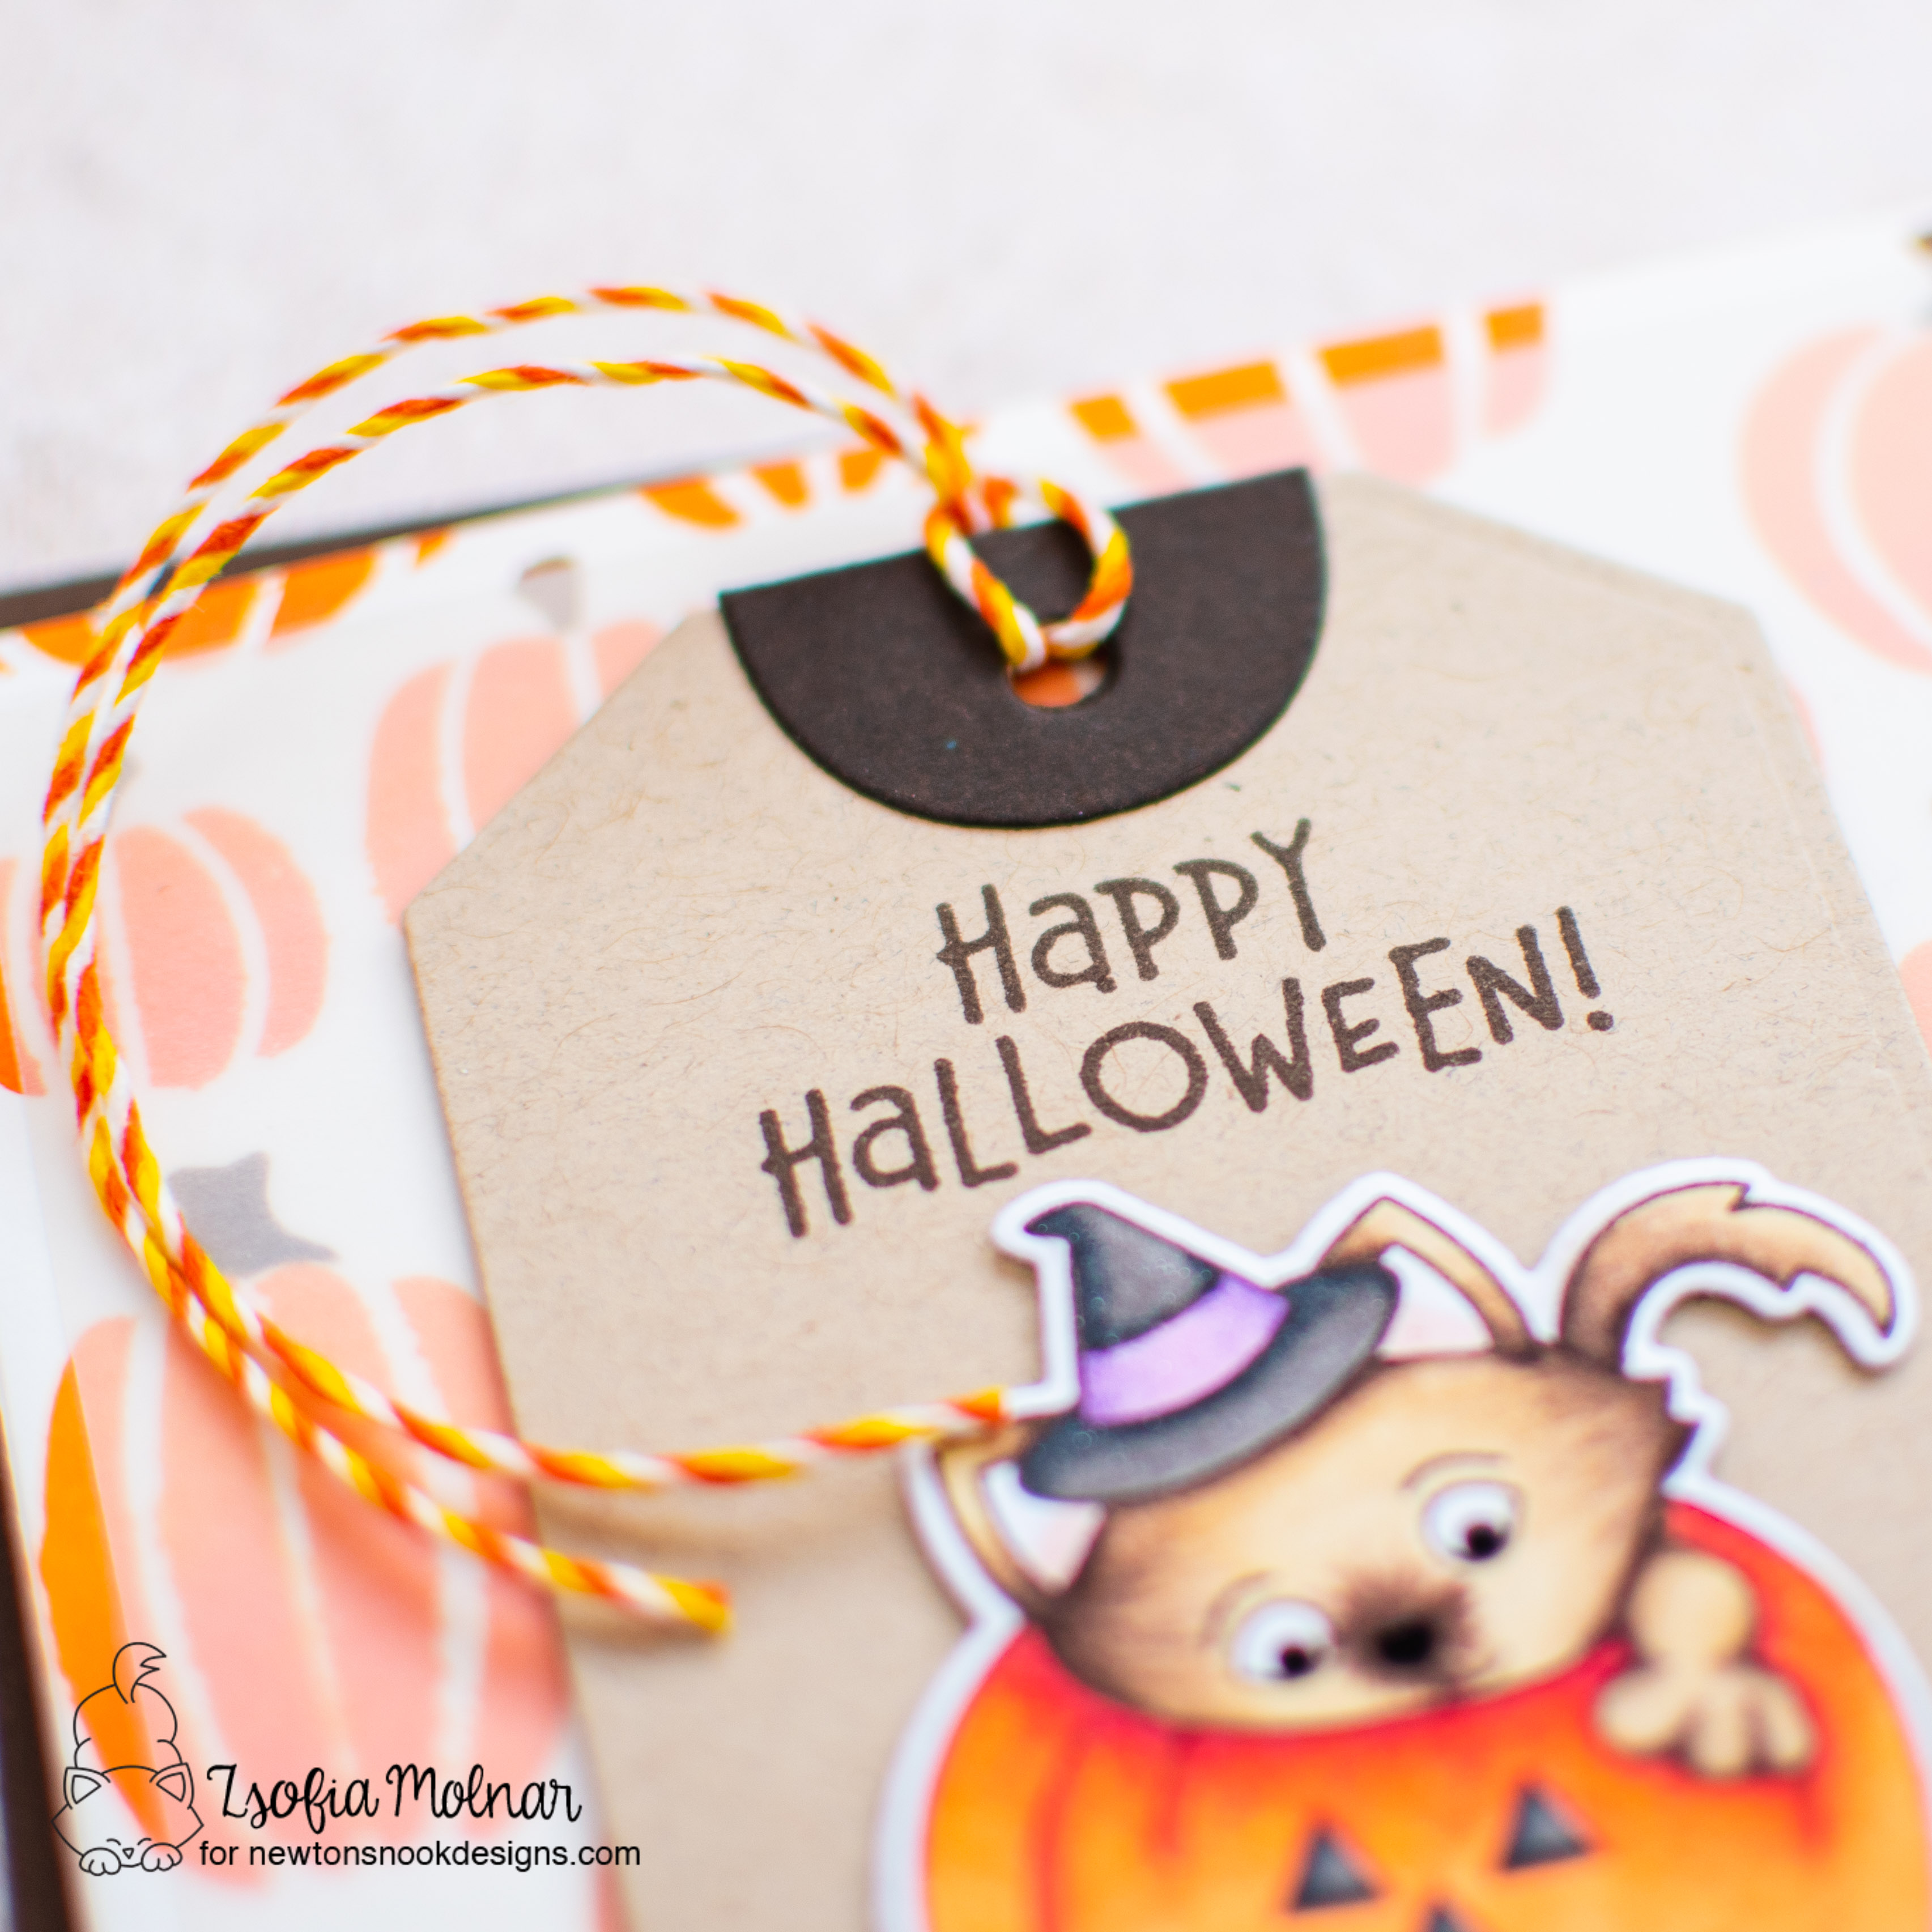
I die cut a kraft tag with the Fancy Edges Tag die set, added a dark brown reinforcer and orange twine. I stamped the sentiment in brown and popped up the kitty with 3D foam squares.
To mute the background a little and to make the card more special I added a piece of vellum under the tag, which I adhered with 3D foam squares. As I used glue only under the tag it doesn’t show through the vellum and it looks cool.
As a finishing touch I used a black glaze pen on the nose of the cat and a bit of clear shimmer on the hat and candies.
I wish you like my card and will pop in again soon for more inspiration. Also check the Halloween section of Newton’s Nook Designs, they have a wide variety of products and all so cute!
I have fantastic news to announce: I will be Guest Designing for Pretty Pink Posh in the months of October and November! It is so exciting and I cannot wait to show you all the beautiful projects I have been working on (and the list is growing).
First I got you a cute Halloween inspiration which glows in the dark! Let me Guide you through the process!
I started with colouring the cute ghosts from Ghost Friends using Spectrum Noir illustrator markers. If you are interested in the colouring process I have a short video on my Instagram. The markers used are: HB2, HB1, HB05, OR3, OR1, OR05, IG9, IG7, IG5, AG2, AG1, AG05, EB5, EB3, EB1, RB2, RB1, RB05. I cut them out with their coordinating dies.
Then I created the background. I die cut a Wonky Stitched rectangle from blue violet and green cardstocks. From the green one I die cut grass and did some quick in blending with black Sooth Distress Oxide ink to make it look like it is a night scenery. I added some splatters with Finetec Pearlescent black and white and made sure it was dry before I started stenciling.
I used the Spooky Sky layering stencil: added the clouds with white pigment ink, and the stars with Lawn Fawn Glow in the dark paste.
While it was drying I die cut a Spooky fence from grey cardstock and the Boo Script sentiment 3 times: twice from white and once from silver sparkle cardstock. I layered them on top of each other and assembled the scene.
As a finishing touch I added clear sparkle to the ghosts and used a black glaze pen on the eyes and mouth.
Look how cool it is when it glows in the dark!
I hope you got inspired and will check back later to see my other Guest Designer projects.
Welcome to another edition of my Perfect Combos series for Heffy Doodle. It is officially Fall and pumpkin season so I had to pair some orange gourd with my favourite ghost from the latest release. It is a simple design, let me show you how I made it.
I did a very quick ink blending with Distress Oxides for the background: Salty Ocean for the sky and Shabby Shutters for the ground. Before adhering the tree I used some white pigment ink on the branches to make it look more spooky.
I stamped a sentiment above the tree, matted the scene with black cardstock before mounting it on a patterned paper from the Fright night paper pad.
As a finishing touch I added twine on the top and some sequins from the Pumpkin Spice Sparkle Mix to the tree. I also used a black glaze pen on the eyed of the ghost and glossy accents on the pumpkin stems. So cute, isn’t it?
I wish you got inspired and ready for Halloween crafts. Don’t forget to show us what you create in our Facebook group, we love to see your cards!
Welcome to another edition of my Perfect Combos series for Heffy Doodle. I was playing with the new release and came up with a fun interactive design idea. It’s very simple but so cute! Let me show you!
For the background I took a piece of white cardstock and created purple clouds with the Cloudy sky stencil and Villaneous Potion and Milled Lavender Distress Oxide inks. I moved from the top of the cardstock and on the bottom I used the Sleepy Hollow stencil and Black Soot ink for the graveyard. I added a ton of splatters with Finetec Pearlescent Pearl paint and also some diluted purple ink.
I used the Celestial Corner die to cut tiny stars on the top of the stenciled panel and backed it with silver glitter cardstock.
I also die cut the Happy Halloween Shadow word die from purple glitter cardstock and the shadow from black cardstock and adhered them together.
To frame the whole scene I cut the frame from the Elm street die set from purple cardstock and glued it to the scene.
And now the interactive part: I tool a small piece of very thin silver thread and attached one end to the back of my bat with Scotch tape. The other end I attached to the back of sentiment, which I popped up on the card with 3D foam squares. This way the little bat can fly around, so cute! I will have a short video on my Instagram to show you this card in action, visit me there!
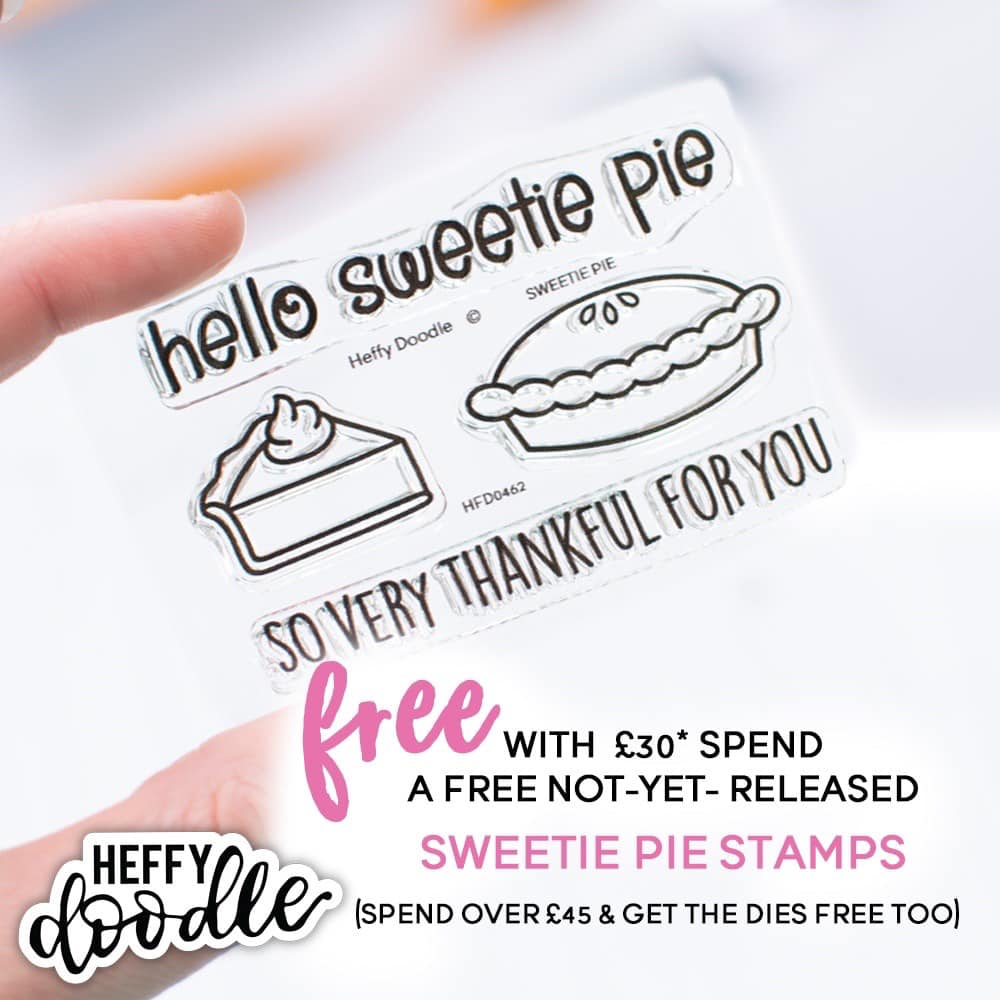
I wish you got inspired and ready for Halloween crafts. Don’t forget that every order above 30 GBP gets this adorable freebie, and if you spend above 45 GBP, you will get the coordinating dies too.
This week Newton’s Nook Designs is getting ready for Halloween with a fun Inspiration week! All week the NND Design Team will be sharing inspiration using some of their favorite Halloween products to get you in the mood for tricks and treats! Check out what I created today and don’t forget to check the NND Blog each day this week for more fun inspiration!
For my card I stamped the cute images from Halloween Pile and Happy Howl-oween sets on Bristol Smooth cardstock with Versafine Onyx black ink and clear heat embossed them. Then I used my Tombow markers to paint the images and cut them out with their coordinating dies.
I created a very shimmery background on Ranger Distress Watercolour cardstock with Nuvo Shimmer powders. I just spritzed the cardstock with water, added some powder and spritzed again. I heat set it with my heat tool and repeated the process until I was happy with the colour darkness. It is so easy and fun!
When the panel was dry I trimmed it a little to fit in a black postage edge rectangle which I cut with a die from Frameworks. I also cut a Fence from white woodgrain cardstock and grass from green ink blended cardstock with the Land border dies.
I assembled the scene, popped up the images with 3D foam squares and white heat embossed a sentiment in the middle.
As an embellishment I added a heat embossed bat. It looks so cool with the shiny finish!
I hope you enjoyed my Halloween inspiration today. Don’t forget to visit the Halloween Products Category at Newton’s Nook Designs and get your favorites for creating cute and spooky Halloween crafts!
Welcome to the Heffy Doodle New Release Inspiration Blog Hop! We are so excited to share amazing cards from our Design Team members using the new release! For today’s special Blog Hop, you can win a £50 voucher to the Heffy Doodle store!
Then I created the background: on a piece of Bristol Smooth cardstock I ink blended Prize Ribbon and Chipped Sapphire Distress Oxide ink. On the bottom part I used the new Sleepy Hollow stencil with Black Soot Distress Oxide ink. Then I added splatters both with water and Finetec pearlescent watercolour.
I added a white heat embossed sentiment on a black banner and added some finishing touches: glossy accents and some clear shimmer to make the cute critters even more festive.
GIVEAWAY
To be entered to win the giveaway, all you need to do is comment at each stop along the Blog Hop before Sept 13, 2022 at 11:59 PM EST. The winner will be announced on the Heffy Doodle Blog on Sept 15th at 10:00 AM EST!