As I mentioned before I still needed some cards for my kids’ teachers and this year I was totally into flowers. I wanted a slightly different format so I went with a mini slimline design and made 3 cards at once.
First I die cut a bunch of flowers with the Lawn Fawn Spring Flowers Backdrop using Textured Canvas cardstocks from the Spring release. I love the beautiful colours!
Then I took the Small and Large Mini Slimline Stackable dies and cut Pink Tutu patterned paper for the background, a smaller white one as the focal panel and an in-between layer from coloured cardstock.
I arranged the flowers in rainbow order but used different colours for each card. I stamped a sentiment under them in black from the Happy Harvest stamp set.
As a finishing touch I embellished each flower with a matching pearl from Pretty Pink Posh and Lucy’s Little Things.
It is such an easy but eye-catching design, I will need to make some more with different sentiments to fit all occasions. I wish it inspired you to mass produce some easy cards and enhance your stash.
Welcome to the Heffy Doodle New Release Inspiration Blog Hop! We are so excited to share amazing cards from 8 Design Team members using the new release! For today’s special Blog Hop, you can win a £50 voucher to the Heffy Doodle store!
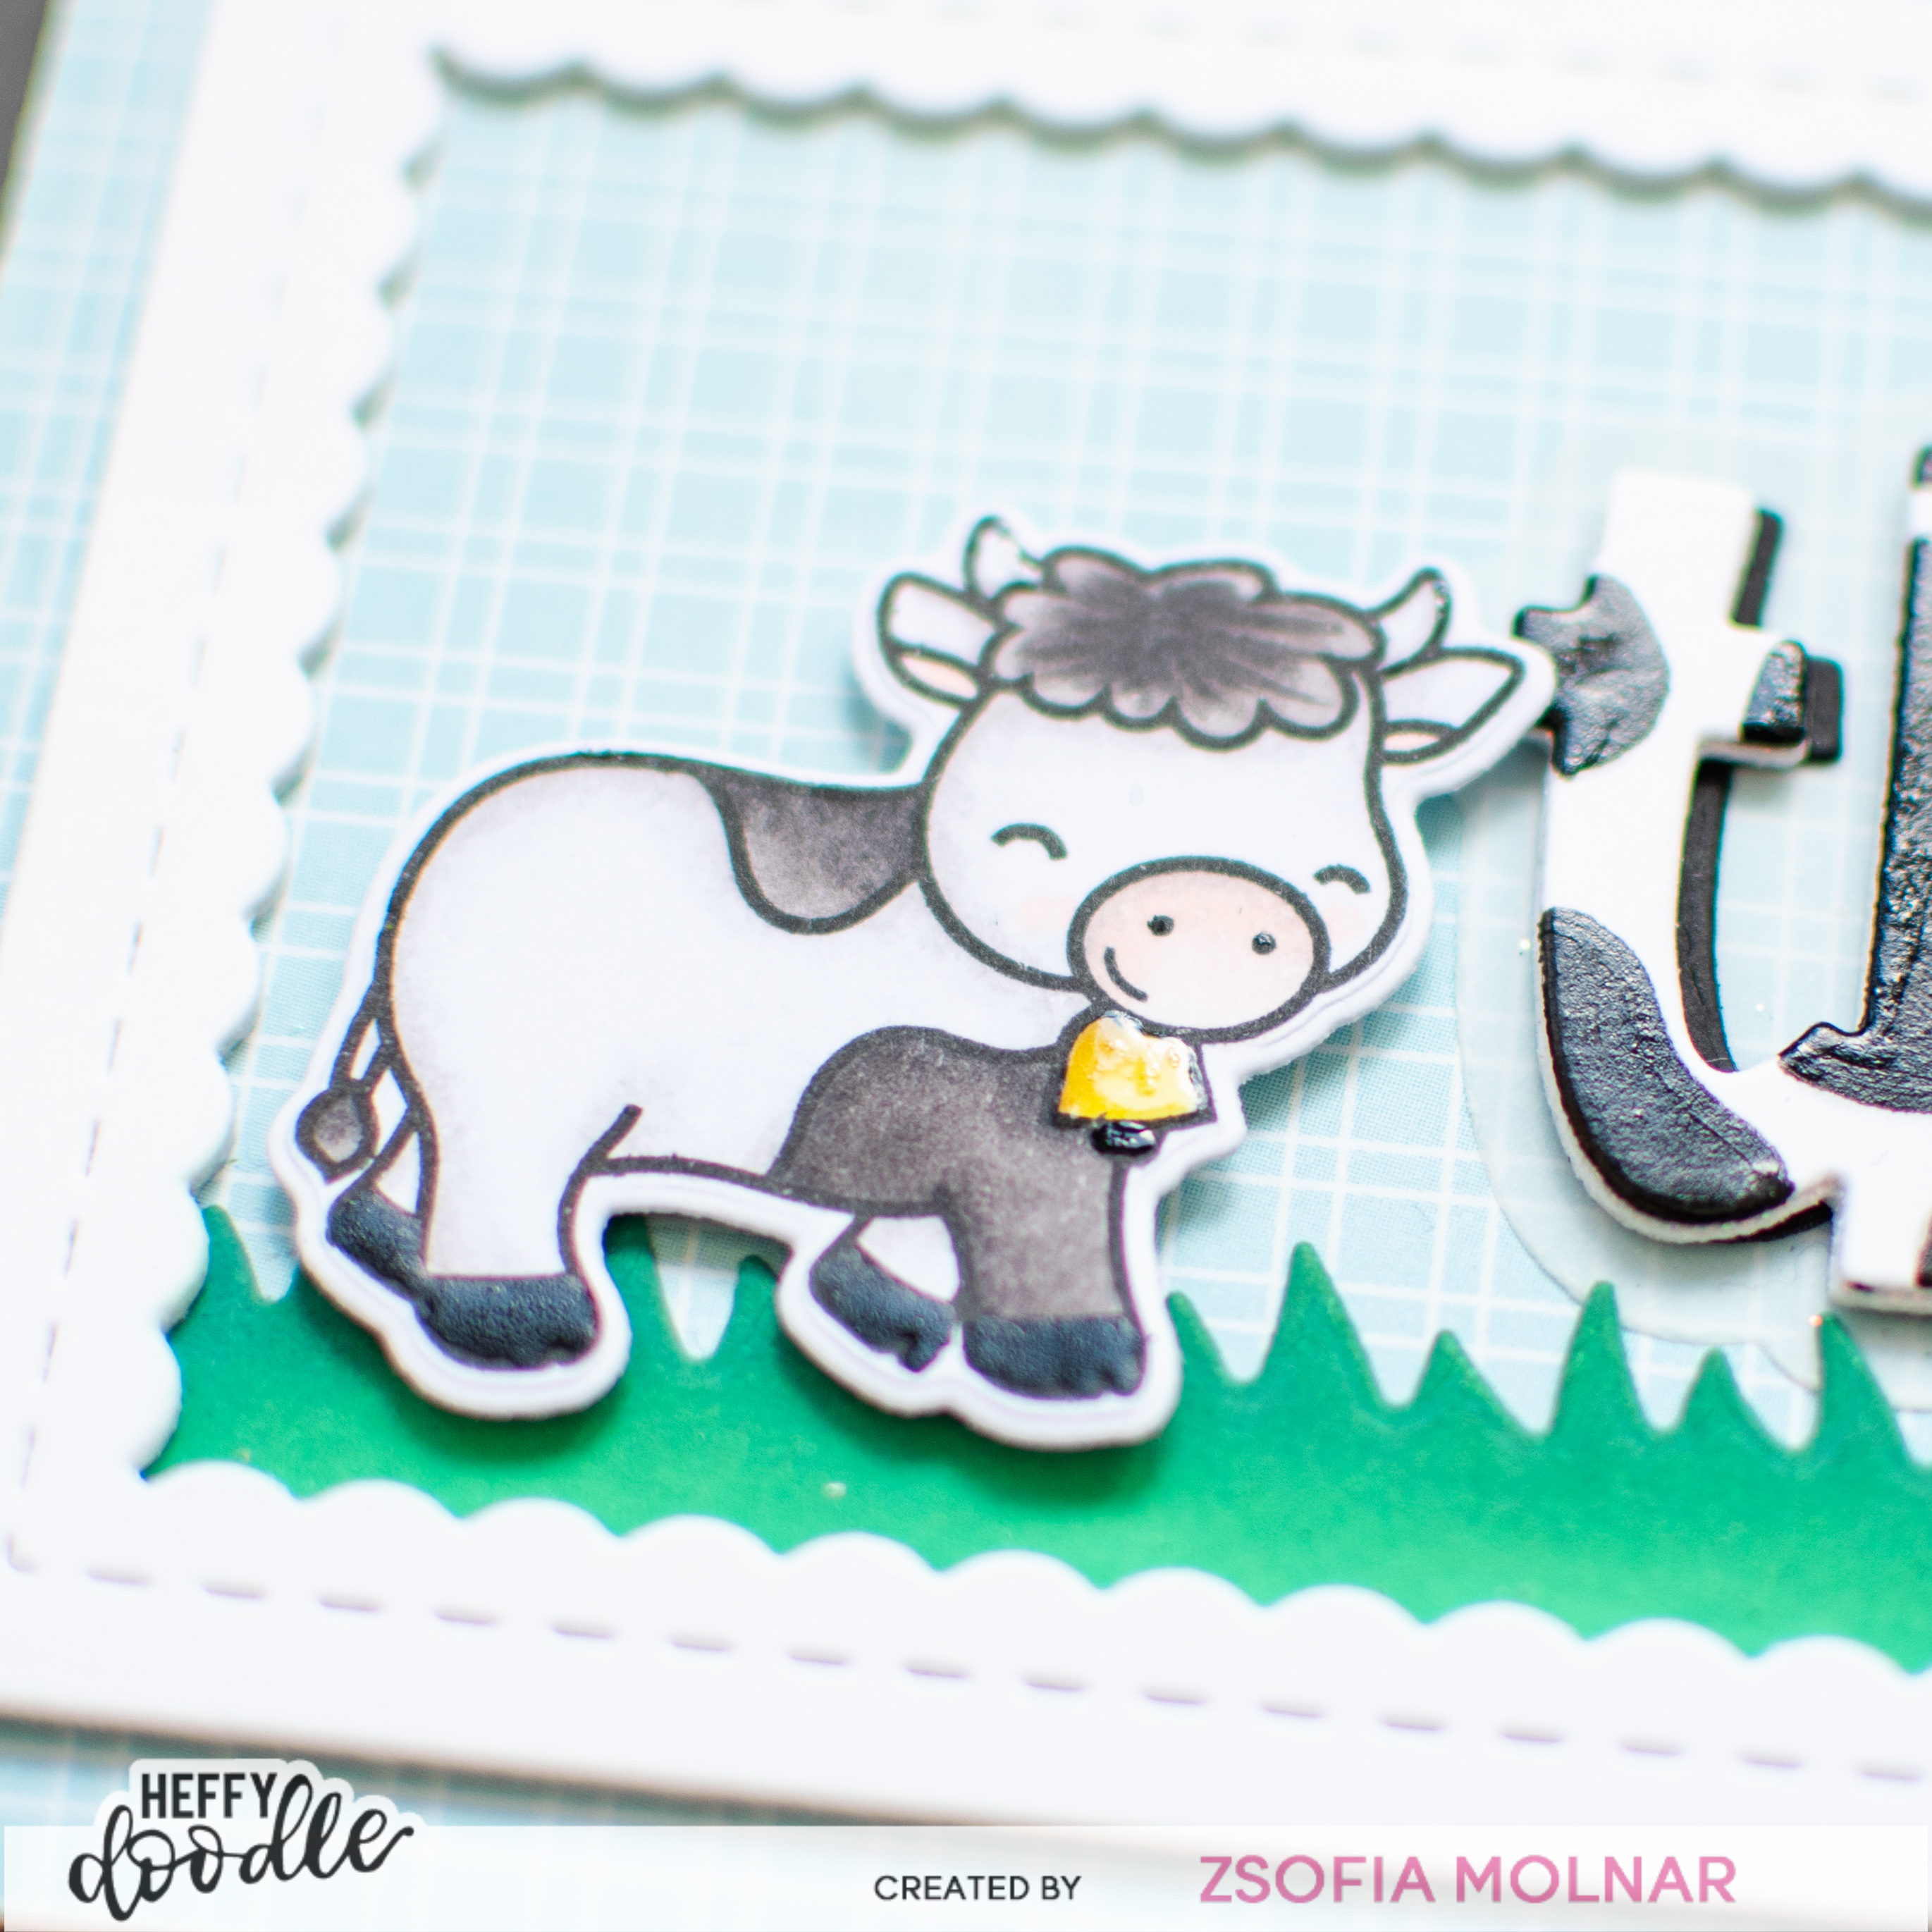
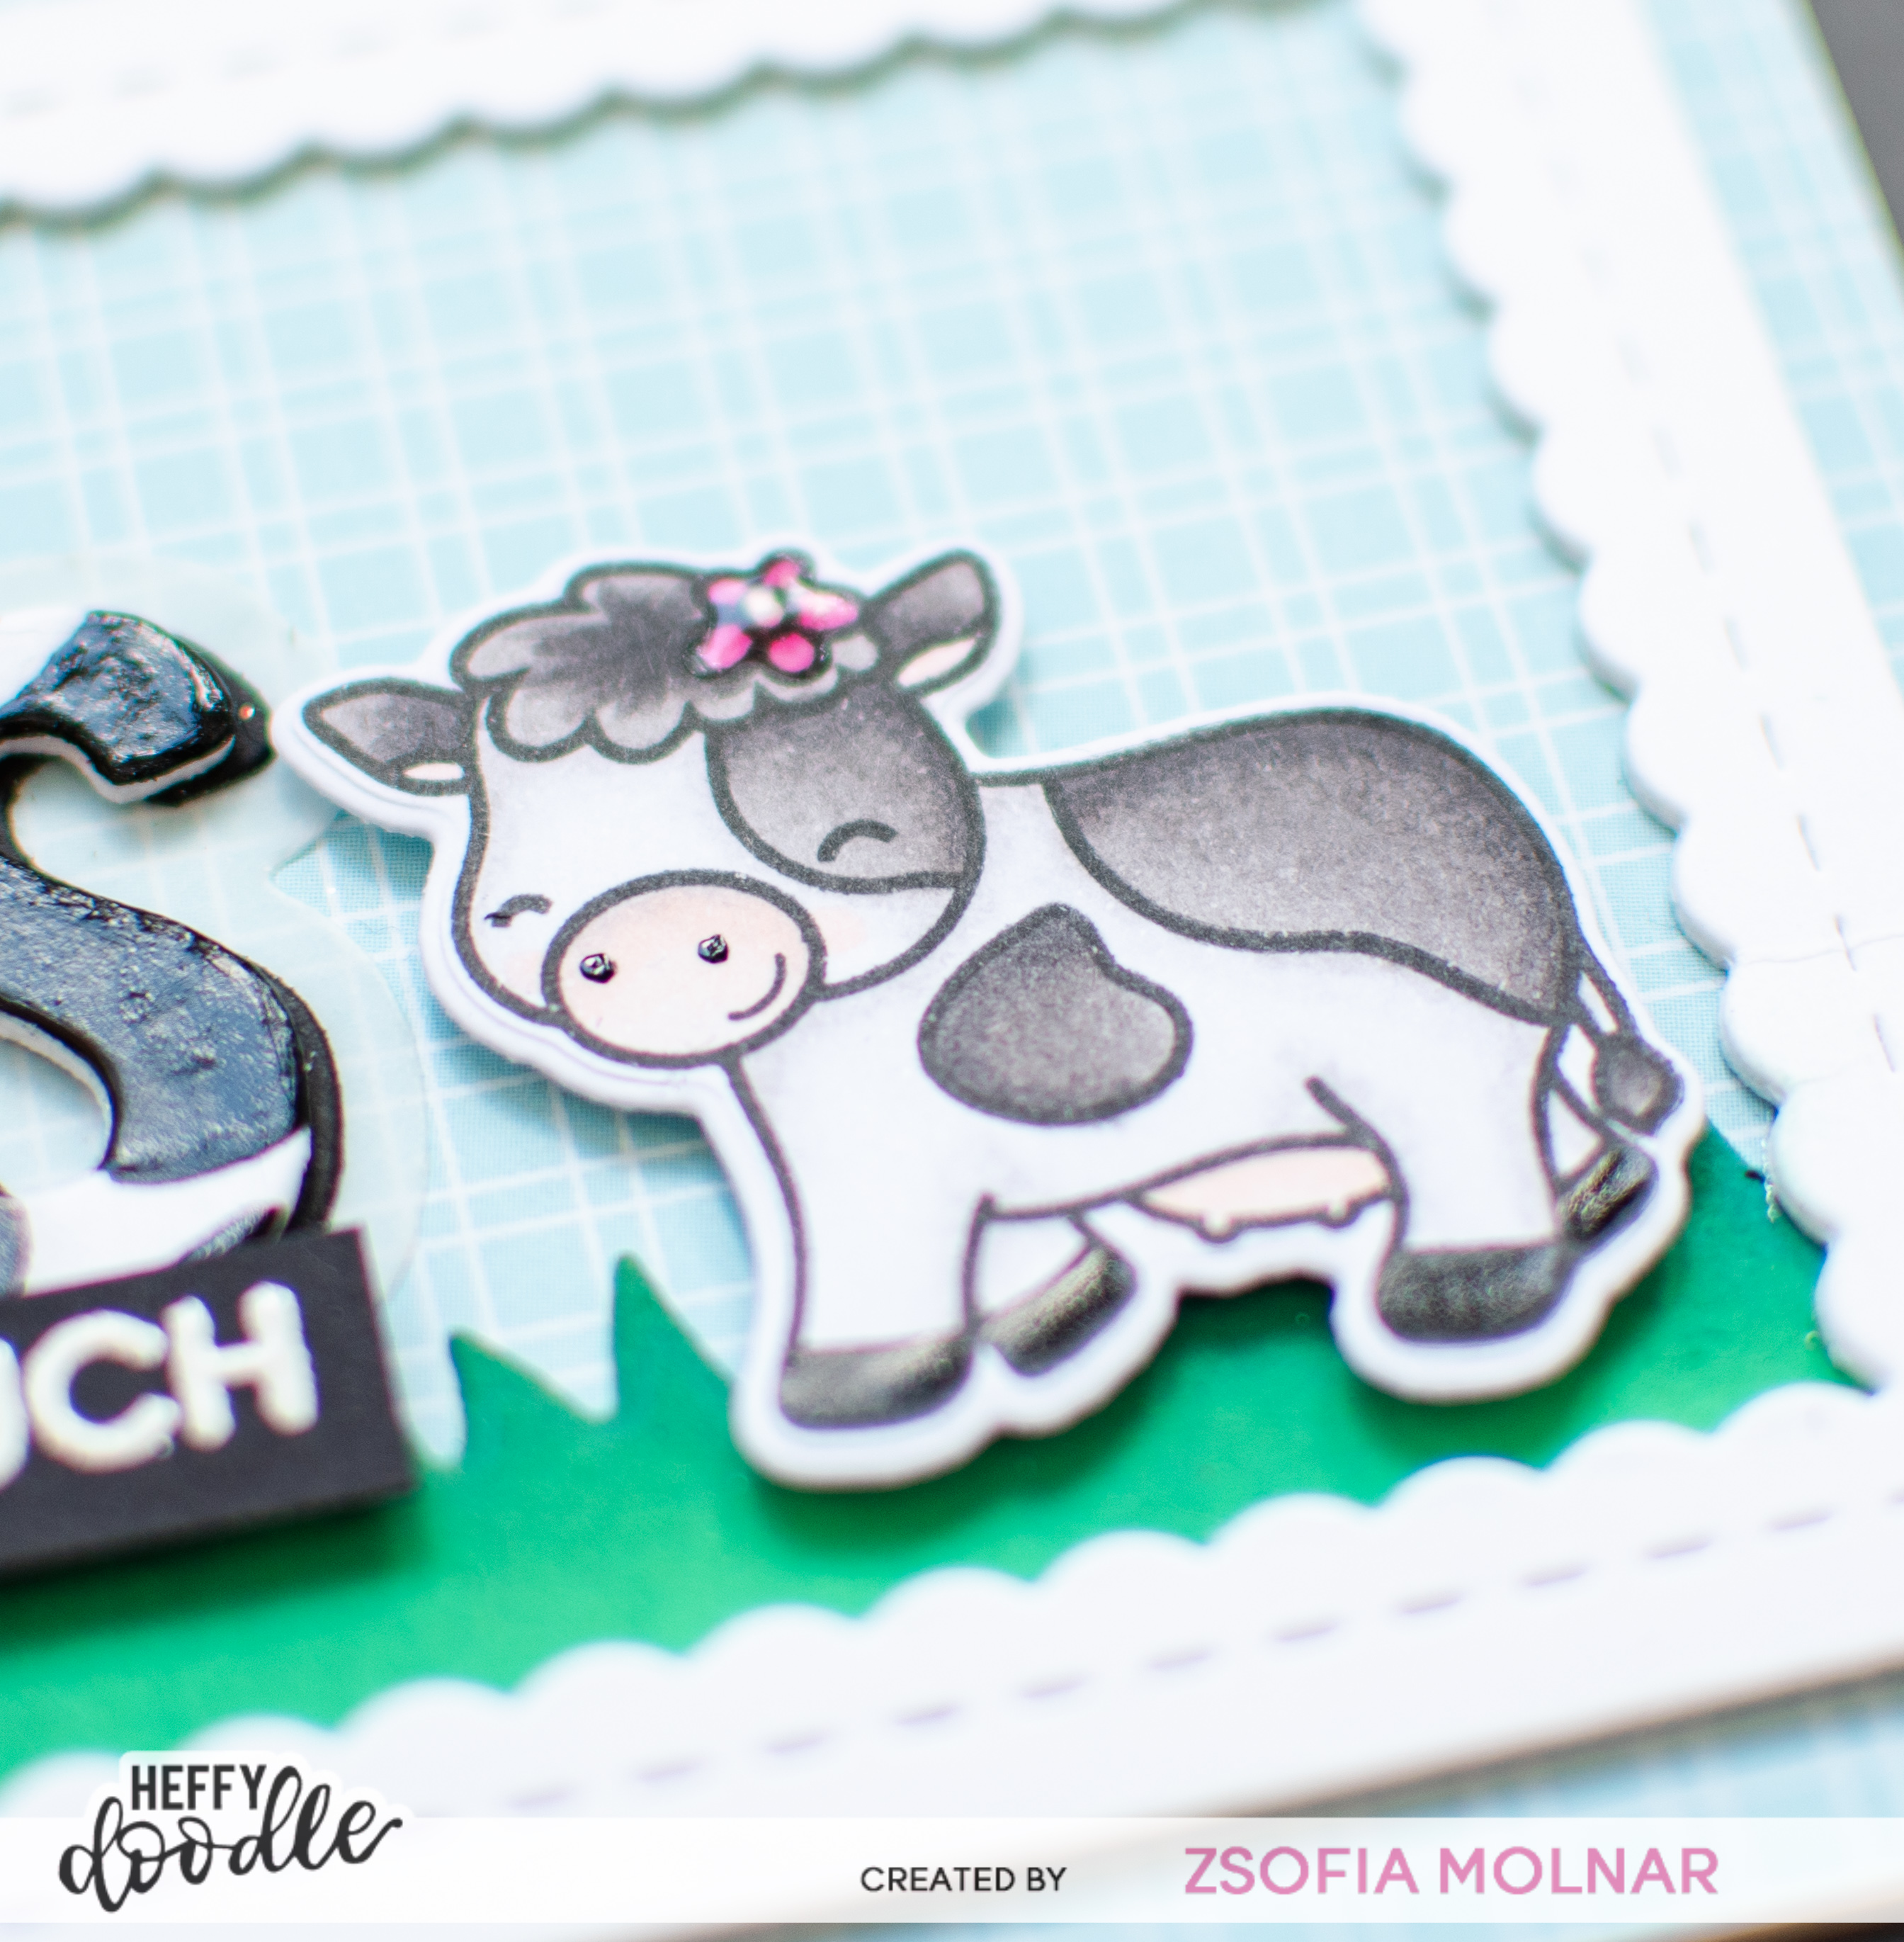
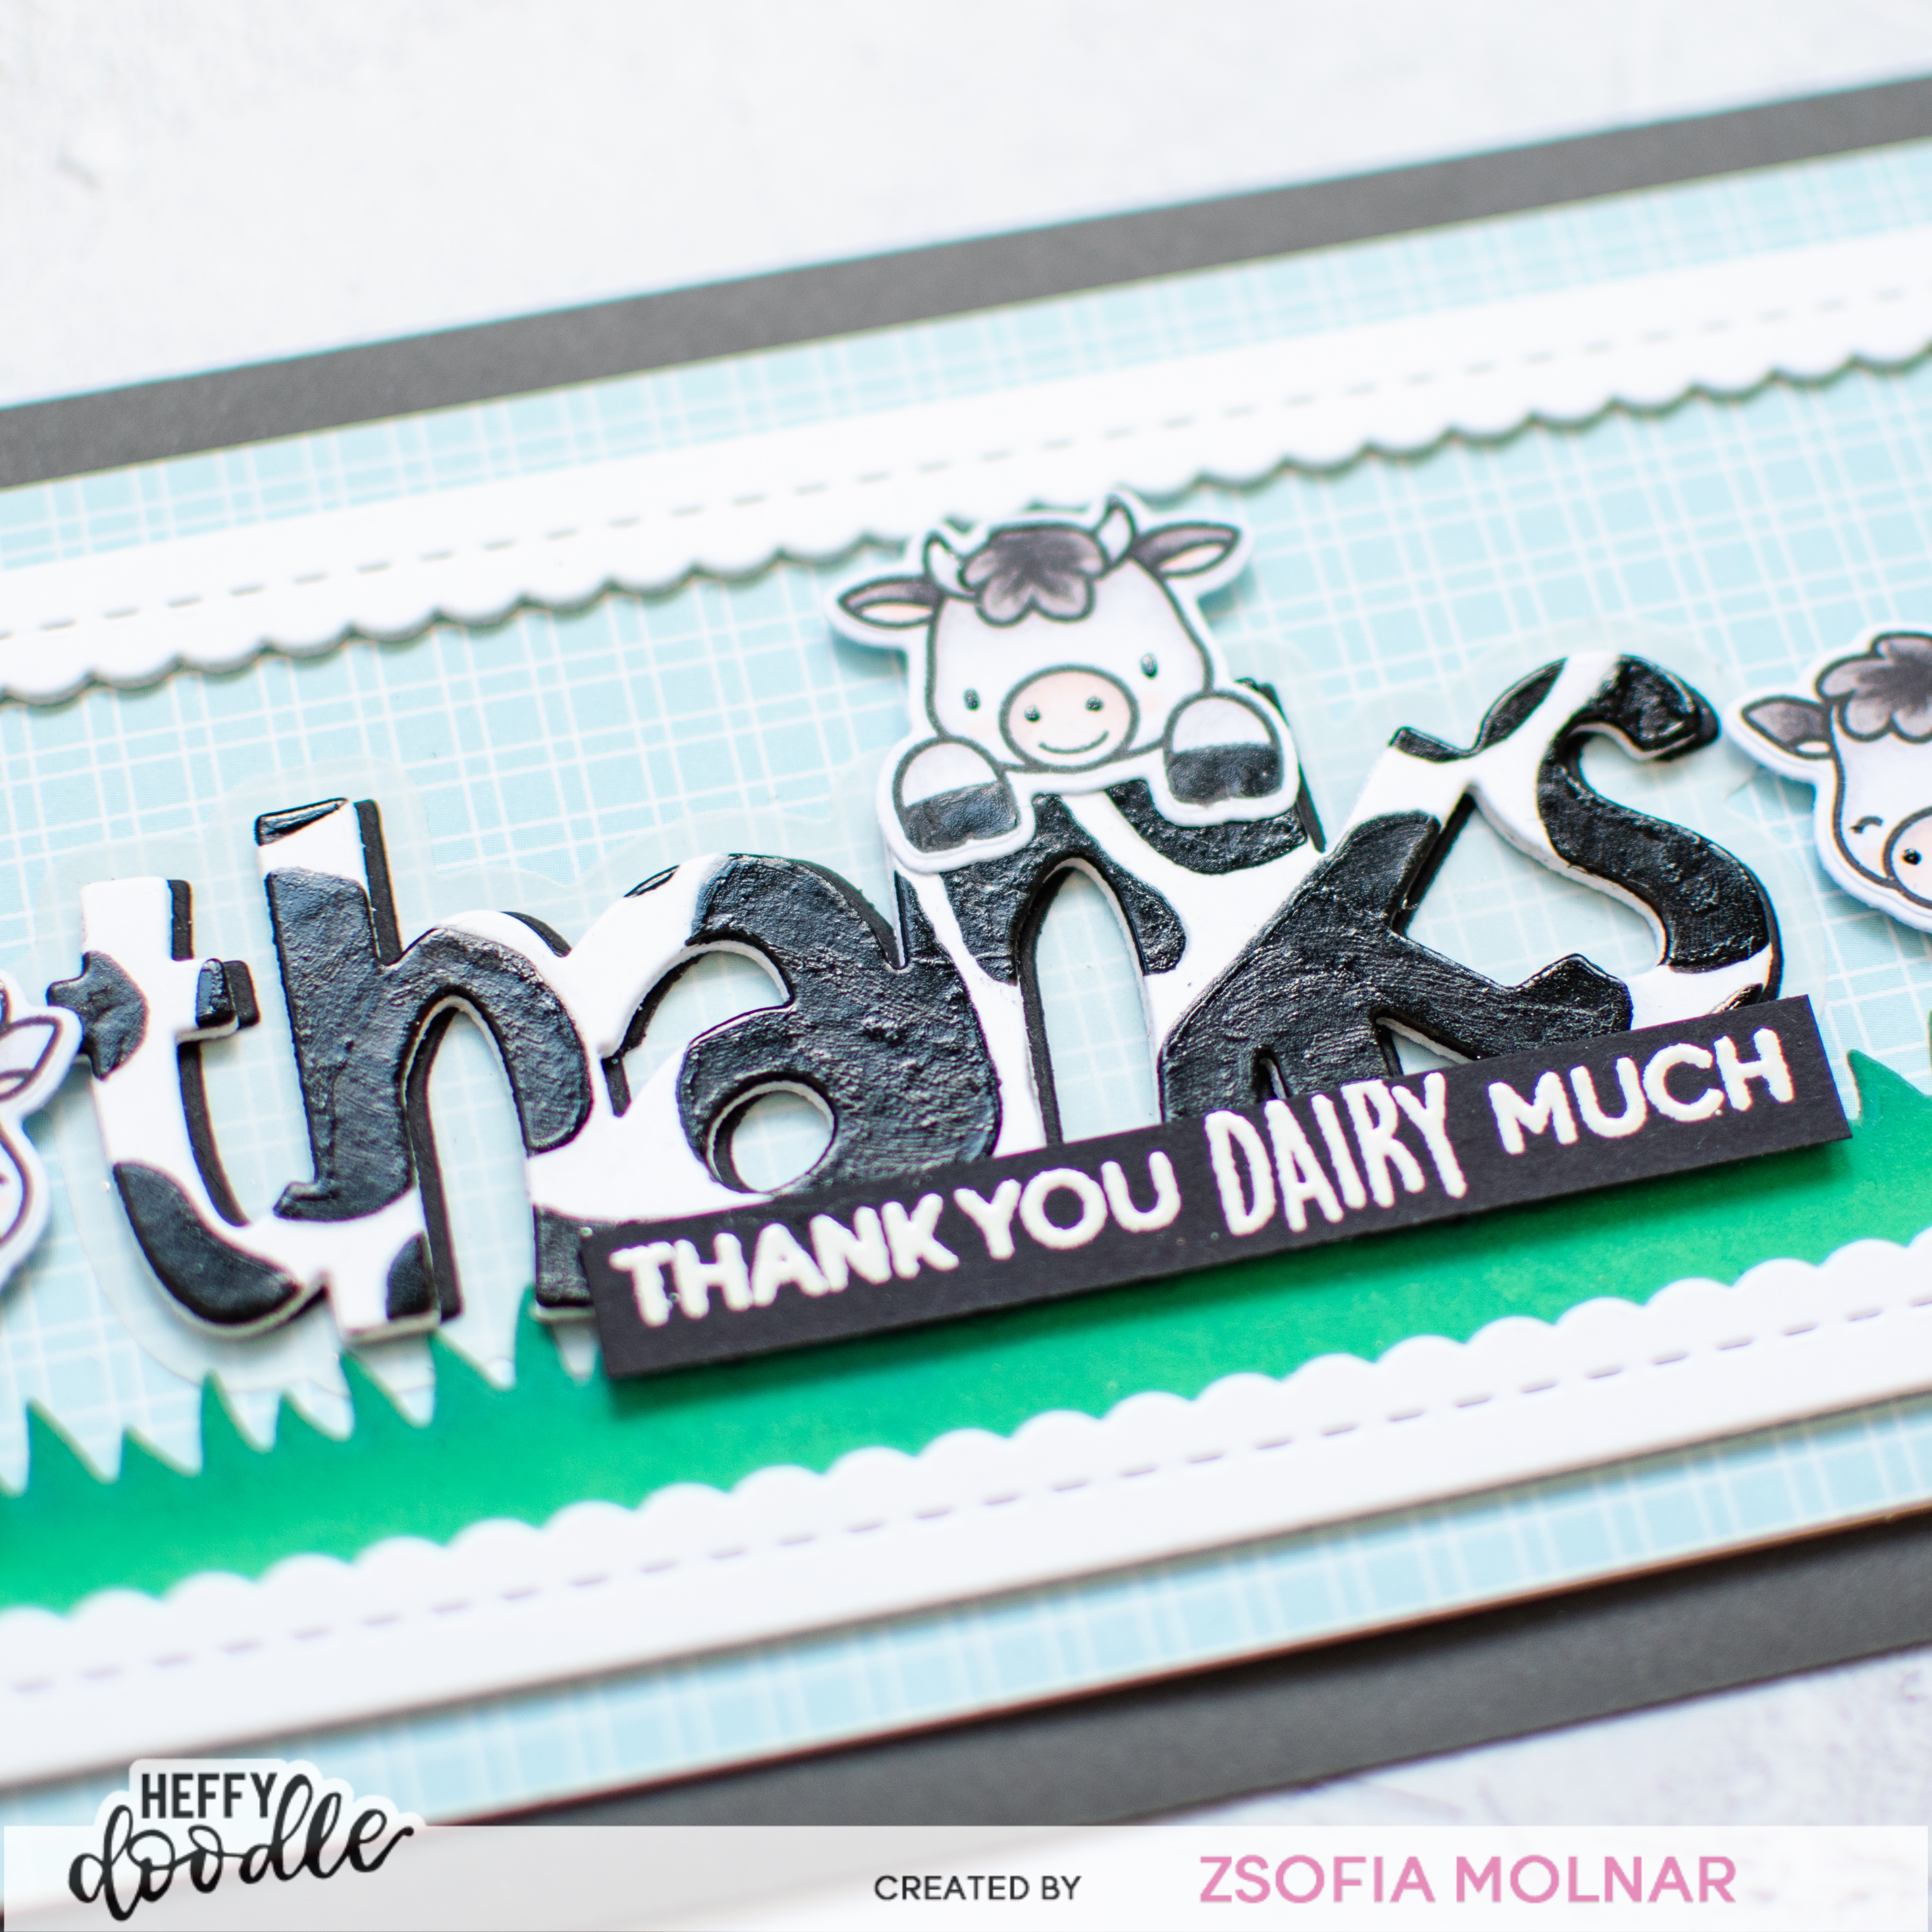
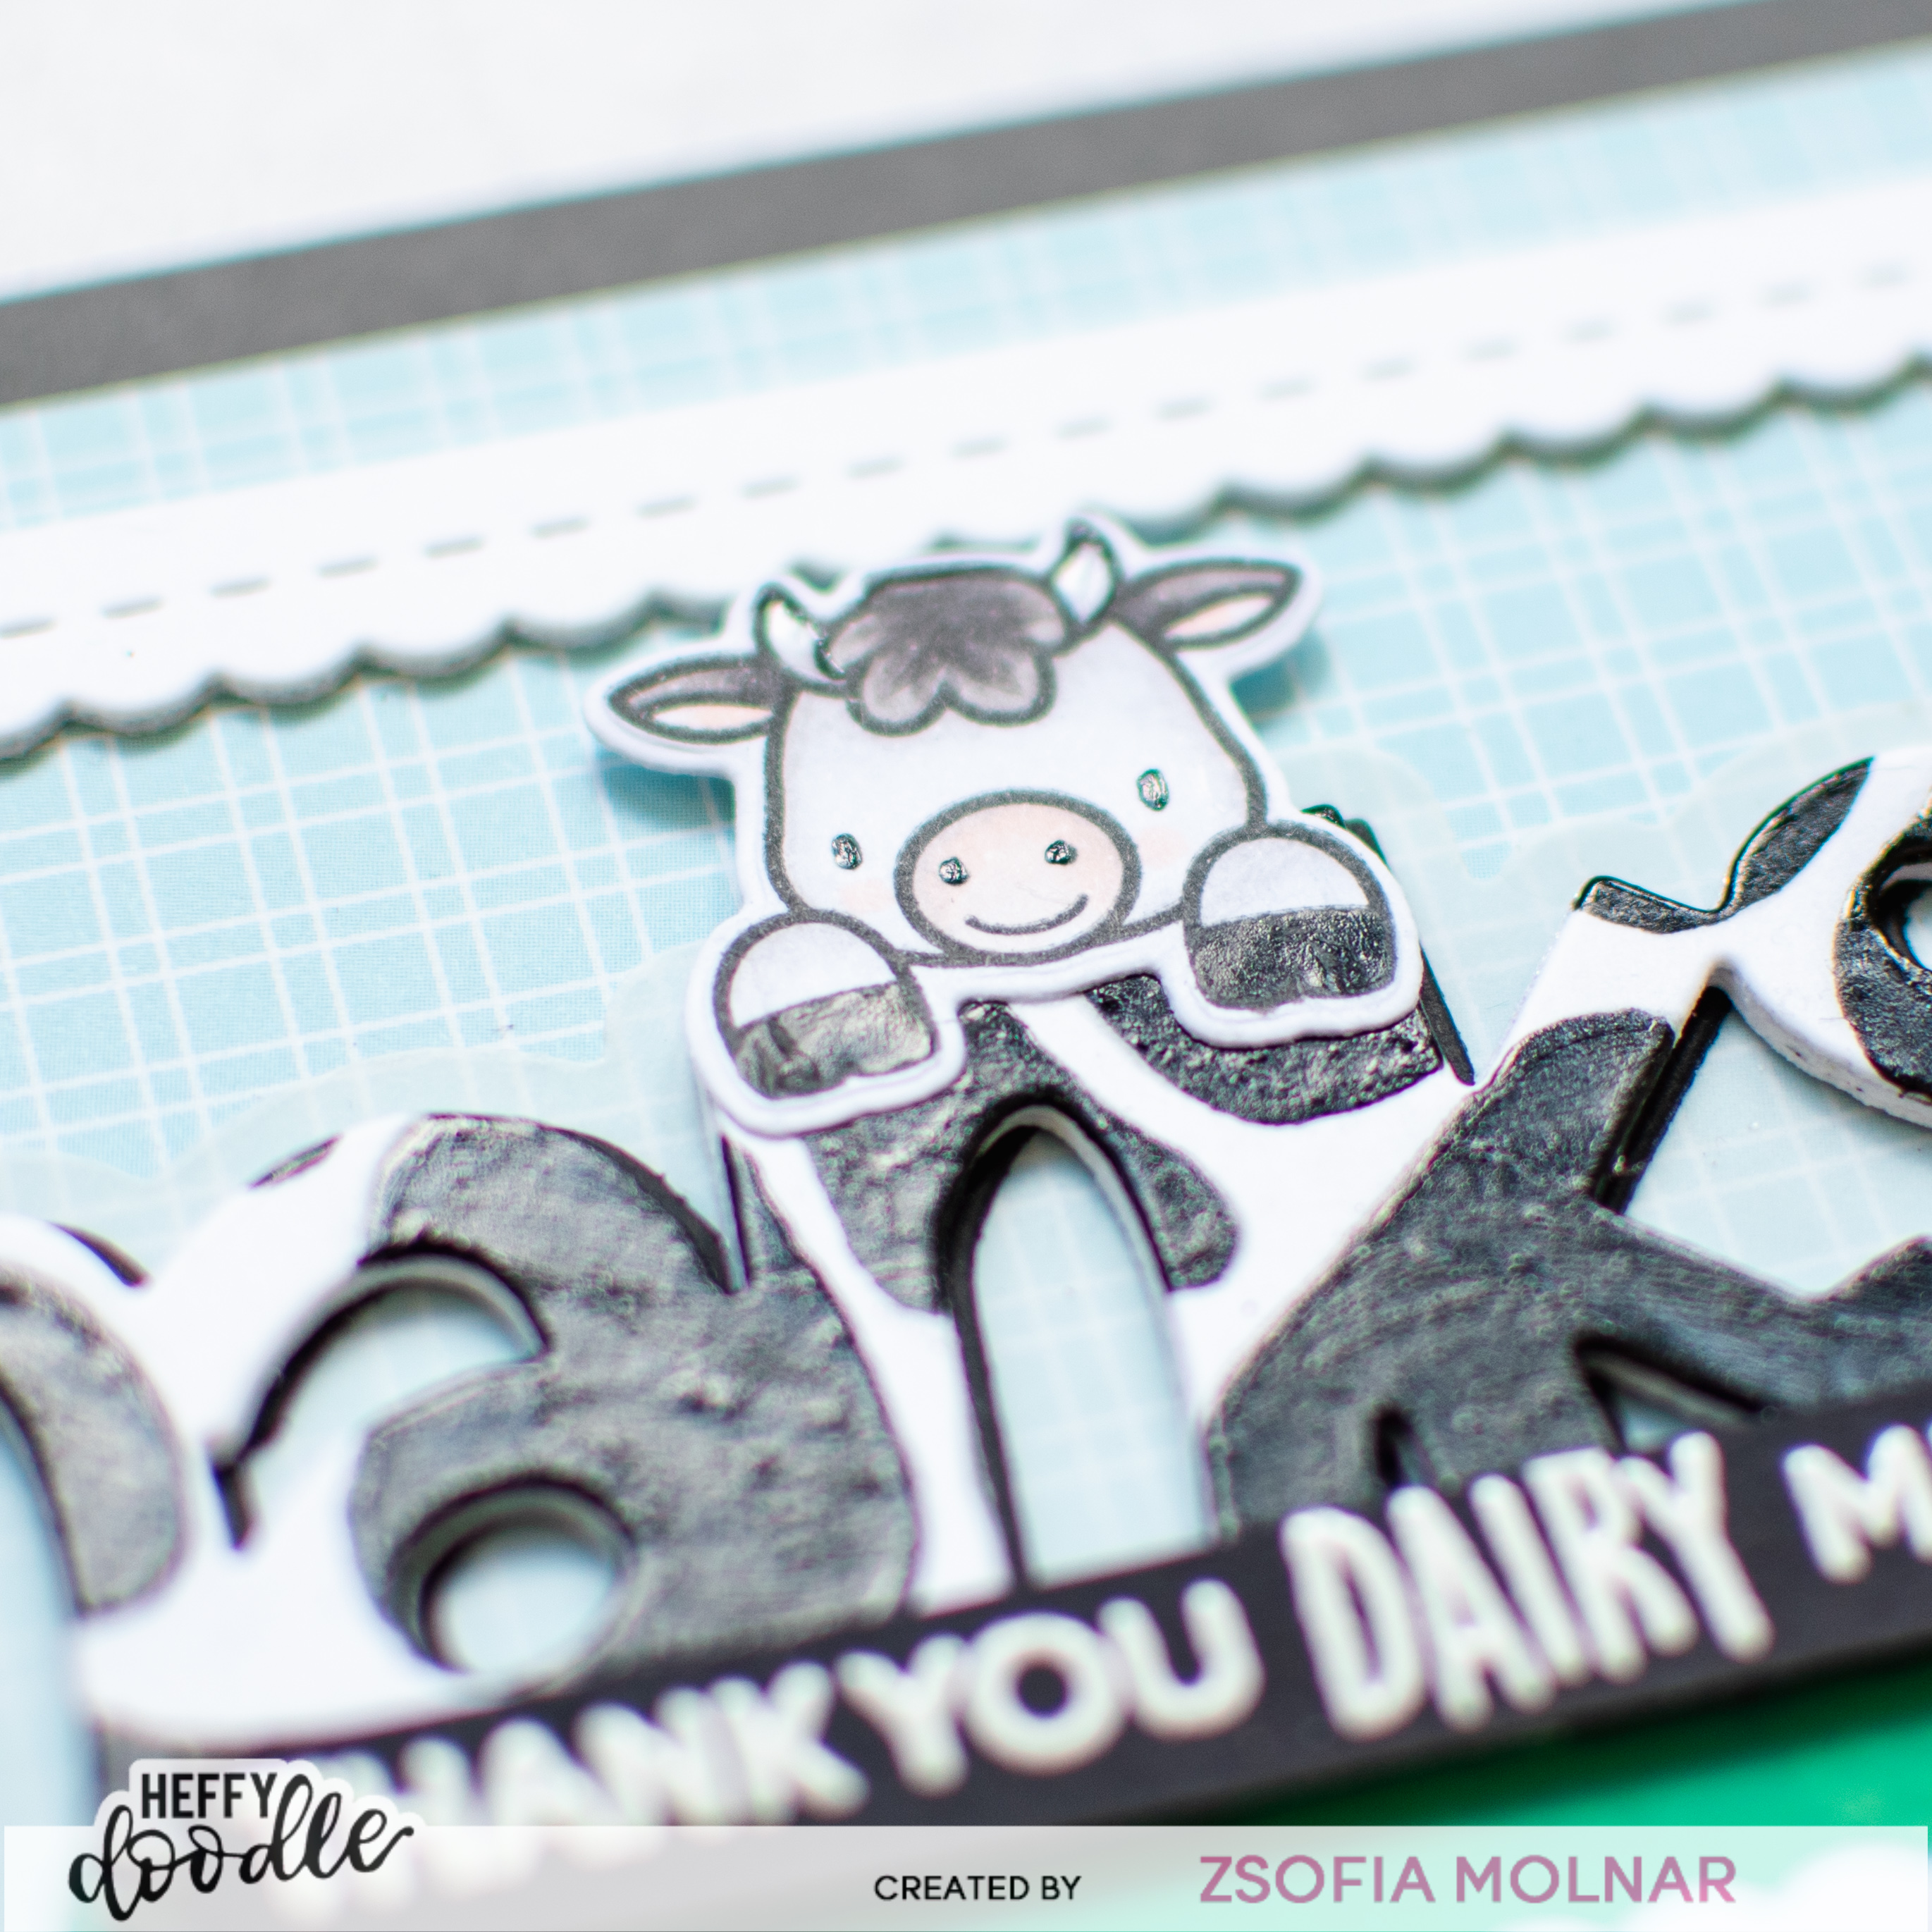
For my card I used a couple of stamps and dies from the new release and also some oldie but goodie products. Let me guide you through the process. First I stamped the images from the Udderly Fabulous stamp set and coloured them with my Spectrum NOir Illustrator markers. The full list of colours i used: BG9, BG7, BG5, BG3, BG1, GB4, CT2, FS7, FS6, MG3, MG1. Then I cut them out with their coordinating dies.
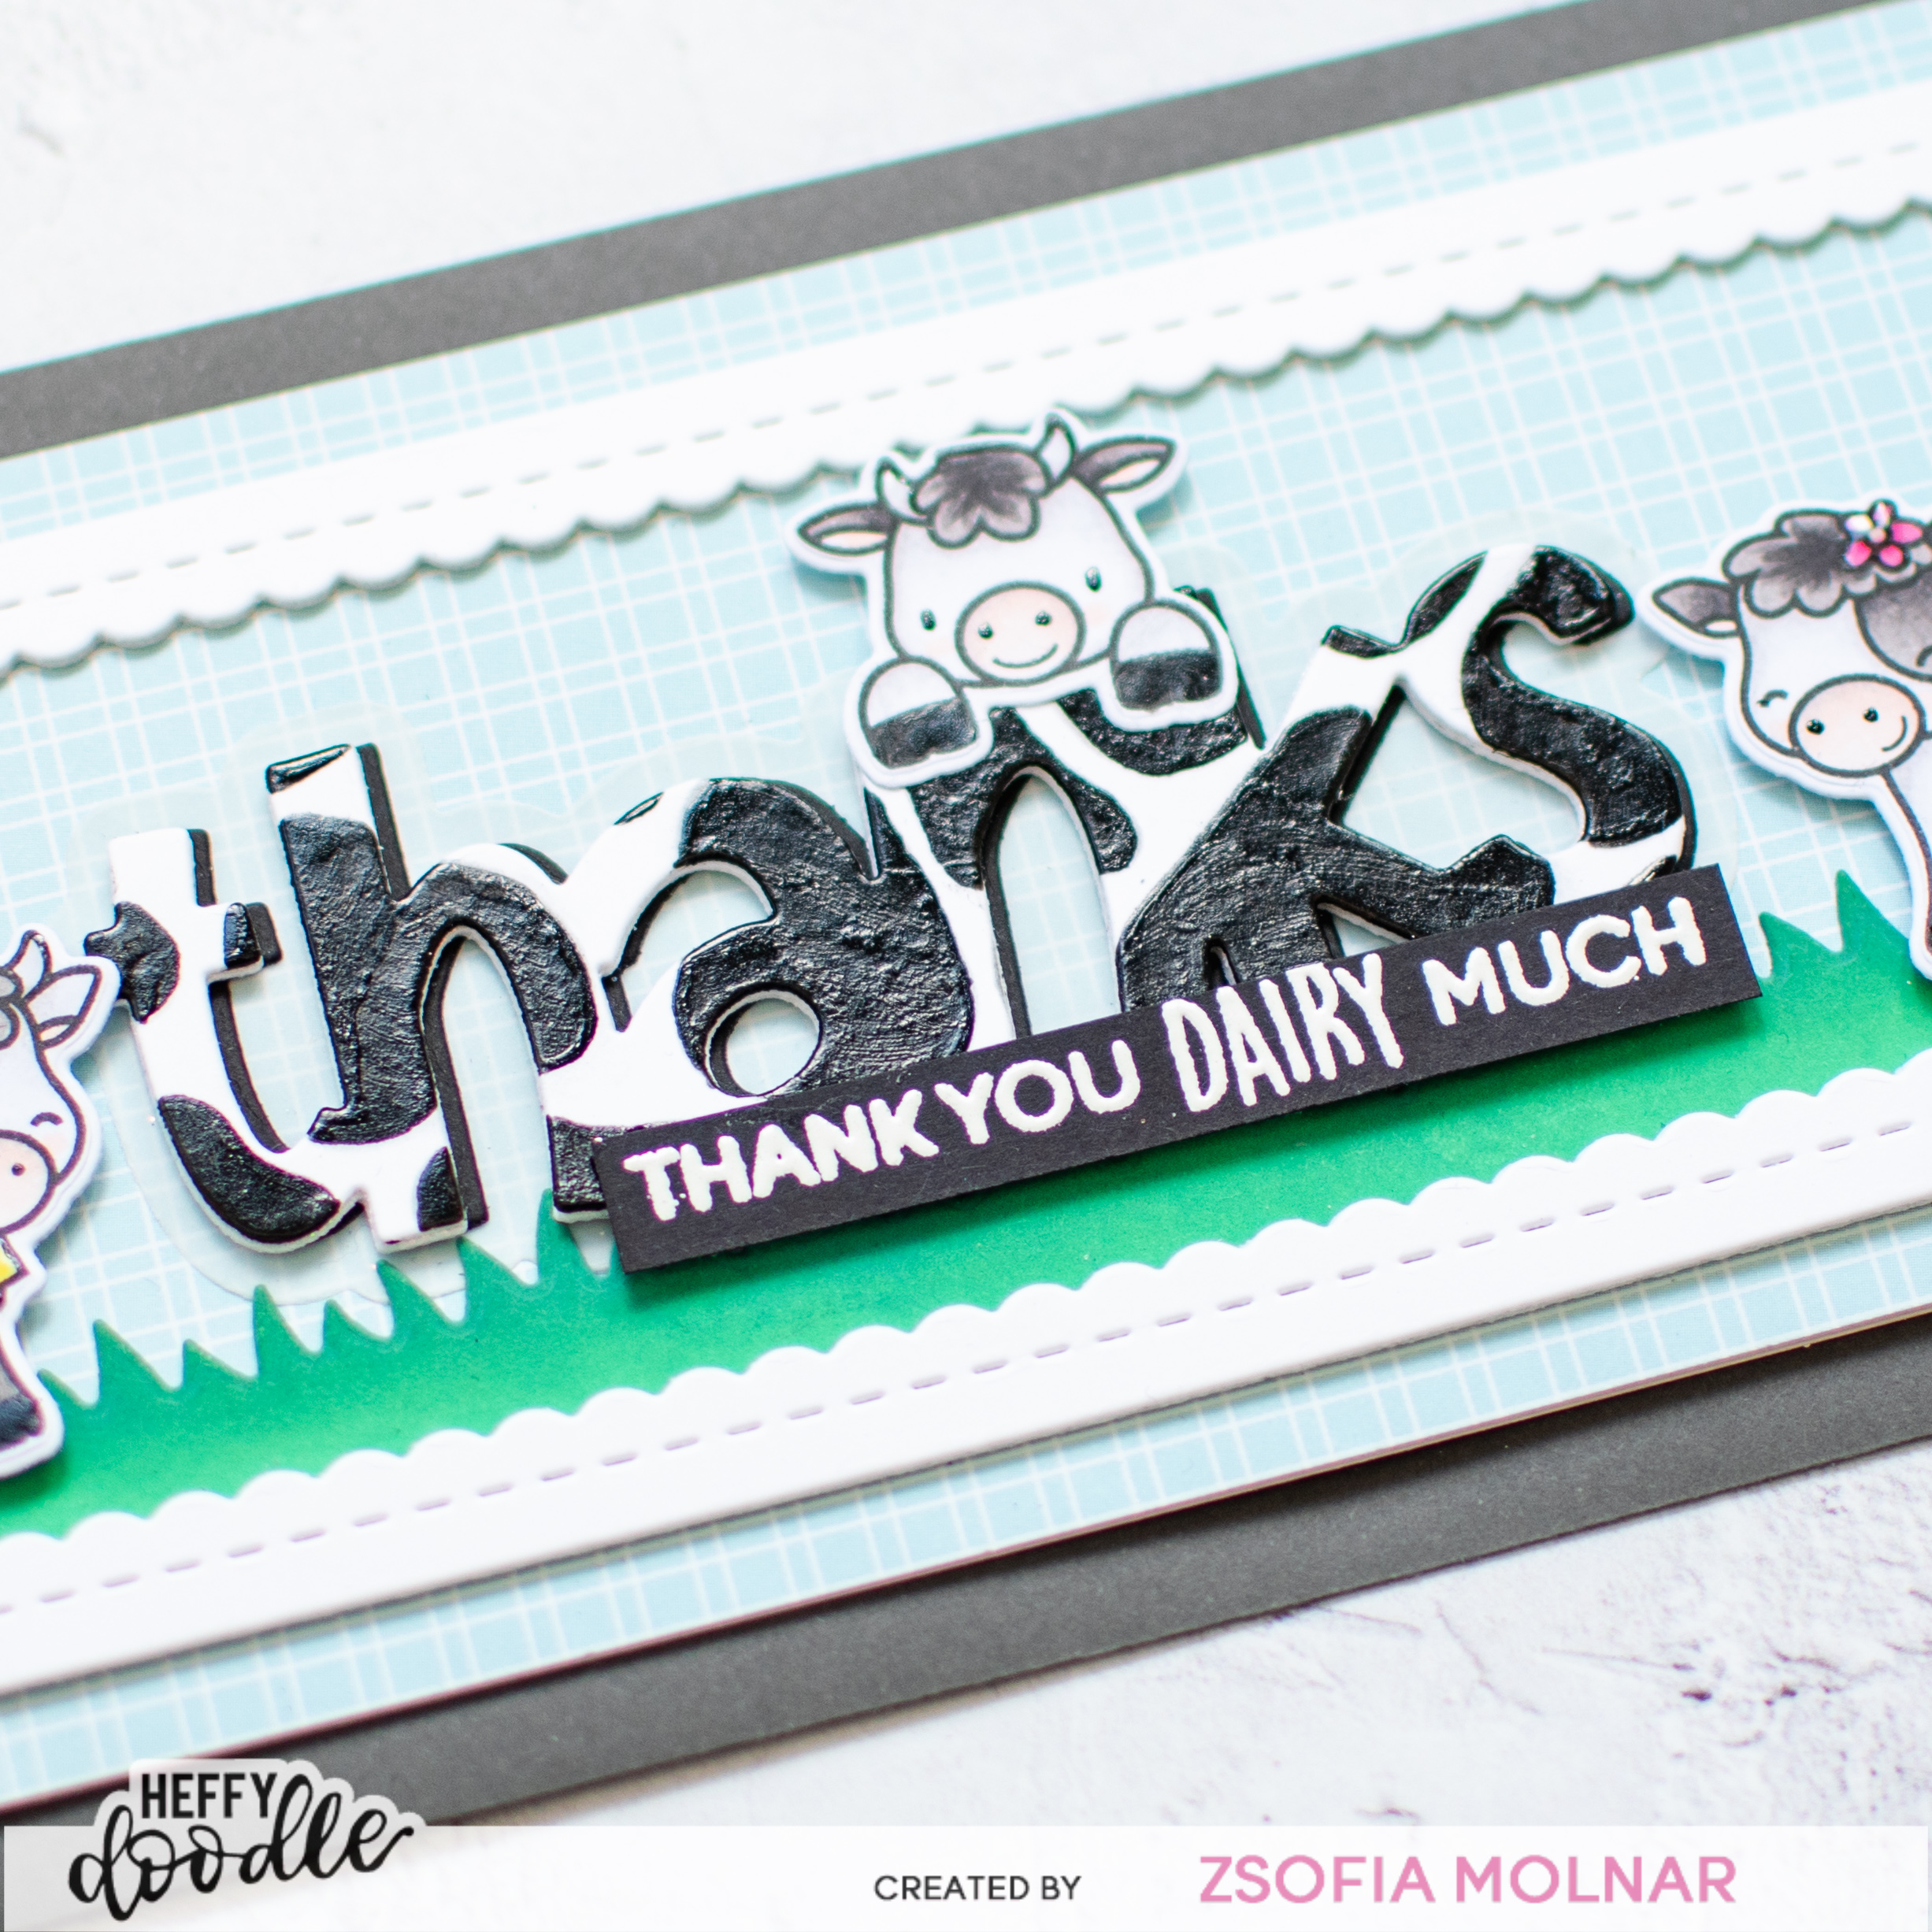
On a piece of white cardstock I used the Stoney Maloney stencil with Black Soot Distress Oxide ink, then die cut the word Thanks from the new Slimline Scalloped Peekaboo die set. I also cut another 3 layers from white cardstock and one from black. I layered them on top of each other, making sure to adhere the black layer a bit offset so it looks like shadow. Then I used a black glaze pen and went over the stenciled pattern. It looks so cool and shiny!
While I was die cutting I also cut the frame 3 times from white cardstock, layered them on top of each other and cut the shadow of the Thanks die from vellum. I cut grass with the Slimline Scenery die set from Greenbean cardstock.
I chose a Lawn Fawn patterned paper for the background, it measures 3,5*8,5 inches. I assembled the scene and popped up the cows with 3D foam squares. I also heat embossed a sentiment from the Udderly Fabulous stamp set on a thin strip of black cardstock and added it under the die cut sentiment. As a finishing touch I used a black glaze pen on the hooves and glossy accents on the horns, bell, and the little flower.
GIVEAWAY
To be entered to win the giveaway, all you need to do is comment at each stop along the Blog Hop before May 4th, 2022 at 11:59 PM EST. The winner will be announced on the Heffy Doodle Blog on May 5th at 10:00 AM EST!
Thanks so much for spending time with me today and I hope you liked my inspiration. Make sure to follow me on Instagram too, where I share some extra crafty tips for each of my cards.
It is the last day of the January Release reveals at Newton’s Nook Designs but there is something supercute to showcase today: Love Bots. It is a sweet new stamp set which comes with coordinating dies.
All new products will be available on 21/01/2022.
For my card I stamped and coloured the images in rainbow colours. I used Copic markers this time. I cut them all out with the coordinating dies.
For the background I used a 3,5*8,5 inches white cardstock panel and blended some Distress Oxide ink on it: Kitch Flamingo, Spiced Marmelade, Squeezed Lemonade, Twisted Citron and Salvaged Patina. I used blending brushes, they make ink blending so smooth and easy. Then I used the new Petite Hearts stencil and used the same colours (I used Mustard Seed for the yellow and Mowed Lawn for the green) to add a tone-on-tone pattern. As this stencil is 6 inches long, I simply shifted it to cover the rest of the panel. Thanks to the pattern the transition is not visible.
After removing the stencil I added some water droplets and dried them after 20 seconds with a paper towel. Then I used the Slimline Frames and Porthole die set to cut it out.
I adhered it to a slimline cardbase (3,5*8,5 inches) and popped up the robots with 3D foam squares. Then I stamped sentimens in black above them.
As a finishing touch I emphasized some details with glossy accents and a clear shimmer pen.
GIVEAWAY
Would you like to win the “Love Bots” Stamp Set? This stamp set will be given away to ONE lucky winner!Here’s how to win: Comment on the NND blog and Design Team blogs (see list below)! Thewinner will be chosen at random from the collective reveal posts. Make sure to check out each of their blogs and comment for your chance to win. You will not know which blog has been chosen so the more you comment on the better your chances are of winning! You have until Thursday January 20th at 9pm ET to comment — winners will be announced on the blog post on Friday, January 21st.
Check out all the awesome Design Team Blogs below to enter:
It is my last card this year for my Perfect Combos series for Heffy Doodle, and as it is Christmas in 2 days, it had to be a Santa card. I mixed and matched a few stamps and dies to create this cheerful slimline card, let me guide you through the process.
First I stamped and coloured the images from the Santa’s Village stamp set using Spectrum Noir Illustrator markers. The list of colours I used: AG2, AG1, FS8, FS7, FS4, CT3, CT1, DR5, DR3, DR1, BG9, BG7, BG4, BG2, BG1. Then I used the coordinating dies to cut them out.
I assembled the scene, popped up the frame and stamped two sentiments from the Watcha Sayin’ stamp set on white cardstock. I used the coordinating die to cut them out. It looks so cool!
As a finishing touch I added little white gems as snow and used glossy accents to emphasize some details.
Extra tip: If you have some leftover coloured images, you can make quick tags while you have the supplies out. For this cutie I used the Mini Essentials die set and all leftovers from the cardmaking session. A bit of red twine and it was all done! Isn’t is sweet?
I hope you enjoyed my card inspiration and my series all year long. I still have some Christmas cards to show you, so keep checking back during the holidays!
Welcome back to my Coffee Card Series in honour of the Fall/Winter Coffee Lovers Blog Hop. For today I have a mini slimline card – a format which I have not tried before just always wanted to.
I have recently recieved the Boo Brew die set from Trinity stamps but it was too late for Halloween so I had to use it on a Fall project. I am in love with this die set, so creative and unique! First I die cut the base of the mug from SSS Blue Violet cardstock and the pattern from the Sunny Studio Sweater Weather paper pad. The cream I cut from Cream cardstock, the cinnamon sticks and leaves from two shades of brown. I also cut some golden leaves too from MFT Gold Shine cardstock, it is the perfect Fall embellisment!
I used brown markers to add a little shading to the cream and added some dots too so it looks like it was sprinkled with cinnamon. Yummy. I adhered the cup together so it was ready to mount on a card.
For the background I chose the beautiful Lawn Fawn Gold Rush cardstock, cut it down to be 3*6 1/8 inches, popped up the cup with Simon Says Stamp Big Momma Foam tape as it is thinner than the normal one I use. I stamped a sentiment above it from the SSS Drink Coffee stamp set with SSS Blue Violet ink.
I was looking for the perfect Coffee Word die in my stash which matched my card and chose the Studio Katia Coffee die. I cut the shadow from lighter brown and the word itself from dark brown cardstock, 3 times and stacked them together. I used clear embossing ink and Altenew Transluscent Pearl embossing powder to add a little shine to my word die cut. I repeated the heat embossing 3 times to get a very smooth and shiny result.
Because of the special cardstocks and embossing I didn’t need any further embellishments. I love how this mini slimline card turned out, it was so good to try a new size. And now of course I wanna make a bunch of mugs in different colours…
Welcome to another edition of my Perfect Combos series for Heffy Doodle.
When was the last time you sent out happy mail to your friends? I admit that I do it much less often than I would want to, but when I saw the Hot Air Balloon dies from the new release, I knew I needed to create a friendship card. I combined it with some older stamps ad stencils this time. Let me guide you through the process.
First I stamped and coloured the images from Hot Diggity Dog and Happy Yappy Mail. I used my Spectrum Noir Illustrator markers: EB5, EB3, RB2, RB1, BG5, BG2, BG1, TB5, TB2, DR3, CG3, CG1. I cut everything out with the coordinating dies.
Then I die cut the pieces needed to build my hot air ballon: for the balloon itself I used patterned paper, for tha basket I used kraft cardstock ad for the little accessories some specialty papers. Before adhering it together I added some texture to the basket itself with the Wonderfully Woven stencil and Gathered Twigs Distress Oxide ink. I also added some shading to the balloon pieces with Blueprint Sketch Distress Oxide ink, and assembled it as on the picture.
As the balloon is quite big, I decided to go with the slimline format: my cardbase is 8,5*3,5 inches. I die cut a Stitched Slimline Rectangle with the Stitched Slimline Trios die set from white cardstock and created a cloudy sky with the help of the Cloudy Skies stencil. I used Tumbled Glass Distress Oxide ink and a blending brush. I also cut grass with the Slimline Sceenery die set and inkblended it with Twisted Citron Distress Oxide ink. On this little piece I stamped part of the sentiment from the More Classic Sentiments stamp set.
After assembling the scene I die cu the word Friend from green cardstock 3 times and layered them on top of each other. I adhered it on the balloon and covered it with clear shimmer.
As a finishing touch I used a white gel pen and glossy accents on the hearts and noses, and emphasized the pawprints and eyes with a black glaze pen.
I hope you enjoyed this all occasion slimline scene and will pop in again soon for more.
If your are looking for the Newton’s Nook Designs Day 3 post, just click here.
Welcome to another edition of my Perfect Combos series for Heffy Doodle. Fall is one of my favourite seasons and I was eagerly waiting to mix and match the new stamps and dies from the latest release. So here you go, a slimline forest scene for any occasions. Let me guide you through the process.
First I stamped and coloured the images from Deer to me, Nuts about you, Hootiful and the mini set Mole Lotta Love (it was an incentive set during pre-orders). I used my Spectrum Noir Illustrator markers: TN9, TN8, TN7, TN2, TN1, BG9, BG7, BG5, BG2, BG1, FS8, FS7, EB5, EB3, EB1, BO4, BO3, BO1, GY2, GB9, GB7, GB4, RB2, RB1, MB1. I cut everything out with the coordinating dies.
I used some Distress Oxide inks for shading the die cuts, and added some splatters to each too. I assembled the scene as on the picture, I used 3D foam squares behind the grassy panel to give the whole scene some depth. The sentiment I white heat embossed on black cardstock and fussy cut it with scissors.
As a finishing touch I used glossy accents on the mushrooms and beaks and emphasized the eyes with a black glaze pen. The cardbase is made of light grey cardstock and measures 3,5*8,5 inches.
I hope you enjoyed this all occasion slimline scene and will pop in again soon for more.
All new products will be available on Friday, 15/10/2021.
CARD 1
I started with stamping and colouring the images from the Holiday Home stamp set using Spectrum Noir Triblend markers. The colours I used are the following: Yellow Green Blend, Citrus Green Blend, Dark Red Blend, Earth Brown Shades, Earth Brown Blend, Ice Blue Blend, Red Brown Blend, True Blue Blend. I used the coodinating dies to cut everything out.
Then I prepared the background for my witer scene: I die cut the Slimline Frames and Portholes scalloped rectangle die from white cardstock and used the Hills & Grass stencil to create snowbanks on the bottom half. I used only the residues on my light blue blender brush, I did not ink it up. On the upper half I blended Prize Ribbon and alty Ocean Distress Oxide inks and added some water splatters.
I made sure the ink was dry before I white heat embossed a pretty sentiment on the sky. I also added some sparkly white snowflakes.
I adhered the images, some I popped up with 3D foam squares.
As a finishing touch I used Nuvo White Blizzard Glitter Drops.
CARD 2
I silver heat embossed the Christmas Cactus stamp on Bristol Smooth cardstock twice and used my Karin Brush markers to quickly paint them. I used only one green ad one pink shades and moved the ink with a waterbrush. So relaxing and easy! When it was dry I cut them out with the coordinating dies.
I die cut a large stitched circle with the Circle frames die set from white cardstock and silver heat embossed the sentiment on the bottom. I arranged the 2 cacti above it, but I wanted to give it a green frame. As I could not find the matching cardstock, I created my own: I die cut a bigger white circle (Pink and Main die set) and used the same green brush marker to colour the edges of it. This way it will perfectly match the coloured images.
For the background I did a quick inkblending with Kitch Flamingo Distress Oxide ink on Bristol Smooth cardstock. I added some black and white acrylic paint splatters and spritzed the panel gently with water too. When it was dry I used the Music stencil with Rina K Designs Poppin’ Pink Neon Glitz glitter gel from Thermoweb. Wow, what a pretty colour, and so sparkly! When it was dry, I popped up the focal panel with 3D foam tape and my card was all done!
GIVEAWAY
Would you like to win the “Holiday Home” or the “Christmas Cactus” Stamp Set? We will choose ONE lucky winner for each stamp set! Here’s how to win: comment on the NND blog and Design Team blogs (see list below)! The winner will be chosen at random from the collective reveal posts. Make sure to check out each of their blogs and comment for your chance to win. You will not know which blog has been chosen so the more you comment on the better your chances are of winning! You have until Thursday October 14th at 9pm ET to comment — winners will be announced on the blog post on Friday, October 15th.
Check out all the awesome Design Team Blogs below to enter:
I am back with Day 2 of the new release reveals of Heffy Doodle, if you are curious of all the stamps/dies and stencils revealed today, please visit the Heffy Doodle blog. I am showcasing a couple of stamps and dies: Flying High, Slimline Quartet, Big Stitched clouds, Get Well Soon Shadow Heffy cuts, Get Well Soon Greetings stamp.
The new items will be available for pre-orders from 1st Sept, the release goeas live on the 8th Sept. And don’t forget that there is a free stamp set with every preorder!
For my card I stamped and oloured a couple of birds from Flying High, I used Spectrum Noir Illustrator markers. The colours I used are the following: TB5, TB3, TB1, IB2, IB1, CT3. I used the coordinating dies to cut them out.
While I was die cutting I also cut the other elements for my sky scene: the Big Stitched Clouds from vellum and the HUGS word from the Slimline Quartet die set from black cardstock. I also die cut the Get Well Soon word from blue cardstock and a stitched white frame with the Slimline Quartet set.
Now it was time to make the sky backgrund. On a 3,5*8,5 piece of white cardstock I blended Blueprint Sketch, Salty Ocean and Salvaged Patina Distress Oxide inks. I added a lot of splatters: water, diluted ink, black distress ink and white acrylic paint. I love the texture I achieve like this. I made sure the panel was dry before I die cut it with another new die set called Silly Slimline Slants.
I assembled the card on a slim card base using the frame, birds and the letters to hold the vellum clouds. I also added the hand written die cut sentiment over the big letters, it looks so cool.
I embellished the card with some sparkly stars from Studio Katia and also stamped an extra sentiment from the Get Well Greetings set on the inside of the card and added a little bird there too with a couple of stars.
I hope you enjoyed today’s inspiration and you will come back tomorrow for more fun!
All new products will be available on Friday, 20th August.
CARD 1
When I saw the Count Newton stamp set I was giddy as I immediately imagined a graveyard night scene. As I never do scary cards, these images are just perfect for my scenes. So I stamped and coloured a few gravestones and Mr. Meow-cula keeping the colour combos restricted to greys and purple. I used Spectrum Noir Illustrator markers: BG9, BG7, BG4, BG2, BG1, PL4, PL3, PL2, HB1, FS7. I cut everything with the coordinating dies.
For the night sky I used Nuvo Shimmer Powders on Ranger Distress Watercolour cardstock. I simply added drops of Storm Cloud and Lilac Waterfall and spritzed it with water. Let the colours mix and dried it with my heat tool. I repeated the process another time to make the colours darker. I love the subtle shimmer it gives to a perfect night sky! I used water and white acrylic paint splatters to add some texture and when it was dry, I cut it down with the postage stamp die from Frameworks.
While I was die cutting I cut a Fence from woodgrain cardstock and grass with a Land Border die from black cardstock. I distressed it w bit with white pigment ink and assembled the scene. I needed some clouds so I die cut somefrom vellum with the Sky Scene Builder set, and used the bats to attach them to the card front.
The sentiment I stamped on a light purple Speech Bubble, like our vampire kitty is talking to us. So fun! As a finishing touch I added some clear shimmer to the gown and glossy accents to the gravestones.
CARD 2
For my second card as always I started with stamping and colouring the adorable little kitties and a ton of candies from Trick or Treat Kitten. I used Spectrum Noir Illustrator markers: cats: BG9, BG7, BG5, BG2, BG1, FS7, FS4, paperbag: MB4, MB3, MB1, pumpkin: GB9, BO4, BO3, BO1, IG10, IG7, candies: BO4, BO3, BO1, CT4, CT3, CT1, CG3, CG2, CG1, PL4, PL3, PL2, BG1. I used the coordinating dies to cut them all out.
I had a slimline design in mind so I die cut the scalloped base from patterned paper and the frame from black cardstock using the 2 slimline die sets: Slimline Frames and Portholes and Slimline Frames and Windows. I backed the frame with vellum so it muted the vibrancy of the patterned paper and popped up the kitties with 3D foam squares.
The sentiments I stamped on yellow circles which I trimmed down – I felt it matched the pumpkin shapes and gave some extra to the design. I scattered the extra candies all around and used glossy accents on them to make them shiny. A little clear shimmer I added to the witch hats too.
GIVEAWAY
Would you like to win the “Count Newton” or the “Trick or Treat Kittens” Stamp Set? We will choose ONE lucky winner for each stamp set!Here’s how to win: Comment on the NND blog and Design Team blogs (see list below)! The winner will be chosen at random from the collective reveal posts. Make sure to check out each of their blogs and comment for your chance to win. You will not know which blog has been chosen so the more you comment on the better your chances are of winning! You have until Thursday August 19th at 9pm ET to comment — winners will be announced on the blog post on Friday, August 20th.
Check out all the awesome Design Team Blogs below to enter: