I am back today with a lovely little card, which is a tribute to my love for books. I mixed the new Never Enough Books stamp set and an older cute on from Newton’s Nook Designs, let me guide you through the process.
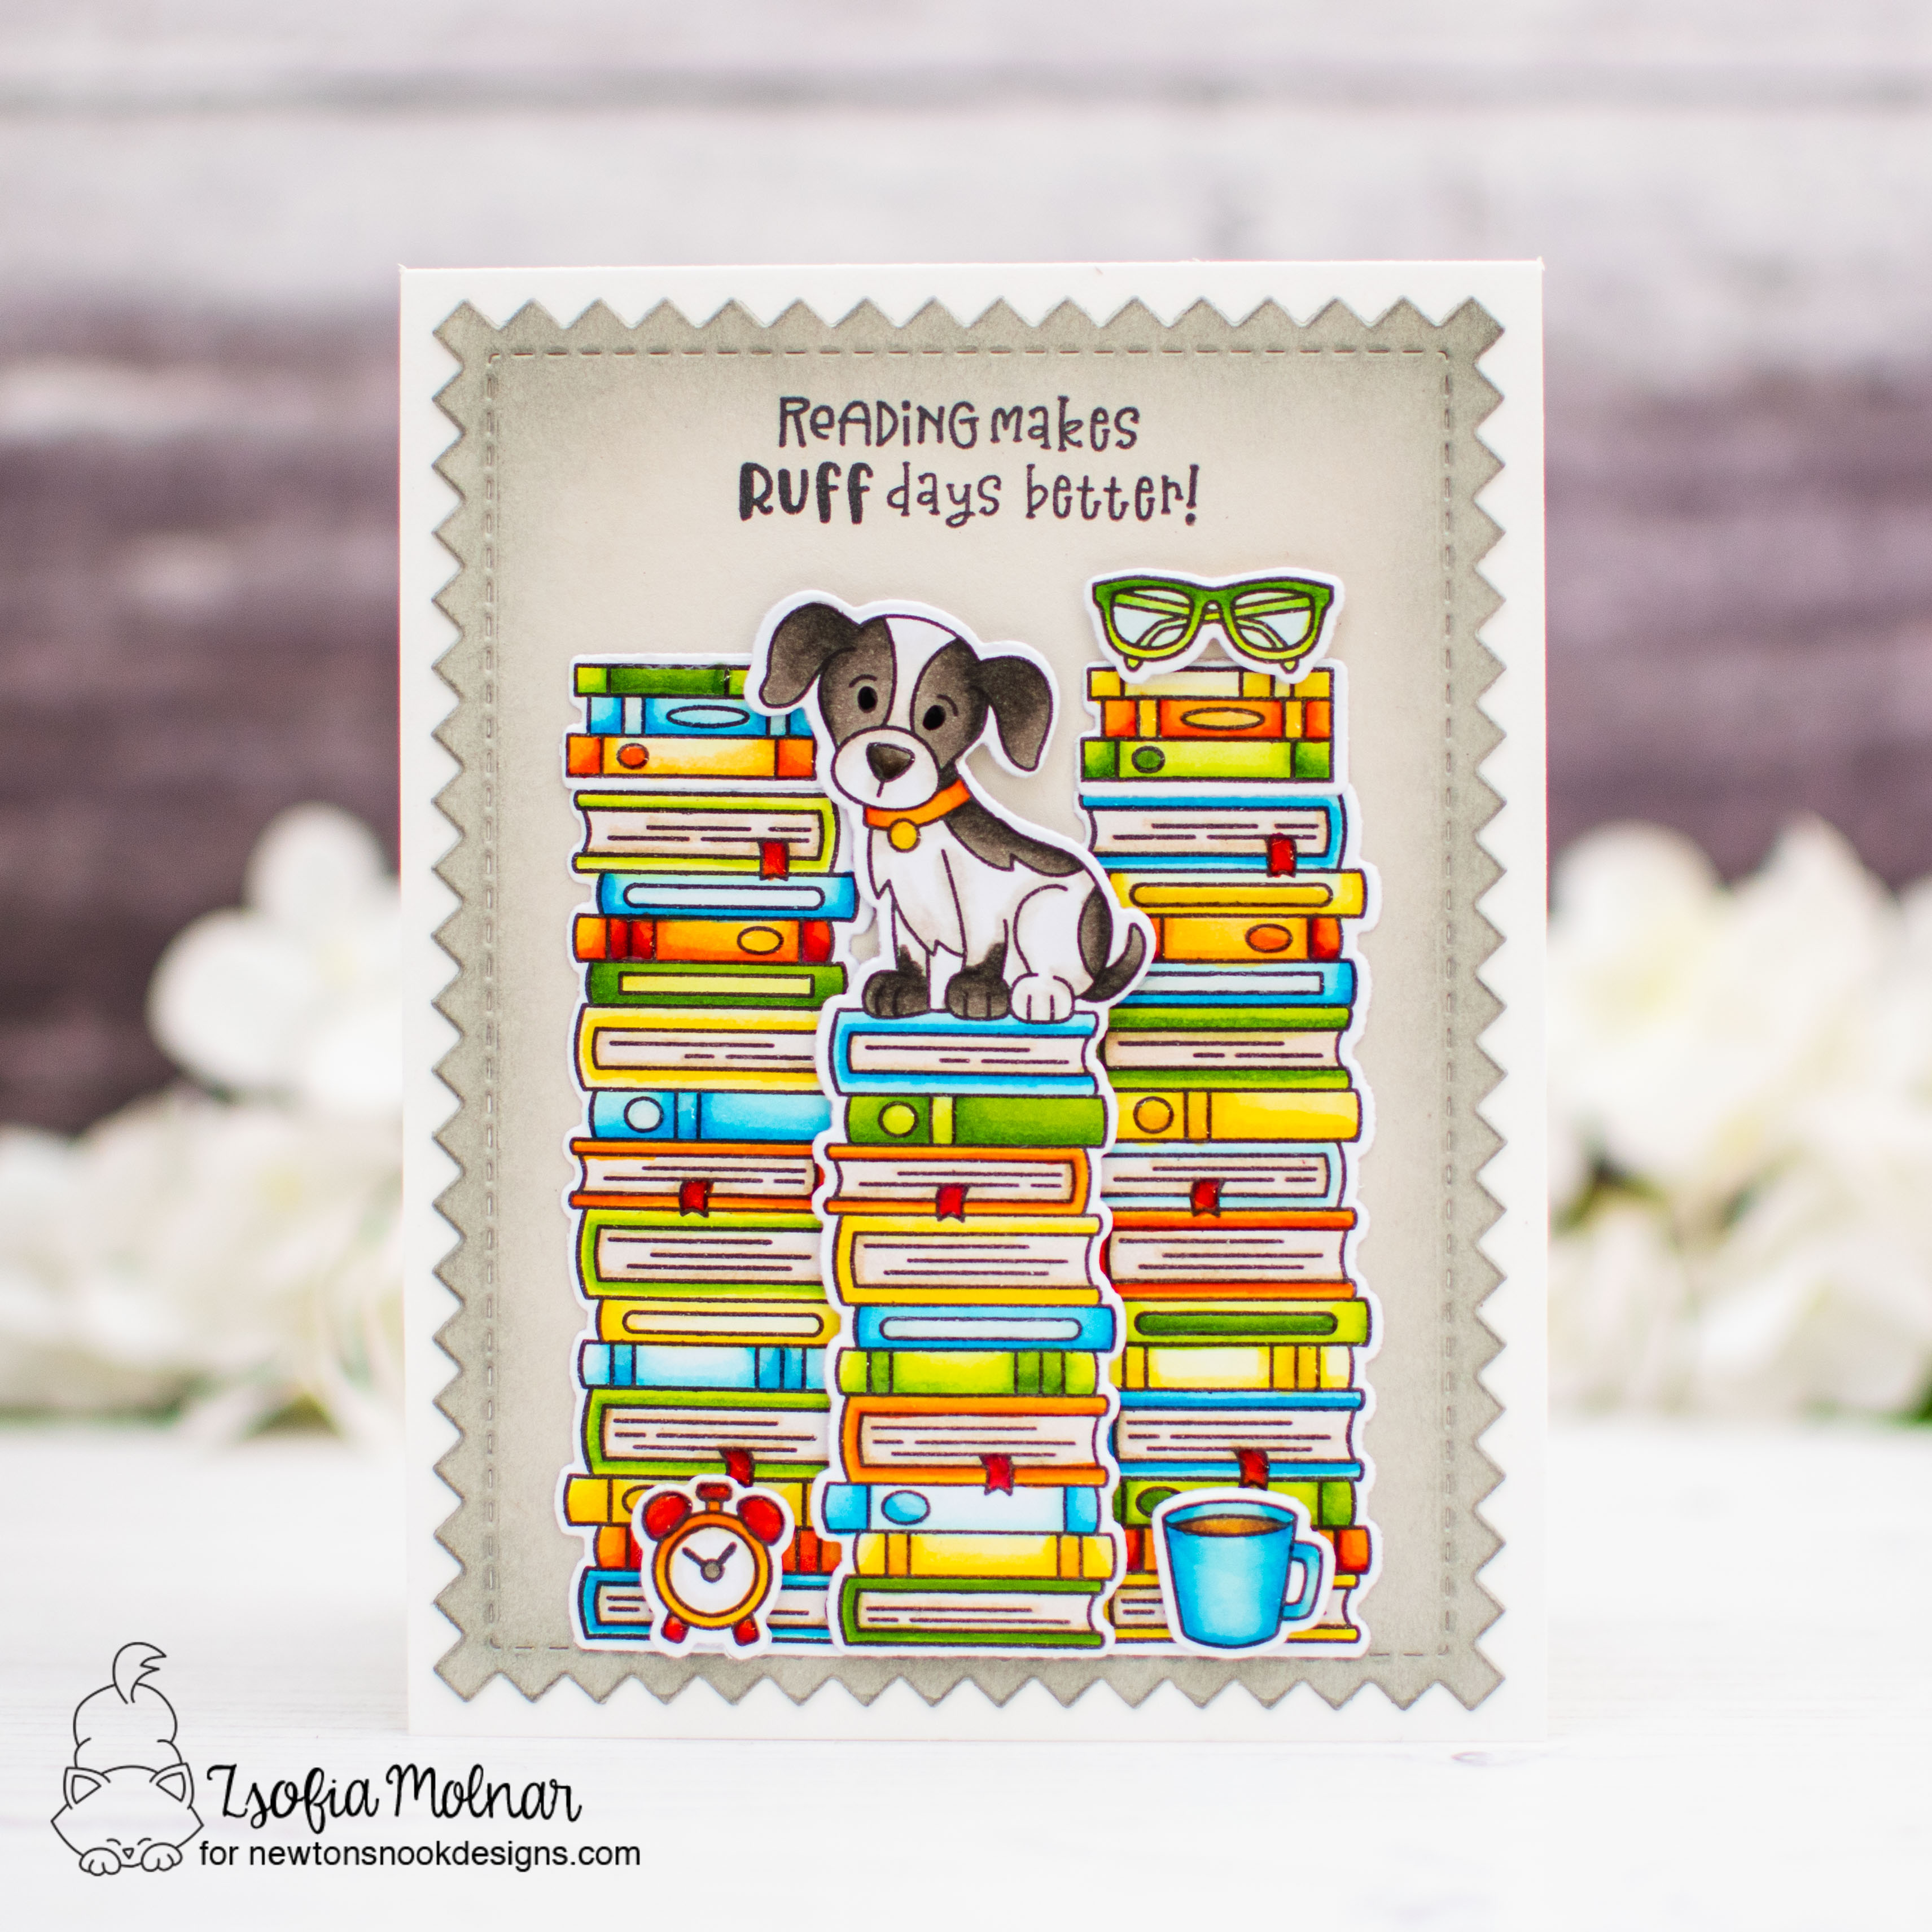
Then I die cut a piece of light grey cardstock with a die from Frames and Tags set. Then I used a bit of grey ink to add shading to the edges.
I simply stamped a sentiment on the top of the panel and arranged the books and accessories as on the picture. For some I used 3D foam squares, to get a dimensional scene.
As a finishing touch I added clear shimmer to some of the books and emphasized some details with glossy accents. The shine in the eyes of the puppy I achieved with a black glaze pen.
I hope you enjoyed today’s inspiration and will come back soon for more!
It is always sad when we reach the final day of the reveals, but the good news is that all these adorable products in the Newton’s Nook DesignsApril Release will be available on Friday, 19/04! Today we are showcasing 2 new small stamp& die sets: Newton’s Bubble Tea and Puppy’s Bubble Tea. Aren’t they adorable?
CARD 1
For my first card I stamped and coloured the cute kitty from Newton’s Bubble Tea using Copic markers. I used the coordinating die to cut it out.
While I was die cutting I cut the base for my shaker with the Basic Frames die set: one banner from kraft and one from guava cardstock. On the latter I die cut a window with another die from the same set. I stamped a sentiment just under the die cut window. I backed it with clear acetate and added thick foam tape around it. I filled the shaker with some pastel confetti (Pretty Pink Posh) and adhered the backing carefully.
For the background I used the Bubbles stencil on a cream note card with Worn Lipstick Distress Oxide ink.
To make the scene more playful, I added some red twine to the top of the card and another sentiment, which I have stamped on a white Speech Bubble. As a finishing touch I used glossy accents on the straw and the bubbles.
CARD 2
For the puppy card I stamped, coloured and die cut the image from Puppy’s Bubble Tea. I used Copic markers and made the tea green. I used the Basic Frames die set to cut a cornflower blue background for the dog and a bigger rectangle from woodgrain cardstock which I ink blended and splattered with black and white acrylic paint before adhering the focal panel on it.
I stamped a sentiment from the same stamp set on the woodgrain cardstock using Stazon ink.
For the background I chose the Woof stencil and used it directly on the card base with Pine Needles, Lucky Clover and Cracked Pistachio Distress Oxide inks.
As a finishing touch I added a few lime green confetti and used glossy accents on the straw and bubbles.
GIVEAWAY
Enter to Win a $25 Prize! We will be choosing two lucky winners to win a $25 store credit for Newton’s Nook Designs online shop! The winners will be chosen at random from the collective blog posts featuring our new products this week. For a chance to win, leave comments on the Design Team Member Blog Posts (see list below) from Monday April 15 through Thursday April 18. You will not know which blog has been chosen so the more you comment on the better your chances are of winning! You have until Thursday, April 18th at 9 pm ET to comment — winners will be announced on the NND blog on Friday, April 19th.
Check out all the awesome Design Team Blogs below to enter:
I hope you enjoyed the whole week of the reveals and you got plenty of inspiration on how to use the new release. It is time to get ready to shop! If you like my cards, please make sure to follow me on Instagram, where I share more of my creations and also some tips and tricks.
It is my turn on the Newton’s Nook Designs blog and as I am living in rural Australia now, my card for today was heavily inspired by the nature surrounding us. We see a lot of cows everywhere we go. So this cutie was born in my head, let me guide you through the process.
Then I die cut a black banner with the new Basic Frames die set and added a bit of white pigment ink on the edges. I stamped a sentiment on a white Speech Bubble and assembled the scene on the banner.
For the background I chose a pretty gingham paper from the Bright Basics paper pad and cut it out with a die from Frames and Tags. Before mounting the focal panel on the background, I wrapped a natural twine around it and tied it in a little bow. I used 3D foam squares to adhere the images and embellished the scene with a few confetti from Pretty Pink Posh.
As a finishing touch I added an extra sentiment from the Birthday Essentials stamp set and used a clear shimmer pen on the balloons.
I hope you enjoyed my card and you will pop in again soon for more inspiration.
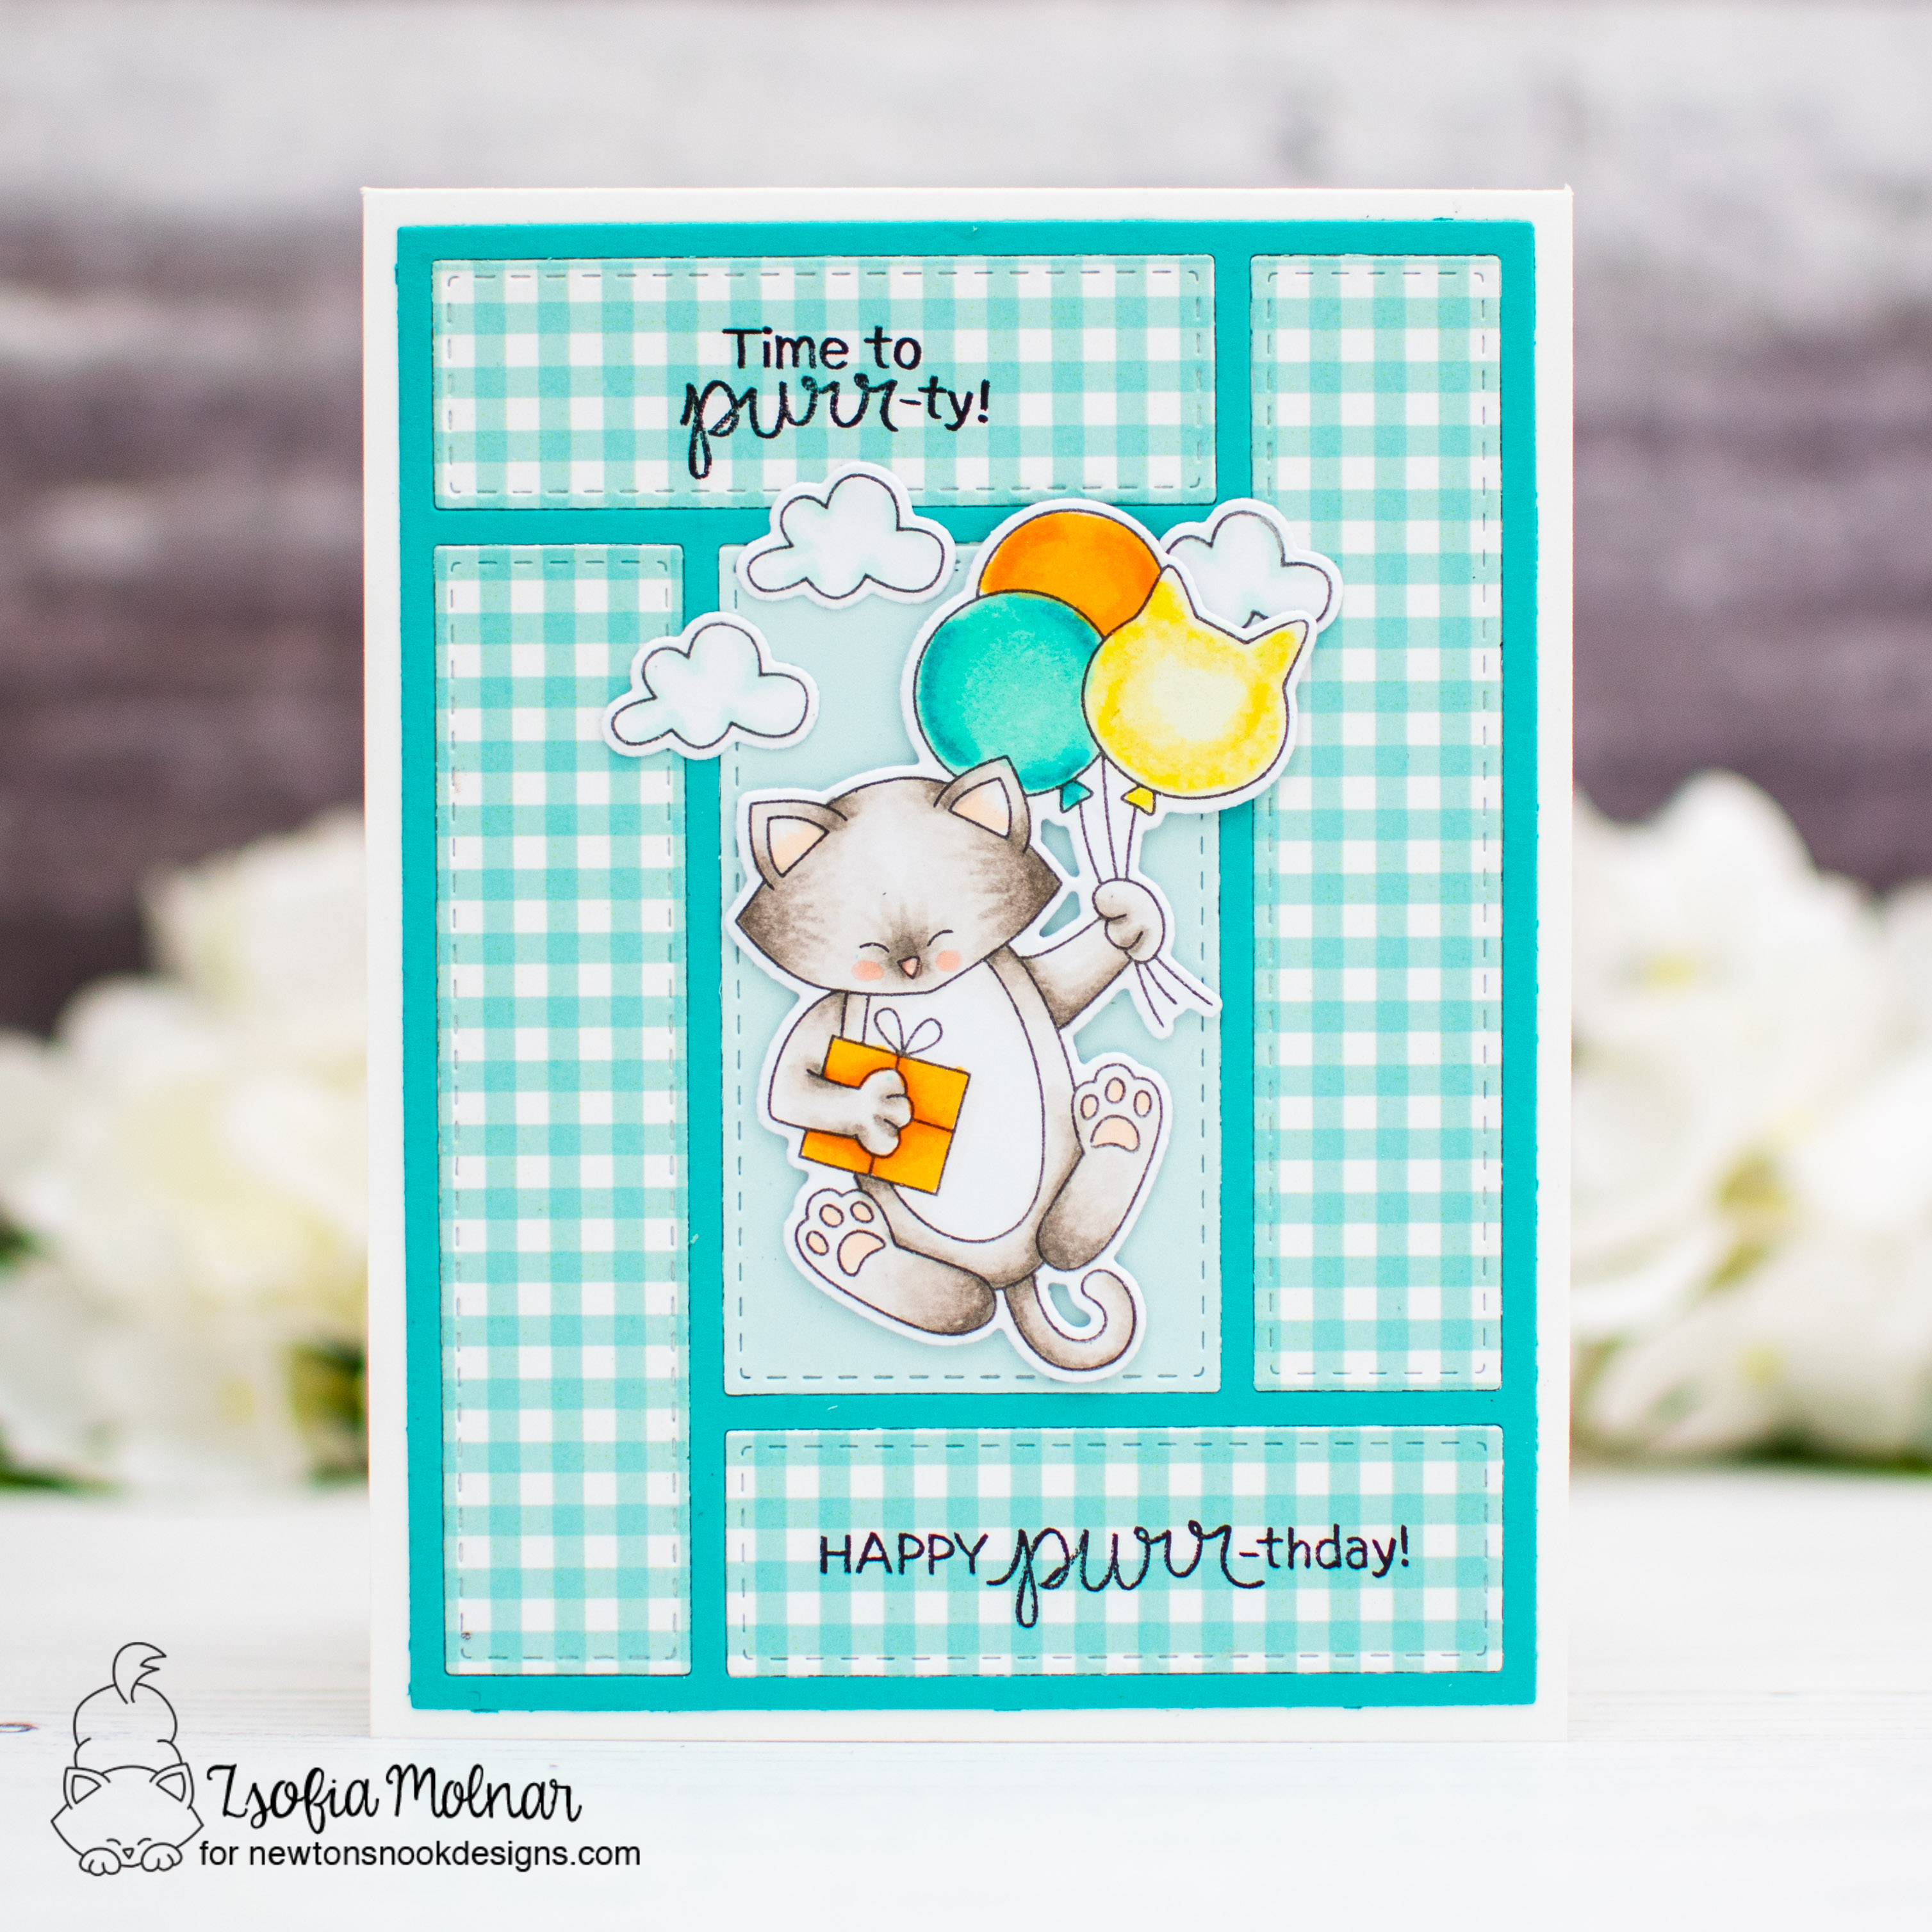
It is the last day of the Back to Basics release reveals, but I must admit that this die is my favourite: it is called A2 card layout die set and It is gorgeous! I love all the paper piecing options it gives, plus the stitching details always have my heart.
I started with cutting the die one from patterned paper from the Pastel Basics paper pad, once from peacock cardstock and the middle part from a matching light blue scrap. I paper pieced them on an A2 sized white notecard.
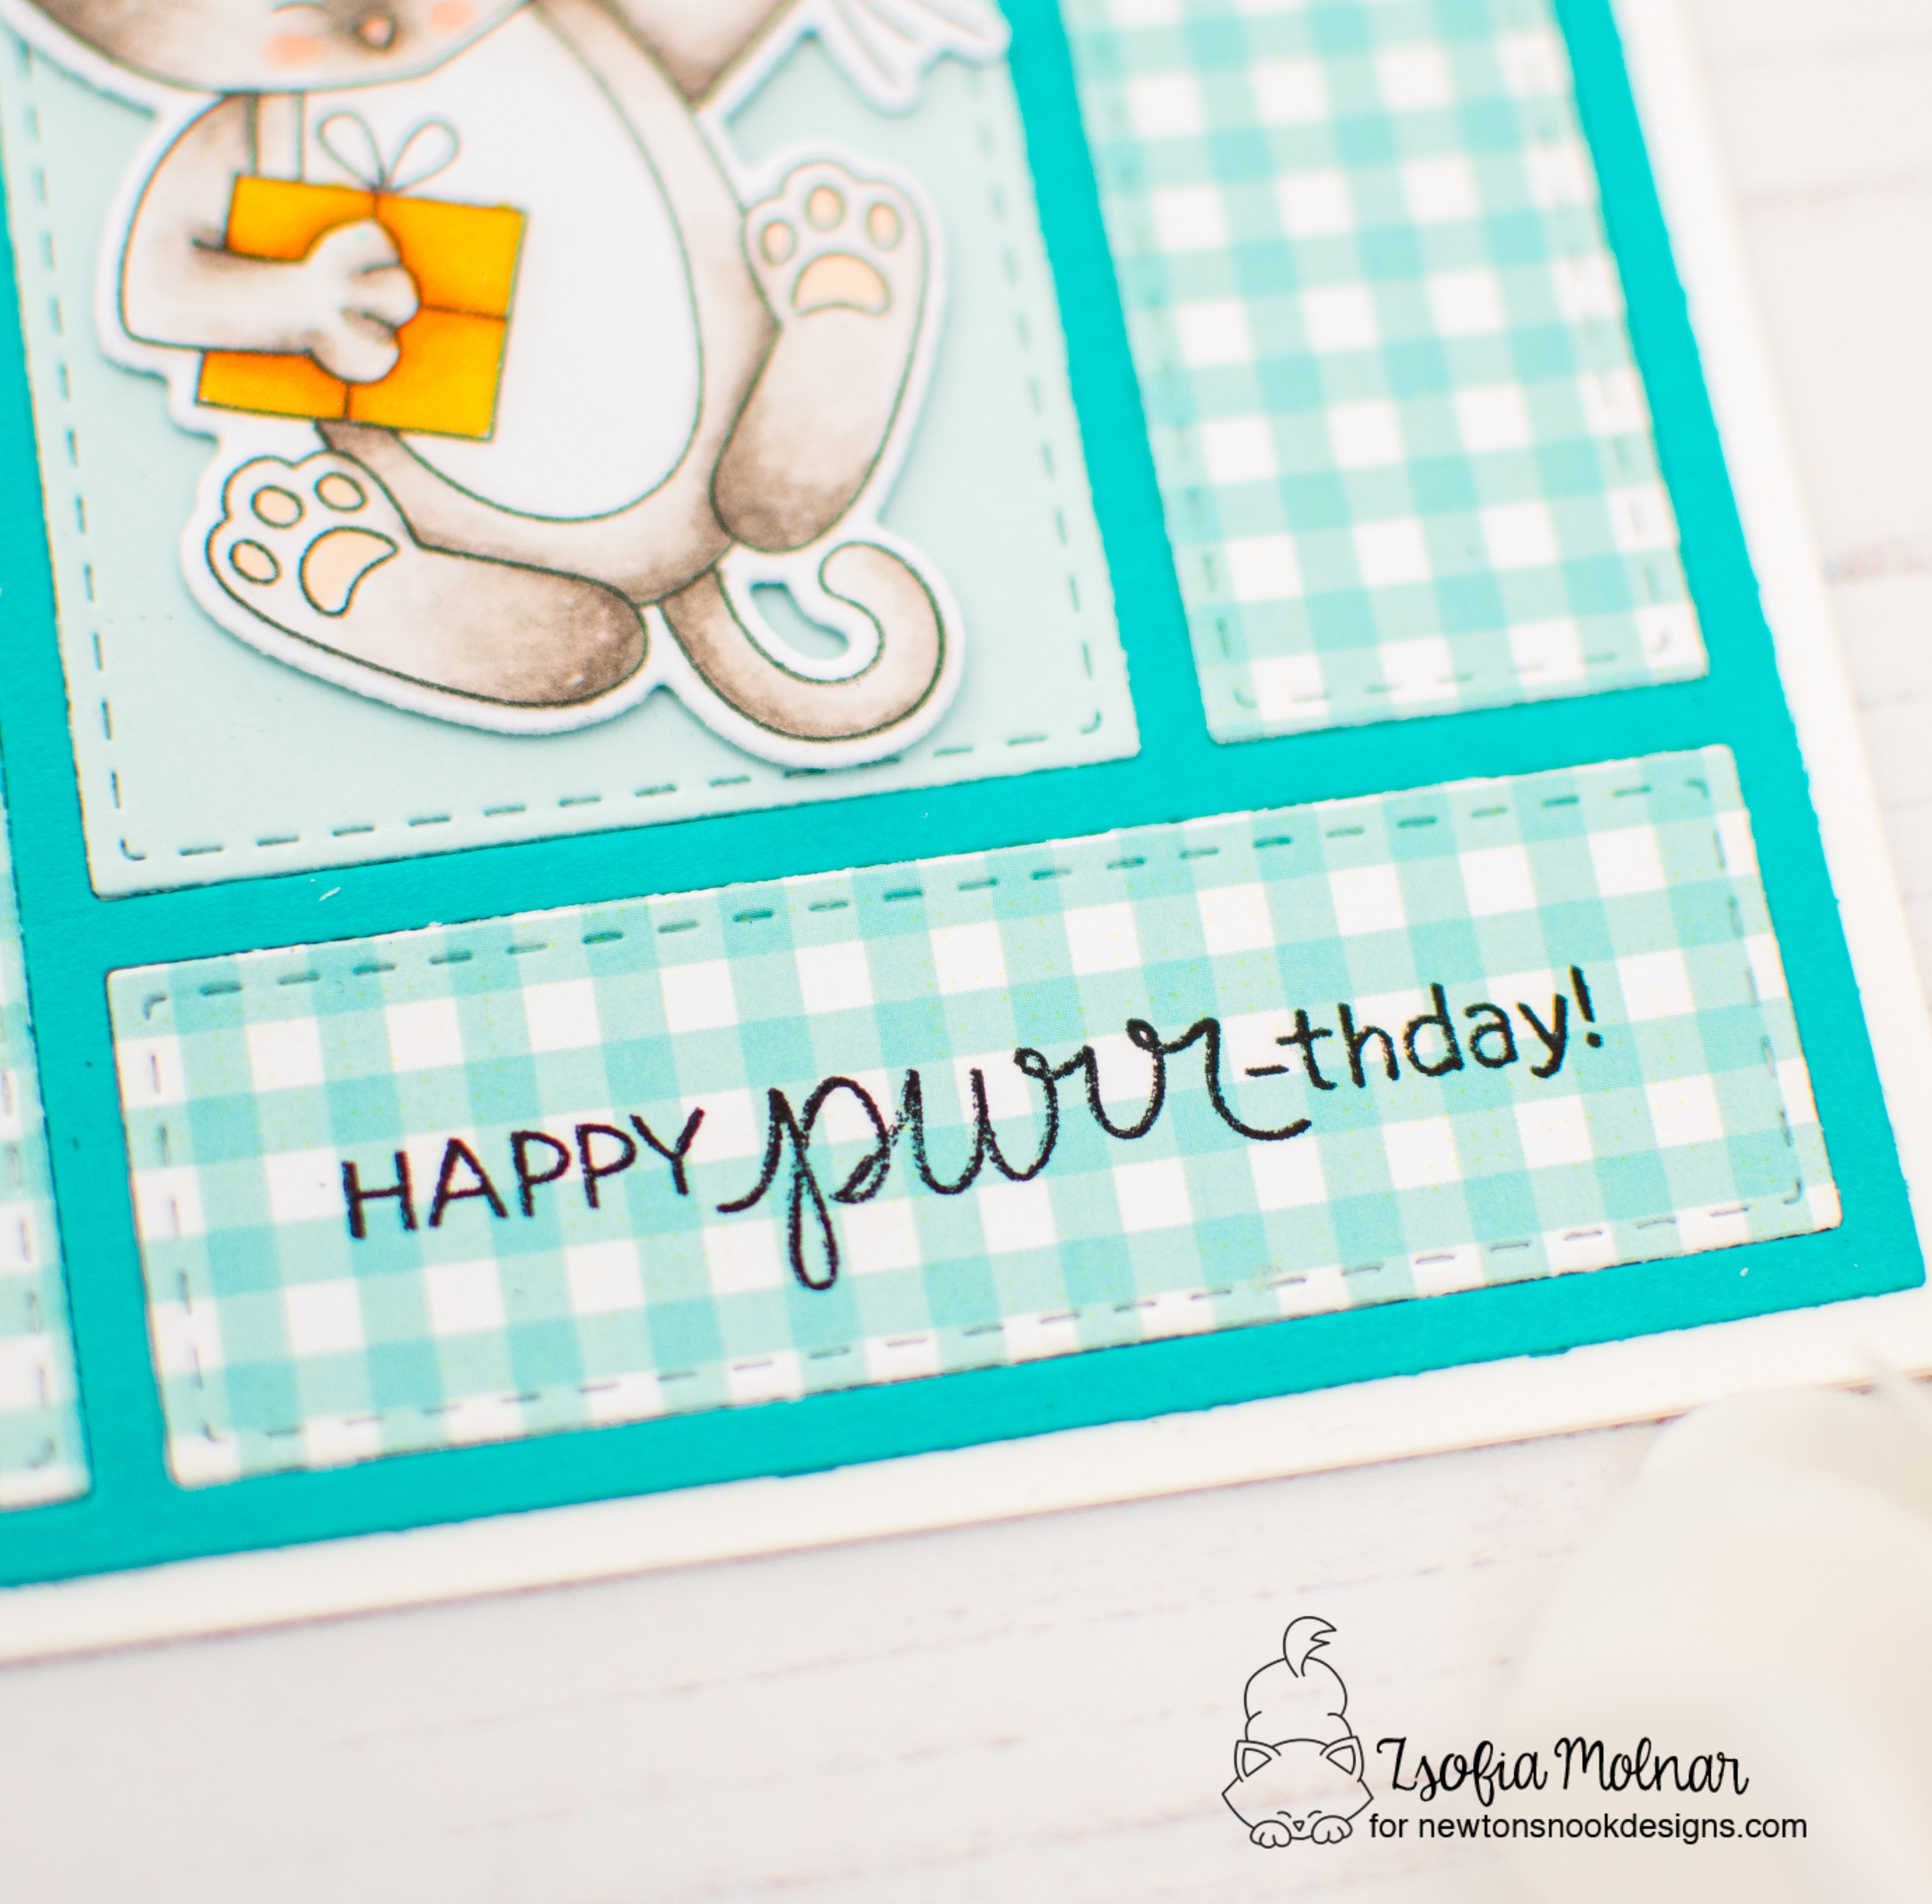
Before popping up the image in the middle with 3D foam squares, I stamped 2 sentiments on the horizontal panels in black.
I added a few mini clouds as embellishments, and used a clear shimmer pen on the balloons and present to make them festive.
GIVEAWAY
We will be choosing one lucky winner to win a $25 store credit for Newton’s Nook Designs online shop! The winner will be chosen at random from the collective blog posts featuring our new products this week. For a chance to win, leave comments on the Design Team Member Blog Posts (see list below) from Tuesday March 19 through Thursday March 21. You will not know which blog has been chosen so the more you comment on the better your chances are of winning! You have until Thursday, March 21st at 9 pm ET to comment — winners will be announced on the NND blog on Friday, March 22nd.
Check out all the awesome Design Team Blogs below to enter:
I am so happy to be part of the new release reveals of Newton’s Nook Designs! This month we are featuring fun new die sets, 2 fantastic paper pads and a cute little stamp and die set. All sets were revealed yesterday on the NND blog and will be available for purchase in the store on Friday, 22nd March!
I used the new Frames and Tag die set to create the background for the image: I cut the different dies from coloured cardstock and backed the frame with a piece of patterned paper from the Bright Basics paper pad. I also added a pink mat to it before adhering it to the green backdrop, just because I love layers.
I stamped the sentiment on the patterned paper directly. As the paper has a bit shiny finish and because my regular ink pad is drying out, I used black Staz-on ink for the sentiment. I love how crisp and bright black it turned out!
After adhering the die cut image, I added a bit of glossy accents to the cake and tray, and a bit of clear shimmer to the presents and candles. The sunglasses are so shiny black because I used black glaze pen over it. So cool!
GIVEAWAY
We will be choosing one lucky winner to win a $25 store credit for Newton’s Nook Designs online shop! The winner will be chosen at random from the collective blog posts featuring our new products this week. For a chance to win, leave comments on the Design Team Member Blog Posts (see list below) from Tuesday March 19 through Thursday March 21. You will not know which blog has been chosen so the more you comment on the better your chances are of winning! You have until Thursday, March 21st at 9 pm ET to comment — winners will be announced on the NND blog on Friday, March 22nd.
Check out all the awesome Design Team Blogs below to enter:
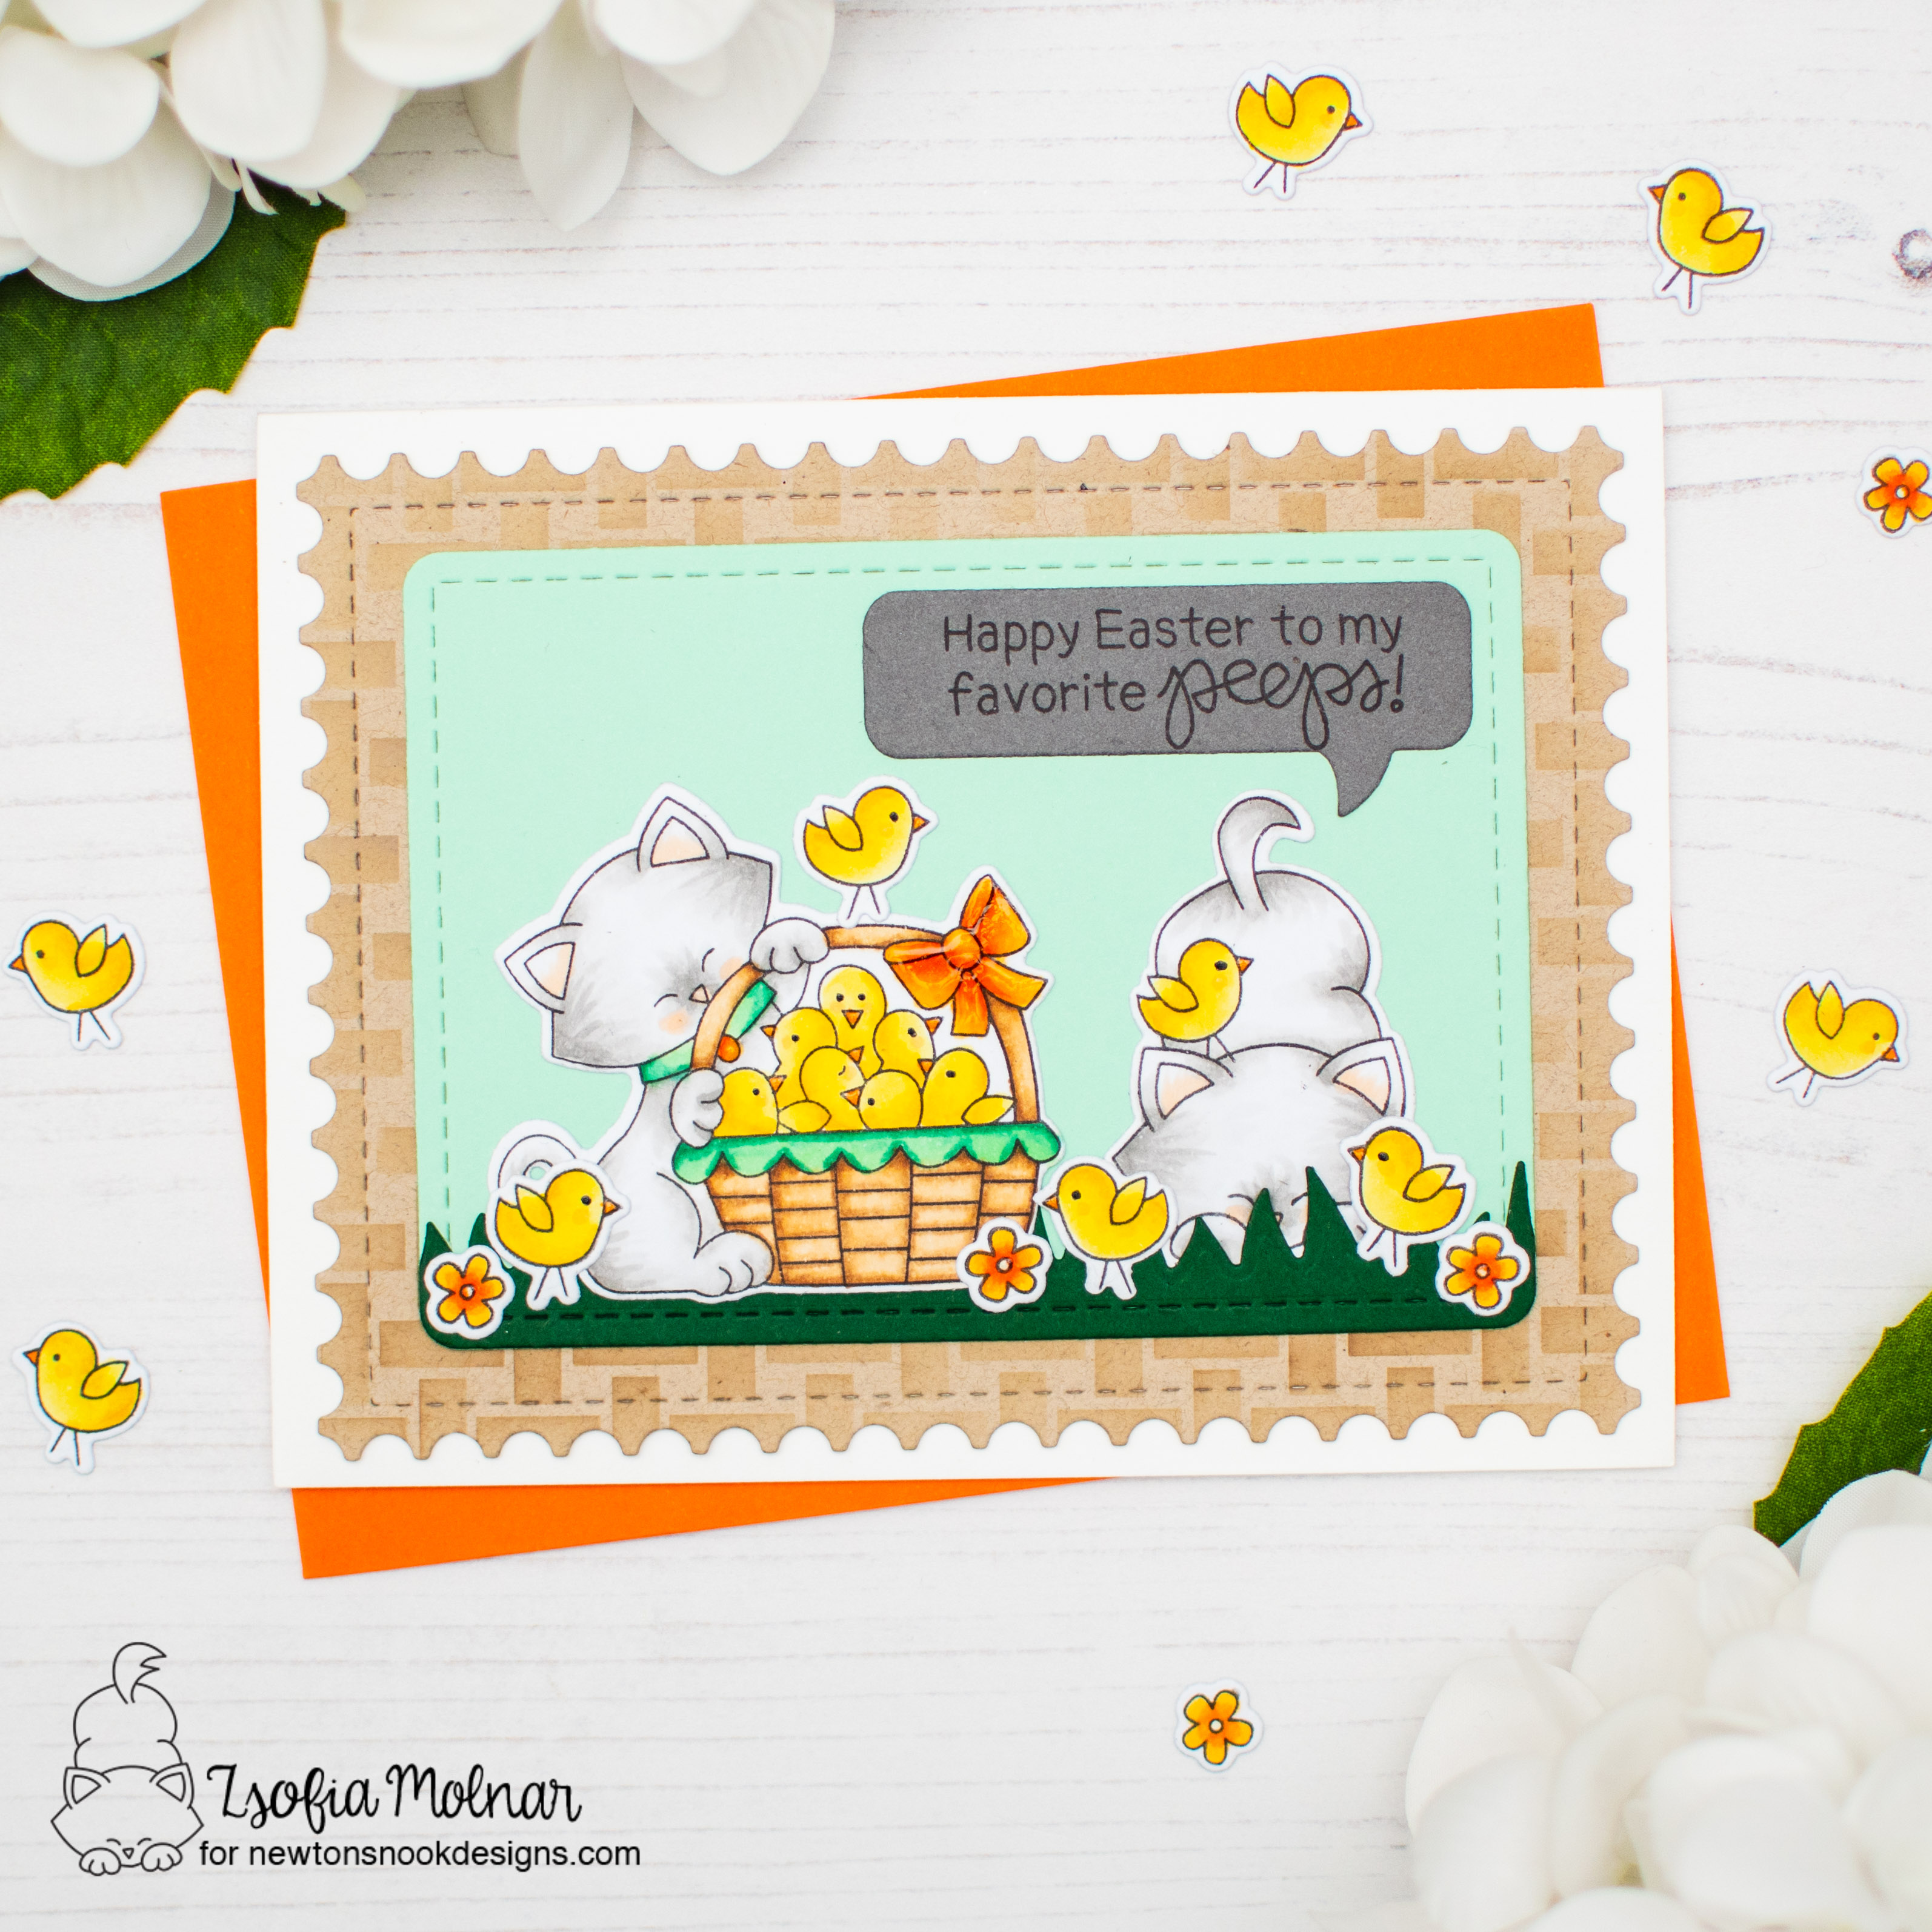
I am back today with an adorable critter card for Easter using an older favourite stamp from Newton’s Nook Designs. I paired them with a couple of other dies to create this little Easter scene, let me guide you through the process.
First I stamped and coloured the images from Newton’s Peeps using Copic markers. I kept the kitties light grey, to make the bunch of yellow chickens stand out. I used the coordinating dies to cut them all out.
To set the scene I die cut a rounded rectangle from light green cardstock with a die from Frames and Flags. Added grass which I cut with a Land Border die from dark green cardstock and arranged the die cut images. That kitty hiding behind the grass is my favourite, so cheeky!
The sentiment I stamped on a grey Speech Bubble and adhered it to the scene. I love to add a sentiment as part of the design!
For the background I used the Basketweave stencil with brown ink on kraft cardstock and die cut the panel with a die from Framework. It adds a nice touch to the focal panel. As always, I had to use glossy accents on the ribbon and the beaks of the chicks, and I also made there eyes shiny with a black glaze pen.
I hope you liked my card and got inspired to create some cute scenes for Easter.
I am back today wit a fun Santa Paws card which I created by mixing old and new stamps and dies from Newton’s Nook Designs.
I stamped and coloured the images from the following sets: Bells & Holly and Santa Paws Newton. I used Copic markers and went for a traditional Christmas look. I cut everything out with their coordinating dies.
Then I white heat embossed a sentiment from the Cat Christmas Tree set on a piece of black cardstock and cut it down to be a banner. I used the Frames and Flags die set to cut a smaller banner from green cardstock and layered it under the black one.
While I was die cutting I also cut a scalloped rectangle with the same die set from red cardstock. I arranged the scene on a piece of kraft cardstock using 3D foam squares to adhere all the elements.
As a finishing touch I used a clear shimmer pen on the fur part of the Santa coat, glossy accents on the bells and berries and adorned the bow with a gold pearl. Isn’t it pretty?
I hope enjoyed today’s cute card and will pop in again soon for more. I share more card ideas on my Instagram, please follow me there too!
I started with stamping and colouring the Puppy’s Reading List stamp using Copic markers and cut it out with its coordinating die. I also chose a funny sentiment for the title of the book, I love how many different ones you can choose from!
Then I die cut a background panel from light aqua cardstock using the Framework die set. For the inner panel I chose a patterned paper from the Coffee House Stories paper pad and cut it down with a die from the Frames and Flags die set. I also cut a white banner which I adhered in the middle of the patterned paper rectangle.
I popped up the dog with extra thick 3D foam tape and used glossy accents on the nose and glasses and emphasized some details on the books.
I decided to add another sentiment to the bottom of the card. I white heat embossed it on black cardstock from the All Booked Up stamp set. It is a perfect pairing, don’t you think?
The kitty and the books I coloured with Copic markers and cut them out with their coordinating die.
For the background I chose a patterned paper from the Coffee House Stories paper pad and used extra thick 3D foam tape to pop up the window and the cat. I used a matching sentiment from the All Booked Up stamp again, which makes this card a perfect gift for a cat & book lover friend.
GIVEAWAY
Enter to Win a $25 Prize!
We will be choosing two lucky winners to win a $25 store credit for Newton’s Nook Designs online shop! The winners will be chosen at random from the collective blog posts featuring our new products this week. For a chance to win, leave comments on the Design Team Member Blog Posts (see list below) from Monday November 13 through Wednesday November 15. You will not know which blog has been chosen so the more you comment on the better your chances are of winning! You have until Wednesday, November 15th at 9 pm ET to comment — winners will be announced on the NND blog on Friday, November 17th.
Check out all the awesome Design Team Blogs below to enter:
I hope you enjoyed all my projects for this release and you already have selected your favourites. Let me know which ones you like the most in this cozy release, I am so curious!
Welcome back to the Newton’s Nook Designs Holiday Release feature, on the second day we are al showcasing the adorable Cat Christmas Tree and Dog Christmas Tree stamp and die sets. Aren’t they the cutest ever?
I will tell you the truth, in those months when I was not having my craft room and couldn’t make cards, I missed colouring the most. So sitting down and pulling out my favourite Copic markers to colour these images was an ultimate treat. I used the coordinating dies to cut the images out with all their extras.
Then I die cut my favourite background die from Framework from aqua cardstock and added a bit of shading with Peacock Feathers Distress Oxide ink. It helps the images to pop. I added snowflakes with the Petite snow stencil and White Glitz Glitter Gel and die cut a snowbank from white glitter cardstock using a Land Border die.
I heat embossed the sentiment on red cardstock with white embossing powder and assembled the cards.
I used thin 3D foam tape behind the snowbank and the coloured images, and added some extra little presents and ornaments to the scene using liquid glue.
As a finishing touch I used a black glaze pen on the eyes of the animals and glossy accents on their noses, on the lights and star and also on the ornaments. It looks really cool in real life with all the texture and shine!
SALE AND GIVEAWAY
If you haven’t done already, make sure to leave a comment on THIS BLOG HOP post for a chance to win a gift certificate to the NND store. (Two lucky winners , $25 store credit – just comment until Thursday, November 2nd at 9 pm ET. Winners will be announced on the NND blog on Saturday, November 4th.) And don’t forget about the sale either!
I wish you enjoyed my cards today and will pop in again tomorrow for more inspiration!
Long time no post, but I am thrilled to be part of the new release blog hop for Pretty Pink Posh. The August release is all about Halloween, cute and adorable designs, fabulous die sets, great stencils and fun new embellishments. Join us for an incredible amount of Halloween inspiration!
My card features the new Halloween Signs stamp and die set. I stamped and coloured the images with Spectrum Noir Illustrator markers and cut everything out with their coordinating dies.
As I could not decide which image to us as focal point, I came up with a simple design idea which uses all of them on one card. For the background I simply took a piece of black cardstock and added a bit of shading to the edges with white pigment ink and a sponge dauber. It gives it a mysterious feeling, I love it. Then I used copper ad white metallic paints to add splatters to the whole panel. I also added white acrylic paint splatters and dried it with my heat tool. Then I spritzed the whole panel with shimmer mist for a subtle sparkle. So easy yet special background!
I used thick 3D foam tape to mount the images. Then I used a white gel pen to add highlights and a black glaze pen to make the eyes of the critters shiny.
I also emphasized some details with glossy accents.
Look at that spider, isn’t it adorable?
GIVEAWAY
Be sure to leave comments on each stop of the hop. Pretty Pink Posh is giving away 3 $30 gift certificates to three random comments (1 winner each day) left before August 15, 2023 at 11:59 PM PST. Winners will be announced next week on the PPP Blog, so be sure to return and see if you are one of the winners.
I hope you enjoyed all 3 days of the blog hop and ready to start Halloween crafting full of new ideas. If you like my card, please follow me on Instagram where I share more of my happy cards.